Your car should be just as clean inside as it is shiny outside. A good interior vacuuming not only looks great, but it is also a pleasure to drive in. This how-to guide will show how to professionally vacuum your car, from choosing the right equipment for the task to getting those impossible-to-reach areas. Following these tips will keep your car interior spotless and fresh for you and passengers alike.
Essential Equipment for Car Vacuuming
Vacuum Cleaners
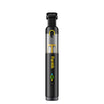
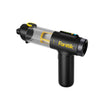
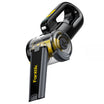
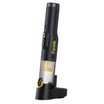
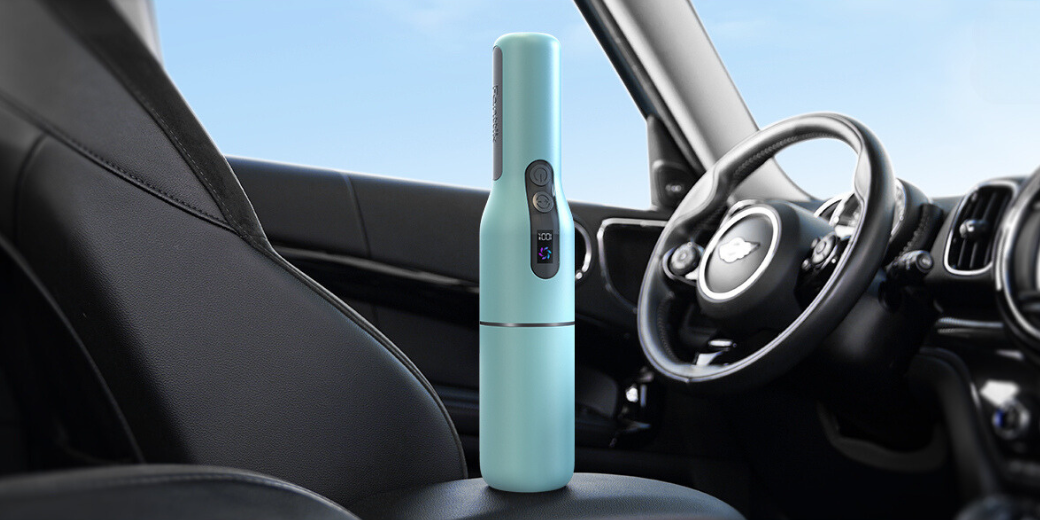
In order to properly clean your car, you will first need a good vacuum. Opt for one that is portable and has high suction. Cordless vacuums are easy to maneuver and can fit into all areas of your vehicle. If you frequently clean cars, you may want to consider purchasing a car-specific vacuum or wet/dry shop vac. Both can clean dry dirt and spills.
Vacuum Attachments
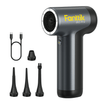
Various attachments make you clean better: the thin crevice tool, very convenient for tight spaces between the seats and along edges; the brush attachment, ideal for cleaning seats and carpets; an extension wand to help you get into those deeper, darker regions under the seats and far corners of your car; and a wide nozzle, which covers large floor areas fast. Learn how to use each attachment best to clean your car.
Other Cleaning Tools
To achieve a truly immaculate interior, supplement your vacuum with these items:
- Microfiber cloths: For wiping down surfaces and trapping fine dust
- All-purpose cleaner: To address spills and stains on various surfaces
- Glass cleaner: For crystal-clear windows and mirrors
- Leather cleaner (if applicable): To maintain and protect leather upholstery
- Air freshener: To leave a pleasant scent after cleaning
With these tools, you'll be ready to clean any mess in your car. Good equipment makes cleaning easier and gives better results.
Preparing Your Car for Cleaning
The first thing to do is to get your car ready for cleaning. A keen look at your car's interior helps you in cleaning well. This preparation involves three major jobs to be done and that is:
1. Spotting Dirty Areas
When starting with cleaning, have a look around inside your car. Certain areas tend to get dirty much earlier than others do. First and foremost, you need to inspect the floor mats as they always collect a lot of dirt. Observe the seats, mainly in the sitting area and the area where people rest their feet. Note that you should not bypass looking at cup holders and door pockets since these are apt for collecting crumbs and dust bunnies. Knowing first where the dirty spots will keep you exactly where your cleaning effort should be applied.
2. Identifying Stains
Next, locate special treatment areas: food and beverage spills on the seats and mud or oil marks on the carpets of the floor. If there are any stains, their presence should be noted for special cleaner treatment prior to commencing vacuuming; this little extra precaution could make all the difference in the cleaning result.
3. Removing Items from the Car
Clean out everything inside your car as the last step in preparing your car. Take out the garbage first, which includes old papers and wrappings of food. Your personal items such as sunglasses, chargers of cellular phones, and coins should be taken outside. The floor mats must also be removed along with any seat cover that can be detached. If you have a child car seat installed in your car, take this out as well. Cleaning every area in your car is easier when it has been cleared.
That will prepare the entire work of cleaning more efficiently and effectively. You are going to cover all areas of your car and properly clean them.
Effective Car Vacuuming Methods
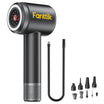
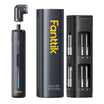
Much as there are strategies for vacuuming your car to ensure a thorough clean, using a Foldable Car Vacuum makes the process easier and more effective. These effective methods will enable you to work well and ensure every area is covered. Here is the way you can approach the task:
Top-Down Cleaning Method
This involves top-to-bottom procedure. Starting from the highest in your car interior, go down to avoid dust collection in cleaned areas. Proceed to start cleaning from the dashboard through the headliner down to the seats and finally to the floor, saving time, making cleaning more comprehensive.
Section-by-Section Approach
Dividing your car into sections helps you in cleaning systematically. Start with the front: dashboard and center console, then come to the front seats, back seats, door panels, and finally, the floor and the trunk. That keeps you on track so you do not skip a place inadvertently and ensures uniform cleaning of the whole car.
Specialized Techniques for Different Surfaces
Each part of your car's interior requires specific cleaning methods:
- Upholstery: Use gentle, back-and-forth motions with the brush attachment
- Carpets: Vacuum in multiple directions to lift embedded dirt
- Hard-to-reach areas: Use the crevice tool for spots between seats and along edges
- Vents and small spaces: Apply short bursts of suction to avoid pushing dirt deeper
These methods ensure you clean each surface effectively, leaving your car's interior spotless and fresh.
Step-by-Step Car Interior Vacuuming
To vacuum thoroughly, you will need to pay great attention to every area of your car. How? That is easy; follow the next steps:
Step 1: Cleaning the Front Area
First, I will discuss the dashboard, the console, and the area surrounding the steering. Gently sweep dust from the dashboard and air vents with the brush attachment. Clean the console, making sure to clean areas like cup holders and storage compartments because these tend to collect debris and dirt. Be very careful not to hit buttons and controls. The tight areas around the steering column and around the pedals will be cleaned with the crevice tool.
Step 2: Tackling the Seats
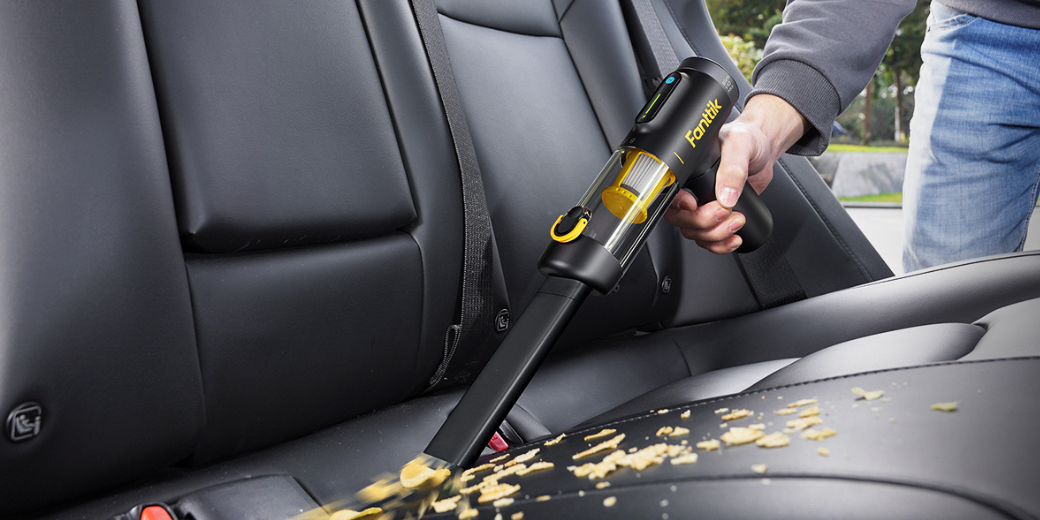
Start cleaning the seats, paying attention to the three major zones: Firstly, vacuum the seat surface using the upholstery attachment. Take the crevice tool and, starting at one end, work along the seams and down into the gap between seat back and bottom. Lastly, remember to vacuum underneath the seats, sliding them forward and backward for access across the entire area; it is here that loose change falls through or other small items drop without being noticed.
Step 3: Addressing Carpets and Flooring
Begin with the front floor mats, then move to the back. Remove the mats and vacuum them separately. For the car's carpeting, start at the front and work your way to the back. Use overlapping strokes to ensure you cover every inch. Pay extra attention to areas under the pedals and seats where dirt accumulates. For stubborn dirt, use the brush attachment to loosen it before vacuuming.
Commonly Overlooked Spaces in Your Car
Many car owners miss certain spots when cleaning. These hidden areas can harbor dirt and clutter. Here's how to clean these often-overlooked spaces:
1. The Trunk
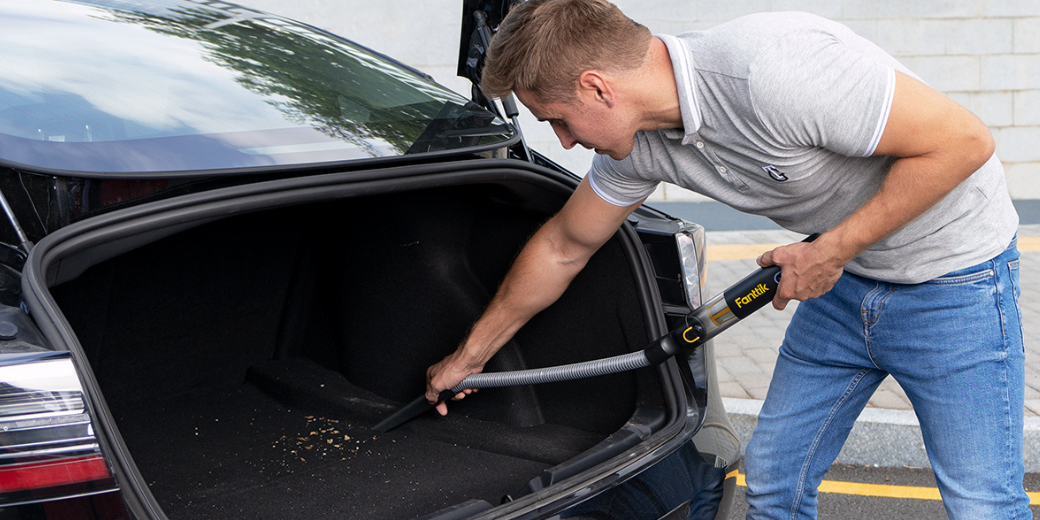
The trunk deserves as much attention as the main cabin. Remove all items from the trunk first. Vacuum the entire floor, including the corners and edges. Don't forget to clean under the spare tire cover if your car has one. Use the crevice tool to reach into tight spots along the sides of the trunk. If your trunk has carpeting, use the brush attachment to loosen dirt before vacuuming.
2. Storage Areas
These storage areas often collect dust and small debris. Empty the glove compartment and side pockets completely. Use the crevice tool to vacuum inside these spaces. Pay special attention to corners and seams where dirt can hide. For fabric-lined pockets, use the brush attachment to remove stubborn dust. Don't forget to clean the areas around the hinges of the glove compartment.
3. Under and Between Seats
Some of the dirtiest areas in a car are the hardest to reach. Use the crevice tool to clean along the tracks of the seats. Vacuum thoroughly under the seats, moving them back and forth to access all areas. Clean between the center console and seats, where crumbs and small items often fall. For very tight spaces, you might need to use a slim vacuum attachment or even a clean, dry paintbrush to dislodge dirt before vacuuming.
Cleaning these often-missed areas will give your car a truly thorough clean. It also helps prevent odors and keeps your car in better condition overall.
How to Maintain a Clean Car After Vacuuming
Proper maintenance keeps your car clean longer. Here's what to do after you've finished vacuuming:
1. Clean Your Vacuum and Tools
Always clean your cleaning equipment after use. Empty the vacuum's dust container or replace the bag. Wash or replace filters if they're dirty. Wipe down all attachments with a damp cloth to remove dirt and dust. Let everything dry completely before storing. This maintenance keeps your tools working well and prevents spreading old dirt the next time you clean.
2. Develop Daily Car Cleanliness Habits
Small, regular actions help maintain your car's cleanliness. Remove any trash each time you exit the car. Keep a small trash bag inside for easy disposal. Once a week, shake out the floor mats and wipe down the dashboard and steering wheel with a microfiber cloth. Consider using cup holder liners to catch spills and make cleanup easier.
3. Follow a Regular Cleaning Schedule
Set a routine for more thorough cleaning. Vacuum the entire car every two weeks. Clean windows and mirrors monthly, along with washing the floor mats. Every three months, deep clean the seats and carpets. Don't forget the trunk - give it a thorough cleaning every six months.
Make Your Car Shine Inside and Out!
Cleaning your car's inside regularly keeps it looking great and nice to drive. Use the right tools and methods from this guide to clean every part of your car well. Start at the top and work down, don't forget hidden spots, and clean a little bit often. This keeps your car fresh, protects it, and might even help it stay valuable. Start your new cleaning routine today – you'll enjoy driving your clean car!








Leave a comment
All comments are moderated before being published.
This site is protected by hCaptcha and the hCaptcha Privacy Policy and Terms of Service apply.