Pop-up canopies are essential for outdoor events, but they can quickly become hazardous if not properly secured. A canopy caught by the wind poses risks to people and property. It may cause injuries, damage surrounding objects, or be destroyed itself. These incidents can ruin your event and lead to unexpected costs. Securing your canopy is a simple yet crucial step for any outdoor gathering.
Whether you’re at a beach, park, or in your backyard, a well-anchored canopy provides reliable shelter and peace of mind. By following some key tips, you can ensure your canopy remains stable in various weather conditions. This guide will show you how to keep your pop-up canopy firmly in place, allowing you to focus on enjoying your outdoor activities without worry.

Tip 1: Choose the Perfect Spot for Your Canopy
The foundation of a stable canopy setup begins with selecting an optimal location. Your choice of placement can significantly influence how well your shelter withstands the elements.
1. Seek Shelter from the Storm
When scouting for the ideal spot, prioritize areas that offer natural protection. Look for locations near buildings, tree lines, or other structures that can act as windbreaks. These sheltered areas can dramatically reduce the wind’s impact on your canopy, enhancing its stability and longevity.
2. Steer Clear of Windy Heights
While elevated areas might offer panoramic views, they’re often more susceptible to gusty conditions. Avoid setting up your canopy on hilltops, ridges, or other high ground where wind speeds tend to be higher. Instead, opt for lower-lying areas that provide a natural buffer against strong breezes.
3. Master the Wind’s Direction
Understanding prevailing winds in your area is crucial for proper canopy placement. Take a moment to observe wind patterns or consult local weather reports. Position your canopy so that its lower, more aerodynamic side faces the predominant wind direction. This orientation helps deflect gusts, reducing the risk of your shelter becoming airborne.
Tip 2: Anchor Your Canopy Securely
Once you’ve chosen the right location, it’s crucial to anchor your canopy properly. This step ensures your shelter stays put even in challenging weather conditions.
Stake Anchors for Soft Ground
When setting up on grass, soil, or sand, use stake anchors. These are effective and easy to implement:
- Insert stakes at a 45-degree angle away from the canopy.
- Drive them deep into the ground - at least 6 to 8 inches.
- Attach guy lines from the canopy to the stakes for added stability.
For extra security in very soft ground, consider using spiral stakes or longer tent pegs.
Weights for Hard Surfaces
On concrete, asphalt, or wooden decks, heavy weights are your best option:
- Sandbags: Fill bags with sand or gravel. Aim for 20-40 pounds per leg.
- Weight plates: Use gym weights or specially designed canopy weights.
- Water jugs: Large containers filled with water can serve as makeshift weights.
Place these weights directly on the feet of your canopy or tie them to the frame with sturdy straps.
Effective Anchoring Techniques
Regardless of the surface, follow these tips for optimal stability:
- Distribute weight evenly across all corners and sides.
- Use multiple anchoring methods when possible.
- Check and adjust your anchors periodically, especially during long events or changing weather.
A well-anchored canopy not only stays in place but also maintains its shape, ensuring better protection from the elements.

Tip 3: Utilize Guy Lines for Extra Security
Guy lines are cords or ropes that extend from your canopy to anchor points on the ground. They provide additional support and distribute tension evenly across the structure.
Proper Placement
To maximize effectiveness, follow these guidelines:
- Attach lines to each corner of the canopy frame.
- Add extra lines to the middle sections of longer sides.
- Ensure lines form a 45-degree angle with the ground for optimal tension.
Tensioning Techniques
Correct tension is key to guy line performance:
- Use adjustable tensioners or learn to tie a taut-line hitch.
- Tighten lines enough to provide support, but not so much that they distort the canopy’s shape.
- Adjust tension as needed, especially after periods of rain or humidity.
Safety Considerations
While guy lines enhance stability, they can pose tripping hazards:
- Use brightly colored or reflective cord to increase visibility.
- Mark lines with flags or streamers, particularly in high-traffic areas.
- Consider the flow of foot traffic when positioning your lines.
This simple addition can mean the difference between a secure shelter and a potential hazard.
Tip 4: Add Sidewalls as Wind Deflectors
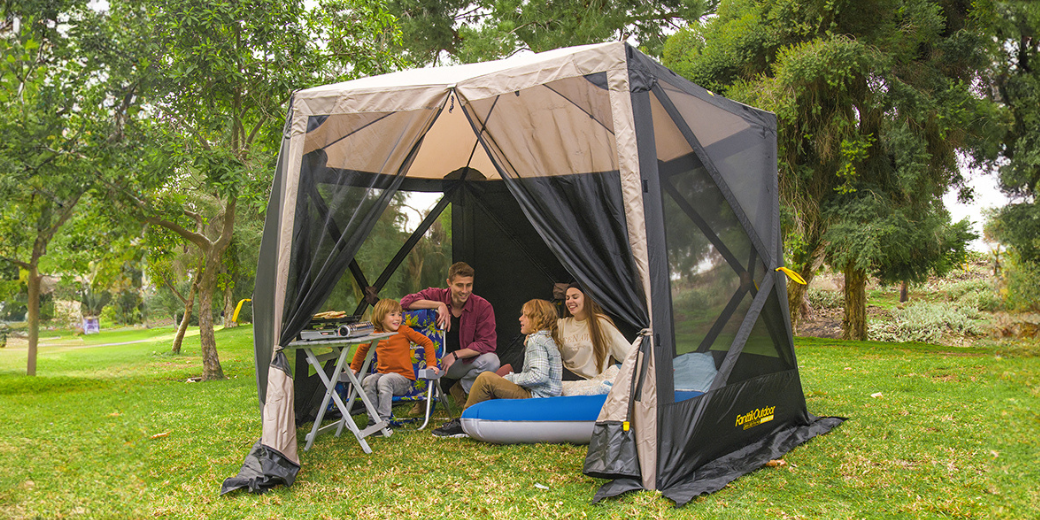
Sidewalls act as wind deflectors, reducing the amount of air that can enter and lift your canopy. They create a more enclosed space, which not only protects against wind but also offers additional shelter from rain and sun. In moderate winds, a canopy with sidewalls is far less likely to become a sail-like structure vulnerable to gusts.
Proper Attachment
To gain the full benefit of sidewalls, proper installation is crucial. Most canopy models have built-in attachment points for sidewalls. Use these to ensure a secure fit. Start by attaching the top of the sidewall to the frame, then work your way down, securing all points. Make sure the walls are taut to prevent flapping in the wind, which can create noise and wear on the fabric.
Maintaining Airflow
While sidewalls offer protection, it’s important to maintain some airflow to prevent your canopy from becoming stuffy or overly warm. Consider using sidewalls strategically - perhaps on the windward sides of your canopy while leaving other sides open. For longer events, you might adjust the configuration as the wind direction changes throughout the day.
Tip 5: Lower the Canopy Height During High Winds
A tall canopy catches more wind, much like a sail on a boat. By reducing its height, you decrease the surface area exposed to gusts. This lower profile makes your canopy less likely to catch the wind and topple over or fly away.
Safe Lowering Procedure
Follow these steps to lower your canopy safely:
Remove any items stored under the canopy.
- Loosen (but don’t remove) guy lines and other anchors.
- Have one person at each leg of the canopy.
- Simultaneously release the locking mechanisms on each leg.
- Slowly and evenly lower each leg to the desired height.
- Re-lock all mechanisms securely.
- Re-tighten guy lines and anchors.
- Maintaining Structural Integrity
Lowering your canopy doesn’t mean compromising its strength. Ensure all connections remain tight and secure after adjusting the height. Check that the canopy fabric is still taut to prevent water pooling or excessive movement in the wind.
Consider practicing this procedure before you actually need it. Being familiar with your canopy’s adjustment mechanisms can save precious time when bad weather approaches suddenly.
Tip 6: Regularly Check and Tighten Fittings
Wind, rain, and repeated use can gradually loosen fittings and wear down components. What starts as a minor issue can quickly escalate into a major problem if left unchecked. By conducting routine inspections, you can catch and address potential issues before they compromise your canopy’s stability or safety.
Maintenance Procedures
When examining your canopy, focus on these key areas:
- Tightening Loose Fittings: Inspect all nuts, bolts, and screws. Use appropriate tools to tighten any loose connections. Pay special attention to joints and pivot points, as these areas often experience the most stress.
- Checking for Wear and Tear: Examine the canopy fabric for signs of fraying, tearing, or weakening. Look closely at seams and reinforced areas. Inspect metal components for rust or corrosion, particularly if your canopy is frequently exposed to moisture.
When to Check
Ideally, perform a thorough inspection before each use of your canopy. However, if you’re using it for an extended period, daily checks are advisable. Additionally, always conduct a detailed examination after exposure to severe weather or at the beginning and end of your canopy’s main usage season.
Tip 7: Invest in Quality Wind-Resistant Canopies
When it comes to outdoor shelters, not all canopies are created equal. Investing in a high-quality, wind-resistant model can save you time, money, and frustration in the long run.
Key Features for Wind Resistance
When shopping for a sturdy canopy, look for these important characteristics:
- Robust frame construction, often using reinforced steel or aluminum
- Thick, durable fabric with strong stitching
- Vented tops to allow airflow and reduce uplift
- Enhanced anchoring systems or weighted legs
These features work together to create a more stable structure that can withstand challenging weather conditions.
Choosing a Reliable Brand
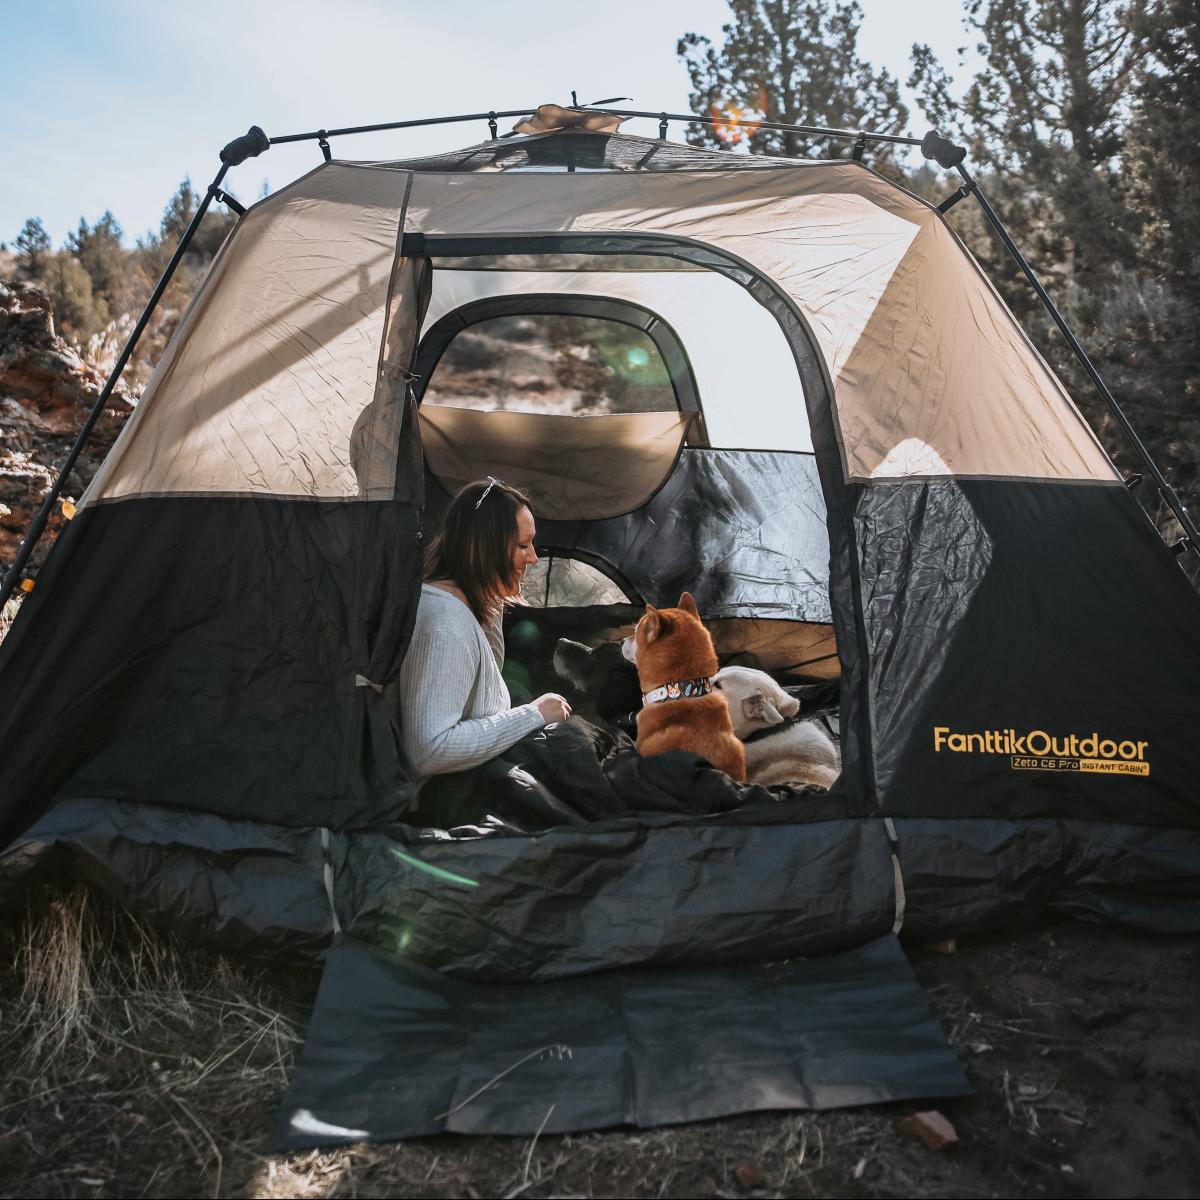
While many brands offer canopies, some stand out for their wind-resistant designs. Fanttik, for example, has gained a reputation for producing durable outdoor equipment, including canopies built to withstand various weather conditions. When researching options, look for brands that emphasize durability and weather resistance in their product descriptions.
Tip 8: Master Emergency Take-Down Procedures
Being prepared for unexpected weather changes is crucial when using a canopy outdoors. Knowing how to quickly and safely dismantle your canopy can prevent damage and ensure everyone’s safety.
When to Act
Stay alert to weather conditions and be ready to take down your canopy if:
- Wind speeds increase significantly
- Storm clouds are approaching
- Weather alerts are issued for your area
Don’t wait until the last minute - it’s always better to be cautious and take down your canopy early if conditions are worsening.
Quick and Safe Dismantling Steps
Clear the area: Remove all items from under and around the canopy.
- Lower the structure: If possible, lower the canopy to its lowest height setting.
- Release guy lines: Detach any guy lines or additional anchors.
- Remove sidewalls: If attached, take down sidewalls to reduce wind resistance.
- Collapse the frame: Follow your canopy’s specific instructions for collapsing the frame.
- Secure components: Quickly bundle the canopy top and frame to prevent them from blowing away.
Practice Makes Perfect
Familiarize yourself with these steps before you need them. Consider doing a practice run on a calm day so you can perform the take-down efficiently when it really matters.
Make Your Pop-Up Canopy Secure
To keep your pop-up canopy safe and stable in windy weather, choose a sheltered spot, use anchors or weights, and check the fittings often. If needed, be ready to take it down fast. With these tips in mind, you can enjoy your outdoor gatherings with confidence, knowing that your canopy will provide reliable shelter and protection from the elements.






Leave a comment
This site is protected by hCaptcha and the hCaptcha Privacy Policy and Terms of Service apply.