


Quick Start: The Shadow-Free Checklist (Answer First)
If you are struggling with visibility during precision assembly, follow these three steps for immediate improvement:
- Apply the 15° Rule: Tilt your tool 10–15° off-axis. This shifts the tool's shadow away from the fastener, allowing built-in LEDs to illuminate the cavity.
- Optimize Contrast: Use a cool-white light source (5000K–6000K) to make screw-head edges "pop" against dark components.
- Prioritize Safety: Use a torque range of 0.02–0.1 Nm for M1.2–M2.0 screws. Always test on a scrap piece first and defer to your manufacturer’s manual to prevent stripping threads.
The Visual Friction of Precision Assembly
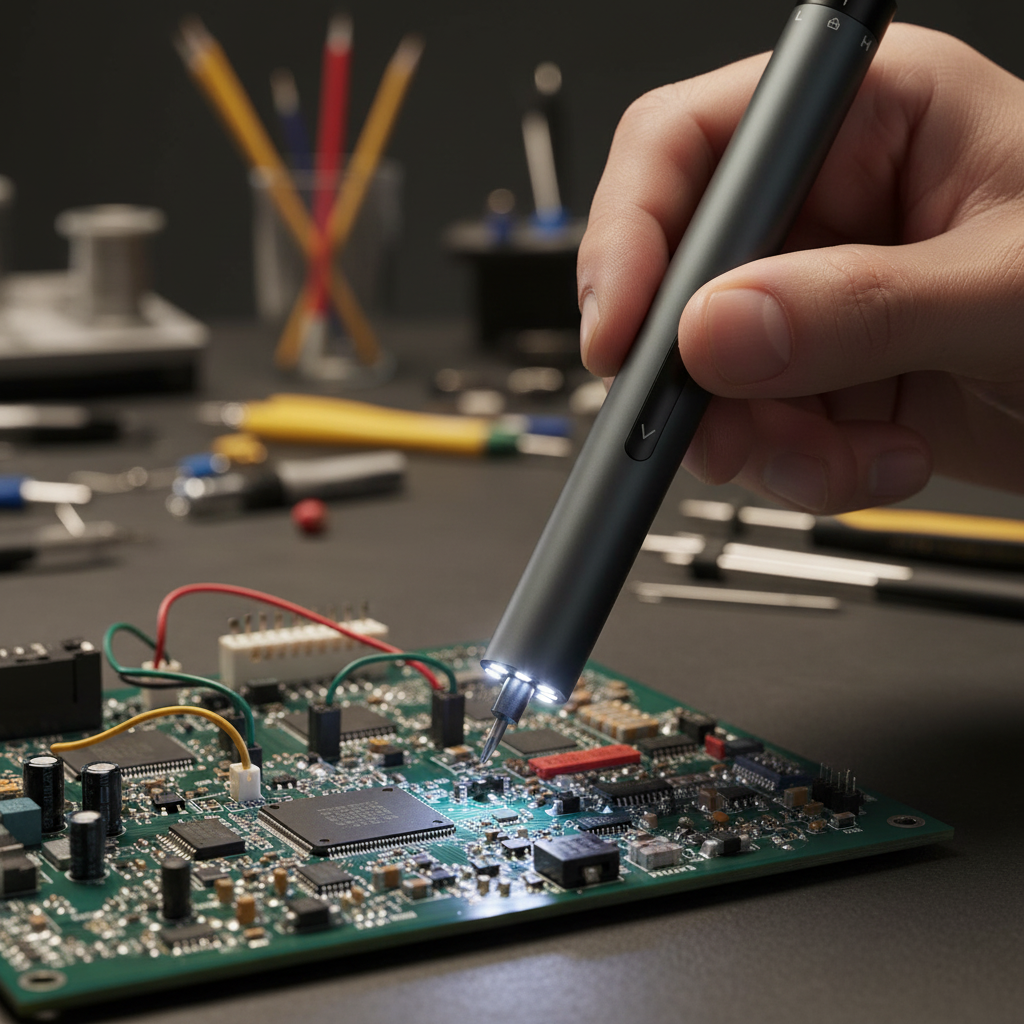
In miniature assembly and electronics repair, visibility is as critical as torque accuracy. For makers and DIYers working on complex projects—such as scale models, PCB housing, or intricate automotive trim—the primary obstacle is rarely a lack of power. Instead, it is the frustration of "visual friction": the moment a tool's own shadow obscures the fastener it is meant to drive.
On our repair bench, we frequently observe a specific pattern. Most operators hold their tools in a perfectly perpendicular orientation. While intuitive for vertical alignment, this creates a physics-based "dead zone." The tool body blocks overhead light, and the built-in LED ring—designed to illuminate the workspace—casts a circular shadow directly around the bit when it enters a recessed cavity. This shadow hides the screw head, leading to misalignment, cam-out, and potential damage.
To resolve this, experienced practitioners utilize "shadow recovery." By understanding light geometry and color contrast, you can transform a standard workspace into a high-precision station.
The Physics of Shadow Recovery
Shadows are not merely the absence of light; they contain spatial data. Research on Physics-Grounded Shadow Generation (arXiv) demonstrates that shadows provide geometric cues about an object's position. In assembly, we use these cues to "recover" the fastener's geometry.
The 15-Degree Rule: A Practical Heuristic
The most effective manual technique for eliminating shadows in deep recesses is the off-axis tilt. Instead of maintaining a 90-degree angle, rock the tool slightly—approximately 10 to 15 degrees.
Why it works: This movement shifts the center of the tool's shadow away from the fastener, allowing the LED ring to project light past the tool head and into the cavity.
Practical Parameter Checklist
To apply this to your specific tool and project, use the following parameters as a guide:
- Tool Head Diameter: Standard precision drivers (~10-15mm).
- Working Distance: 5mm to 20mm from the surface.
- Recommended Tilt: 10° (shallow recesses) to 15° (deep cavities).
- Visual Target: Adjust until the "crescent shadow" clears the screw drive pattern (Phillips/Torx).
Based on common patterns seen in customer support and repair handling, users often try to fix shadows by increasing overhead brightness. This typically fails by creating harsh glare. A better heuristic is to adjust your hand position until the shadow cast by your arm is thrown away from the point of operation.
Contrast and Color Temperature
The color temperature of your LED ring significantly impacts visual acuity when working with dark fasteners (e.g., black oxide screws).
- Warm White (2700K-3500K): Generally unsuitable; it reduces contrast between the screw and the chassis.
- Cool White (5000K-6000K): Preferred for precision work. This range provides high contrast, making fastener edges visible against dark backgrounds.
Note: High-temperature LEDs can contribute to eye fatigue. We suggest using high-contrast tool lighting for the drive and softer, diffused ambient lighting for the workbench. This balance aligns with ergonomic principles in The 2026 Modern Essential Gear Industry Report, which highlights how predictable lighting performance builds user confidence.

Modeling the Impact: Efficiency and Ergonomics
To illustrate how LED placement and electric drive systems improve the assembly process, we modeled a "Miniature Model Builder" scenario.
Methodology & Assumptions (Scenario Model)
- Data Source: Internal time-motion simulation (not a controlled laboratory study).
- Operator Skill: Intermediate DIYer.
- Equipment: Precision electric driver with a 360° LED ring vs. a standard manual driver.
- Project Scope: 120 small screws (M1.2 to M2.0) in confined internal spaces.
| Parameter | Value (Estimated) | Unit | Rationale |
|---|---|---|---|
| Manual Time per Screw | ~22 | Seconds | Includes "search-and-align" time in shadowed areas |
| Powered Time per Screw | ~8 | Seconds | Assumes LED illumination and 15° off-axis technique |
| Manual Rotations | ~15 | Per Screw | Standard for fine-threaded miniature fasteners |
| Electric Rotations | ~0.5 | Per Screw | Physical wrist rotations required for positioning |
Estimated Outputs:
- Time Savings: ~28 minutes saved per project.
- Speed Multiplier: ~2.7x faster by reducing the "search-and-align" phase.
- Ergonomic Benefit: Elimination of roughly 1,740 repetitive wrist rotations.
Disclaimer: These figures are illustrative estimates. Actual results depend on user skill, tool RPM, and specific fastener depth.
Human Vision vs. Machine Vision
While DIYers strive for "shadow-free" light, industrial Machine Vision systems often use "shadow-casting" to reveal defects like lifted leads. For a human operator, the requirements are different. We prioritize:
- Uniformity: Reducing harsh transitions between light and dark.
- Glare Minimization: Avoiding reflections on metallic screw drives.
- Color Accuracy: Ensuring the light doesn't distort color-coded components.
The 15-degree rule allows the human operator to switch between shadow-free illumination for driving and shadow-casting for inspecting the depth of a recess.
Engineering Trust: Standards and Compliance
Reliability is paramount in high-consequence projects. In the EU, the General Product Safety Regulation (EU) 2023/988 mandates that products minimize risks, including ergonomic factors like eye strain.
Torque Safety in Precision Work
Once you can see the fastener, you must apply the correct force. For miniature assembly, the margin for error is razor-thin.
Heuristic for Torque Selection (General Guidance):
- M1.2 - M2.0 Screws: 0.02 Nm to 0.1 Nm.
- M2.5 - M4.0 Screws: 0.2 Nm to 0.5 Nm.
Safety Note: These ranges are based on general mechanical properties of fasteners (referenced in ISO 898). However, the material of the "boss" (the hole) often fails before the screw. Applying 0.5 Nm to an M1.2 screw in plastic will likely strip the threads. Always consult your specific manufacturer's manual for torque limits.
Maintenance of LED Systems
Treat the LED ring as a precision component. According to LED manufacturing guidelines (ams OSRAM), these components are sensitive to mechanical and chemical stress. Avoid getting solvents on the lens, which can cloud the light and re-introduce shadows.
Optimizing the Precision Workflow
Achieving a shadow-free workspace is a combination of tool design and operator technique. By adopting a 10-15 degree off-axis tilt, you can effectively use built-in LED rings to recover visibility in challenging recesses.
This methodical approach—prioritizing visibility and torque safety—aligns with the "credibility math" discussed in the 2026 Modern Essential Gear Industry Report. True performance is found in the reduction of friction—whether that friction is physical (wrist rotations) or visual (shadows).
Disclaimer: This article is for informational purposes only. The torque values and time estimates provided are based on general experience and scenario modeling, not universal standards. Always consult the manufacturer's manual for specific torque settings and safety guidelines for your particular tool and project materials. Improper use of power tools can result in injury or property damage.


Leave a comment
This site is protected by hCaptcha and the hCaptcha Privacy Policy and Terms of Service apply.