



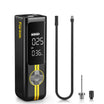
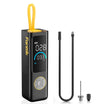
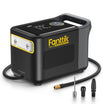
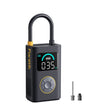
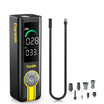
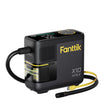
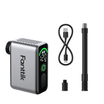
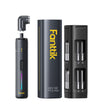
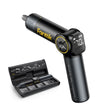
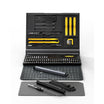
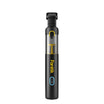
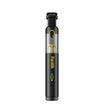
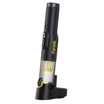
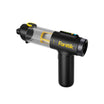
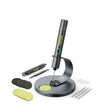
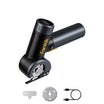
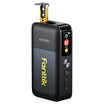
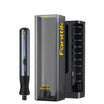

Before you start, make sure the ball needle is one your inflator's manual approves, and find the pressure recommended by the ball's maker. Then push the needle in straight and slowly, stop if it resists, inflate only to that pressure, and pull the needle straight out without twisting it. Forcing the needle can crack the valve, and guessing the pressure can leave you with an overinflated ball.
Two things change from setup to setup. Needle and adapter fit depends on your inflator model. Pressure and valve care depend on the ball. Settle both before the needle touches the valve.
Confirm the Ball Needle, Inflator, and Pressure Before Use
Good sports ball inflation starts before you turn on your ball pump or inflator. Check these three things in order:
- Confirm the connection in your inflator's manual. Find the manual for your exact model. Make sure it lists a ball needle, or an adapter it requires, and explains how that part connects. A needle that came with another pump may not seal correctly on yours. One manual's buttons and steps don't carry over to a different inflator.
- Find the pressure for this specific ball. Use the guidance printed on the ball or published by its maker. Don't borrow a number from a different ball. For example, SELECT pressure guidance says the recommended pressure is listed on every SELECT ball and tells owners to confirm it with a pressure gauge. If the ball's guidance and your pump use different units, convert only with a reliable conversion. Don't estimate.
- Learn how your inflator sets pressure and stops. Your model's manual should explain how to set a target, start inflating, and stop. If it doesn't, you can't count on the pump to stop at the right point.

If you can't confirm the connection, the target pressure, or the operating steps, stop. Improvising with a loose fit or a guessed number is how valves and balls get damaged. Each check protects something different. A fit confirmed in the manual protects the seal and the valve. The maker's pressure keeps the ball from being overinflated or underinflated. The documented controls tell you how and when the pump will actually stop. Keep in mind that SELECT's own instructions call for a hand pump. That means its guidance doesn't confirm that a portable inflator is suitable for SELECT balls.
Insert the Needle and Inflate Without Forcing It
Once the fit and pressure are settled, follow these steps:
- Clean the contact points. One ball-needle manual says to wipe the ball's valve and the needle with a clean, dry cloth to remove dust, sand, and dirt. Grit at the valve opening adds friction and can scratch the valve. Do not use a visibly damaged needle.
- Prepare the valve the way the ball maker says. Some makers give their own instructions. For SELECT balls, SELECT valve preparation instructions say to position the bladder vertically beneath the valve and let 1–2 drops of SELECT valve oil drip into the valve hole. SELECT also recommends oiling the valve regularly so it doesn't dry out. These steps apply to SELECT balls. Don't assume other brands use the same oil or method. After oiling, SELECT's next step is to pump the ball with a hand pump until it feels firm and then check it with a gauge. That's SELECT's own method. It doesn't mean SELECT approves using a portable inflator.
- Attach the needle securely. Connect it the way your inflator's manual describes so it seals. A loose connection leaks air.
- Push it in straight and slowly. Hold the ball steady and line the needle up square with the valve. The needle manual warns against pushing it in at an angle or with force, since that can pierce the inner bladder or crack the valve. If the needle resists, stop. Don't tilt it or push harder. Pull it back out, clean it again, and check the valve and the ball maker's prep instructions.
- Inflate using your inflator's own controls. Set the target and start or stop the pump only as your model's manual describes. Stay with the ball while it fills and watch for the target. When it reaches the pressure from the preflight check, stop.
- Check with a gauge if the maker asks you to. SELECT, for example, asks you to confirm pressure with a gauge against the value printed on the ball.
- Pull the needle straight out, slowly. The needle manual says not to twist it or yank it. Valves can be damaged on the way out too, so remove the needle as carefully as you put it in.

For SELECT balls, the SELECT maintenance steps continue after inflation. Clean the ball with a brush and water, dry it with a cloth, and keep it in a ventilated room at 59–68°F. These care steps are for SELECT balls. For other brands, follow the care guidance from your ball's maker.
FAQs
Can I rely on a portable inflator's auto-stop for a sports ball?
Only if your inflator's manual documents auto-stop for ball inflation and explains how to set the target. Enter the pressure recommended by the ball's maker, not a value from a generic chart. If your model has no documented auto-stop, stop it yourself and check the pressure with a gauge.
What if the ball's pressure marking is worn off?
Find out the exact brand and model of the ball, then look up that maker's pressure guidance. Don't swap in a typical sports ball number or another ball's value. Until you know the correct target, don't inflate to a guessed pressure.
How should I store the needle after inflation?
After you pull it out straight, remove the needle and store it properly. Keep it where it won't bend, and keep it away from children, since it's a sharp, small part. Check the tip for damage before the next use.
Can I lubricate the needle instead of the valve?
Follow what the ball's maker says. SELECT, for example, specifies its own valve oil for SELECT balls. If your ball's maker gives no lubrication instructions, don't add a product on your own. Focus on keeping the needle clean, straight, and undamaged.
Continue reading
 How to Remove Adhesive With a Heat Gun Without Damaging a Finish
A practical heat-and-peel sequence for labels, tape, and residue on finished surfaces, with compatibility checks, work-area rules, and...
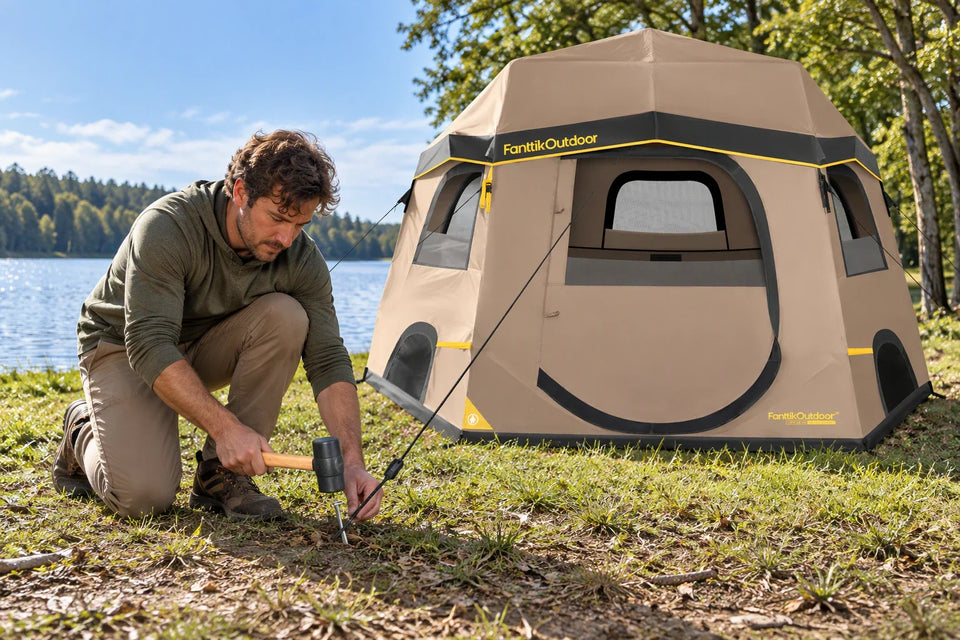 Choosing Tent Stakes for Soft or Loose Campsite Ground
Match your anchors to the ground you camp on. Soft soil and loose sand need different stakes, and...


Leave a comment
This site is protected by hCaptcha and the hCaptcha Privacy Policy and Terms of Service apply.