












































A portable bike pump puts air back into a tube you have already patched or replaced. It does not fix the puncture.

Before you pump, check the tire, prepare the valve, and pick a pressure target based on the tire you have. Then watch the bead as the tire fills.
If the tire won't hold air or won't seat, pumping again won't solve it. Go back and check the repair and the setup instead.
How to Reinflate a Tube After a Roadside Change
Work in this order so that each step confirms the one before it:
- Confirm the flat is dealt with. The tube should be patched or replaced. Pumping only adds air.
- Check the tire. Look for any debris still stuck in it and for visible damage before you add air.
- Prepare the valve and connect the pump. On a Presta valve, loosen the tip locknut. Then use the head or adapter that your pump's instructions call for.
- Pick a pressure target. Use the recommended pressure for your tire, and stay inside the tire's marked limits.
- Inflate slowly. Watch both sides of the rim as you go, and keep the valve straight.
- Decide whether to ride. If the bead looks unseated, stop and fix it before you ride.
The sections below explain each check, using a dedicated bike pump properly, and what to do if a step fails.
Check the Repair and Tire Before Inflation
Make sure the cause of the flat is gone before you attach the pump. A new tube will go flat again if a thorn or piece of glass is still in the tire. Park Tool's tire and tube guide says to inspect the tread, casing, sidewall, and bead every time you fix a flat:
- Outside tread: Look for nails, glass, thorns, or other objects sticking out. Squeeze any cut open to look for slivers inside it.
- Inside casing: Look for debris, wipe the inside with a rag, then feel around carefully with your fingers.
- Sidewall: Look for rips, holes, or damaged rubber and casing.
- Bead: Check the wire or fabric edge of the tire for damage.
If you find something sharp, take it out before the tire goes back on. Visible damage to the casing can mean the tire needs to be replaced, and more air won't change that. Keep in mind that this check happens before inflation. It doesn't tell you whether the tire will seat correctly once it's full. That comes later.
Connect the Pump to the Valve
Start with the valve, then attach the pump the way its maker says to. On a Presta valve, loosen the tip locknut before adding air, and Park Tool also suggests tapping the valve after unthreading so it is not stuck. A Schrader valve has no locknut, so you can connect directly.
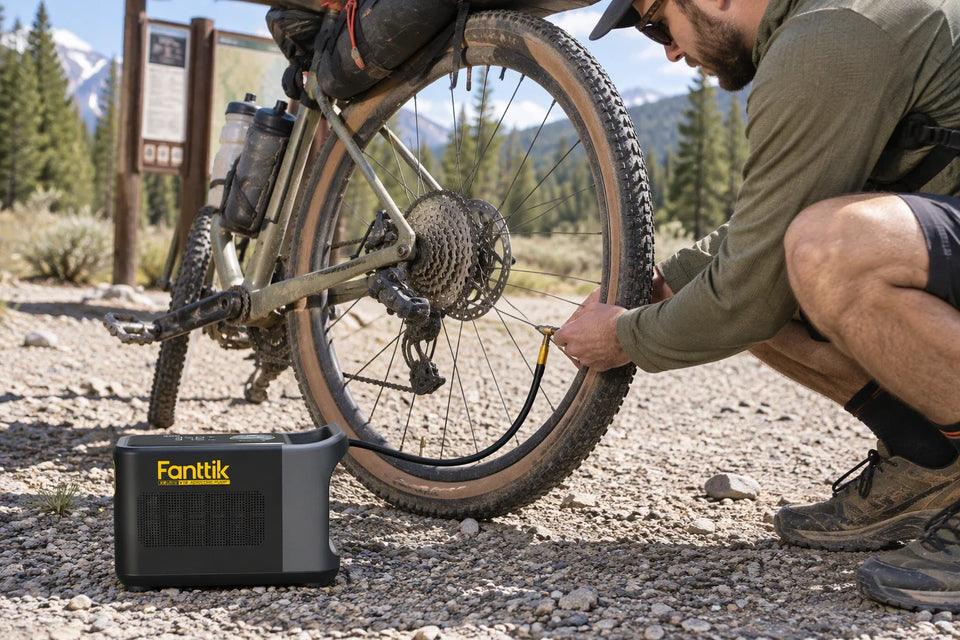
Presta stems are thinner and common on many road and mountain bikes. Portable pumps don't all connect the same way. Some use a separate adapter for each valve type, and some use a head that threads or clamps on. Some electric models also let you set a target pressure, and the pump stops when it gets there. Follow the attachment and control steps for the exact pump you're using, and make sure the adapter matches the valve on your new tube. If air hisses out at the connection or the gauge reading doesn't move, take the head off. Check the adapter and the valve prep, then reconnect. Don't just keep running the pump.
Choose a Pressure Target for the Tire
Use the recommended pressure for your tire, printed on the tire itself or in your owner's manual. No single PSI number works for every setup because tire load varies by rider and gear weight. Keep whatever target you pick between the minimum and maximum pressures marked on the sidewall.
Tire maker Schwalbe notes that narrow tires and small-diameter wheels, such as those on folding bikes, also require higher pressure.
Whatever target you pick, keep it between the minimum and maximum pressures marked on the sidewall. Those marks set the limits. They don't tell you the best pressure for your ride.
Don't confuse your pump's maximum PSI with your tire's target. Maximum PSI is the most pressure the pump can produce. It says nothing about what your tire needs, and it doesn't tell you how fast the pump fills a tire. If your pump has a preset or auto-stop, set it to the tire's recommended pressure, not to the pump's top rating.
Check the Tire Before Riding
Do the seating check while the tire is filling, not only once it's full. Here's what to look for and what each result means:

- Bead seating: Inflate slowly and look at both sides of the rim. The edge of the tire should sit evenly in the rim all the way around.
- Valve angle: The valve should stay straight as you pump. If it starts to lean, the tube may have shifted inside the tire.
- Tube position: Before the tire gets firm, go around the whole wheel once and pinch both sides of the tire inward. This helps keep the tube from getting caught between the tire and the rim.
- Stop condition: If the bead looks uneven or has lifted off the rim anywhere, stop pumping. Let some air out, fix the seating, and inflate again. Don't ride on a tire that isn't seated evenly.
If the tire won't seat after you've corrected it, or it keeps losing air after you've reached your target, don't ride on it. Go back and check the repair, the tire, and the valve. If you can't find the problem on the roadside, arrange a ride or other help.
FAQs
What if my pump has no gauge?
You can use your thumb as a rough guide. Press on the tire, and if your thumb sinks in easily, keep pumping. This only tells you the tire is soft. It won't tell you that you've reached the recommended pressure, so check it with a gauge as soon as you can.
Is it better to run higher or lower pressure inside the marked range?
It's a trade-off. According to Schwalbe, higher pressure lowers rolling resistance and tire wear and makes punctures less likely. Lower pressure gives you more comfort and grip. Choose based on your load and the road surface, and stay inside the minimum and maximum marked on the tire.
Should I inflate to the pressure printed on the sidewall?
The sidewall shows the tire's allowed pressure range. Your pressure should never go above the maximum or below the minimum. Within that range, use the recommended pressure for your tire and adjust it for your weight and any luggage.
Continue reading
 Can Electric Scissors Cut Cardboard? Check Thickness and Tool Limits
Find out whether electric scissors handle corrugated board. Check your model's documented material limits, measure stock, and handle...
 Family Tent Size When Gear Stays in the Car: Size for Sleepers and Access
A 6-person tent is a comfort-first starting point for four. A smaller tent can work if actual pads...
Leave a comment
This site is protected by hCaptcha and the hCaptcha Privacy Policy and Terms of Service apply.