












































No single RPM works for engraving wood with every rotary tool, bit, and type of wood. Your speed comes from two places: the tool manual and the bit's rating set the limits, while a short test on scrap that matches your workpiece reveals which setting inside those boundaries delivers a clean line.
What Speed Should You Use to Engrave Wood?
Use a setting that stays within both the tool's speed range and the bit's maximum rating, then confirm the mark on scrap. The sections below explain why a shared number fails and what each document actually tells you.
Why One RPM Doesn't Fit Every Bit and Wood
General speed guides give relative bands, not fixed RPM numbers. One rule of thumb puts soft woods at low to medium speed and engraving with small bits at high speed. Those are two separate rows: one for the material and one for the task. Neither row is a matched recommendation for engraving wood with your bit, and averaging them doesn't produce one. Bit shape matters too. If you switch to a different bit or a different wood, treat that as a reason to test again. Don't assume a faster or slower setting carries over.
Check the Tool and Accessory Guidance
Two documents set your limits, and you need both before the bit touches wood.
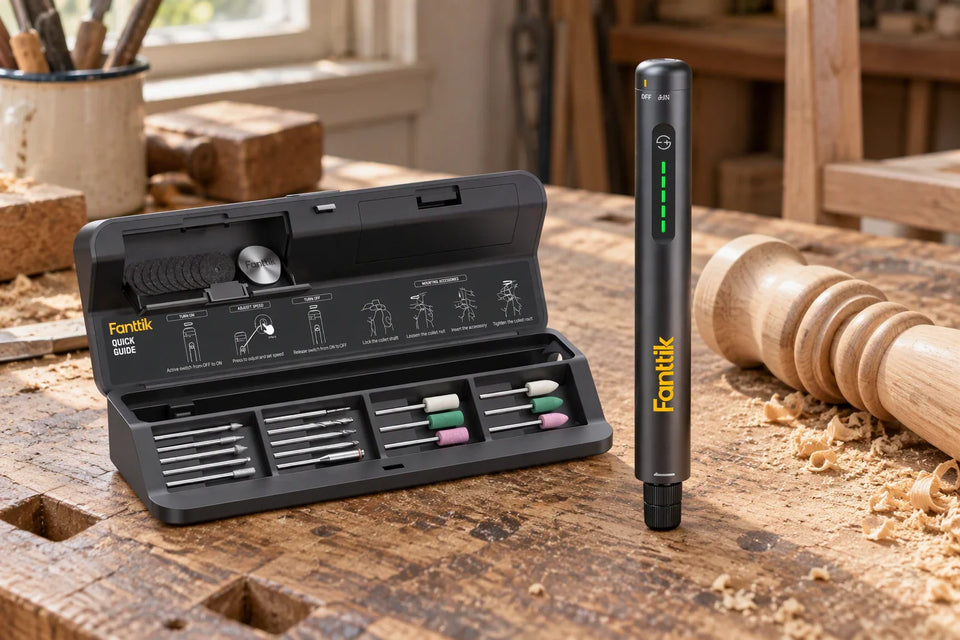
- Identify the exact pair. Note the tool's model number from the housing or manual. Keep the bit's packaging or instruction sheet. Bits from different kits or brands are not automatically interchangeable.
- Read both limits. The tool manual gives the speed range and what each dial position or step delivers. The bit's rating gives its maximum speed and the shank size it fits. If the band you want would go past the bit's maximum, stop at the rating.
- Settle gaps before running it. If the bit has no speed rating, the shank fit is unclear, or the documents disagree, don't guess. Use the lower of any two stated limits. Confirm the exact combination with the manufacturer before you run the bit.
What No-Load RPM Does and Doesn't Tell You
No-load RPM is how fast the motor spins with nothing pressing on the bit. It marks the top of the dial. It does not tell you the speed the bit holds while it cuts into wood. Your working setting is the one you choose for the job, and it sits inside that range. Don't use the headline RPM figure in place of a test under real working pressure.
How to Test the Bit and Wood on Scrap
Make a short pass on matching scrap, inspect the cut, and adjust one setting at a time. This practical shop method applies specifically to the exact bit, wood piece, and technique you test.

Run a Short Test on Representative Scrap
- Match the bit and the wood. Use the exact bit you plan to engrave with. Pick scrap that closely matches the finished piece, or a spot that won't show.
- Pick a setting inside the documented limits. Start within both the tool's range and the bit's rating. Don't start at the top of the dial.
- Make a short pass the way you'll really work. Use the same pressure, angle, and hand speed you plan to use on the finished piece. A light test touch won't show how the bit behaves under real load.
Inspect, Adjust, and Retest
- Check the mark against your goal. Look at line width, depth, and edge finish. If the line looks clean and matches the design, you've found your setting.
- Soft wood with fuzzy or torn fibers: our speed guide treats this as a sign the setting is too high for the job. Drop one step and try again. This cue applies to soft wood. Don't use it as a rule for every wood.
- Something else looks wrong: change only one thing at a time, either the speed step or your pressure. Then repeat the short pass so you know which change made the difference.
- Keep the setting only for comparable conditions. Carry it over to the finished piece when the bit, wood, and working pressure stay the same. If any of them changes, test again.

FAQs
Can I use a speed chart made for a drill or other power tool?
No. Charts written for drills, angle grinders, sanders, or saws are made for different tools and accessories. Their numbers don't carry over to a small high-speed bit in a rotary tool collet.
What if I'm engraving hardwood instead of soft wood?
The general speed bands covered here don't include a row for hardwood. Take your starting point from the bit's instructions instead of borrowing the soft-wood row. Then confirm it with a scrap test on the same hardwood.
How do I turn "low to medium" into an actual dial setting?
Translate this band only if your tool or bit guide specifically recommends low-to-medium speed for your exact bit and material combination, keeping in mind that general guide rows for soft wood and small bits are independent rather than a combined rule. When that range actually applies, check the lower section of an RPM readout, or use your manual's step chart to select a setting within that lower span rather than running at maximum speed.
Can I test on a hidden spot of the finished piece instead of scrap?
Yes. A hidden spot on the piece works when you don't have matching scrap. Keep the pass short so a poor result stays out of sight.
Continue reading
 Choosing a Soldering Iron Tip for Small Electronics Joints
A practical way to pick a tip for circuit-board work: start with a small chisel for small pads,...
 Tent Site in Shade or Sun? Balance Heat, Drainage, and Overhead Hazards
Choosing between a shaded and an open tent spot in summer? Screen the ground and overhead conditions first,...

Leave a comment
This site is protected by hCaptcha and the hCaptcha Privacy Policy and Terms of Service apply.