


















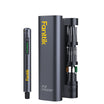
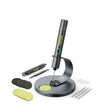



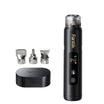

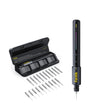


To prepare painted furniture for repainting with a detail sander, scuff a sound finish lightly and evenly until the gloss is dull. You are not trying to sand down to bare wood. Clean the piece first, use light moving passes, and stop before you cut through the old paint.
Before any of that, settle two questions. Could the old paint contain lead? And how will you control the dust? If lead is possible, pause the sanding until you have a safe plan.
Check the Paint Risk Before Sanding
Painted furniture sanding turns old paint into fine dust. If that paint contains lead, the dust is the hazard. Work through these checks in order before the sander touches the piece:
- Decide whether lead is plausible. Old or unknown paint should not be treated as ordinary paint. For home paint, EPA's home paint-testing advice recommends hiring a certified inspector or risk assessor. That advice is written for paint in a home, not as a furniture test method. Still, it points to the right move: get a qualified assessment instead of guessing.
- Treat unknown age as a warning sign. For DIY work in a home, EPA says to find out the year the home was built. If you can't, EPA's advice for unknown-age homes is to assume the area has lead-based paint and use its lead-safe practices. This doesn't tell you whether a standalone dresser contains lead. If you can't rule lead out, don't start ordinary power sanding.
- Know what the federal rule covers. EPA's homeowner RRP guidance says the federal RRP Rule does not impose requirements on homeowners renovating their own homes. That doesn't cover paid work, and it doesn't settle state or local rules. Check with your state or local agency if you aren't sure.
- Use lead-safe controls if the risk applies. For DIY work in a home with possible lead dust, EPA recommends containing the work area and keeping family members and anyone not working out. It also lists protective gear to consider, such as an N-100 respirator, eye protection, and gloves. It recommends power tools with HEPA-filtered vacuum attachments, then HEPA vacuuming and wet wiping for cleanup.
- Follow your sander's own manual. As one example, the CMEW210 manual's sanding precautions say to wear eye protection and a respirator when sanding. They also say not to run that tool without a dust-collection system, and they don't recommend sanding lead-based paint. Your model may list different requirements, so read its manual.
A dust bag alone doesn't make lead paint safe to sand. For paint you've ruled out as a lead risk, setting up ventilation and dust capture still helps. Our guide to small-studio air quality covers dust capture at the source.
Scuff a Sound Finish Without Cutting Through It
Once lead risk is ruled out, the job is light, even preparation to create a dull surface. Coating makers specify exact prep requirements, such as cleaning, feathering damaged edges, and scuffing existing gloss. Here is a practical order:

- Inspect the finish. Paint that is firmly bonded is ready for a light scuff. Chipping, cracking, or peeling paint needs the loose material removed first. Badly damaged or delaminated areas need repair, not just sanding.
- Clean before you sand. Remove dirt, grease, and wax first. Sanding a dirty surface can push that contamination into the old coating.
- Feather rough edges. Where paint has chipped, sand the edge of the paint so it blends into the area around it and no ridge shows.
- Make light, moving passes on flat areas. Use an abrasive allowed by your coating's directions and your sander manual. The CMEW210 manual's operating instructions say not to force the tool, to make successive passes, and not to sand in one spot too long. Staying in one place can remove too much in that spot.
- Switch to hand sanding on delicate areas. On edges, carvings, curved profiles, or thin veneer, the pad can cut through quickly or round off the shape. Sand those areas by hand, where you have more control.
- Stop at an even, dull sheen. Check often in angled light. When the shiny patches are gone and the finish looks uniformly dull, you're done. Primer or bare wood showing through means you went past the goal.

Clean the Surface and Follow the New Coating's Directions
A scuffed surface isn't ready until the dust is gone and the new coating's own requirements are met. Sanding alone doesn't guarantee that new paint will stick.
- Remove sanding residue. Wipe the piece clean and check corners, grooves, and carvings where dust settles.
- Let it dry. If you used a damp cloth, wait until the surface is fully dry before priming or painting.
- Check the surface closely. Look for leftover dust, glossy patches where your coating requires dulling, rough chip edges, loose paint, and bare spots. Fix only what your coating's directions call for.
- Read the label and technical data sheet. The paint or primer you chose decides the next step, including whether you need primer and how to treat bare areas.
If the piece might have lead paint, a quick wipe-down isn't enough. Use EPA's HEPA vacuuming and wet-wiping approach described above.
FAQs
Is 220 grit right for every detail-sanding job?
No single grit fits every powered sanding job. The 180 and 220 numbers you often see for furniture usually come from hand-sanding advice, not detail-sander settings. Pick an abrasive your coating's directions and your sander manual allow. Then judge progress by the surface itself: you want an even dull sheen, not bare wood.
Does every previously painted piece need primer?
No. The new coating decides that. The Cabinet Coat sheet, for example, says no primer is needed when a previously painted surface is in good condition. It says to spot-prime bare spots with a first coat of Cabinet Coat. Other paints may say something different, so follow your product's label.
Can I sand a piece if I don't know what the old paint is?
Not as ordinary paint if lead is possible. Not knowing what the paint is doesn't make it safe to sand. Get a qualified assessment, or plan for lead-safe work, before you power sand.
Do I need to remove all the old paint before repainting?
No. A sound, well-bonded finish only needs cleaning and a light, even scuff. Remove paint only where it's loose, chipping, or peeling, and feather the edges of those spots.
Continue reading
 Choosing an Instant Tent for a Late Arrival at a Weekend Festival
Arriving late to festival camping? See why check-in cutoffs, site lines, carry distance, group size, stake rules, and...
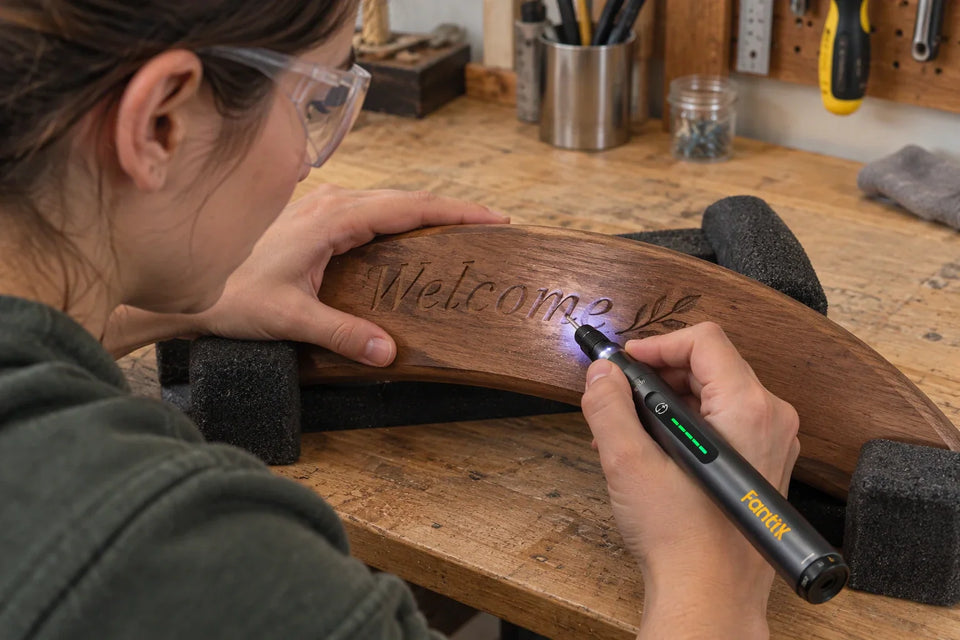 How to Engrave a Curved Wooden Sign With a Rotary Tool
A step-by-step method for curved signs: cradle the blank, transfer full-size lettering, verify a wood bit, test on...

Leave a comment
This site is protected by hCaptcha and the hCaptcha Privacy Policy and Terms of Service apply.