


The Science of Inactivity: Why Six Months Matters
When a vehicle sits dormant for half a year, it undergoes a series of silent, chemical, and mechanical transitions. This isn't merely a matter of a "dead battery"; it is a systemic shift in the vehicle's state of readiness. According to the Auto Care Factbook, the average age of vehicles on the road is increasing, meaning more owners are managing older seals and legacy electrical systems that are particularly sensitive to long-term storage.
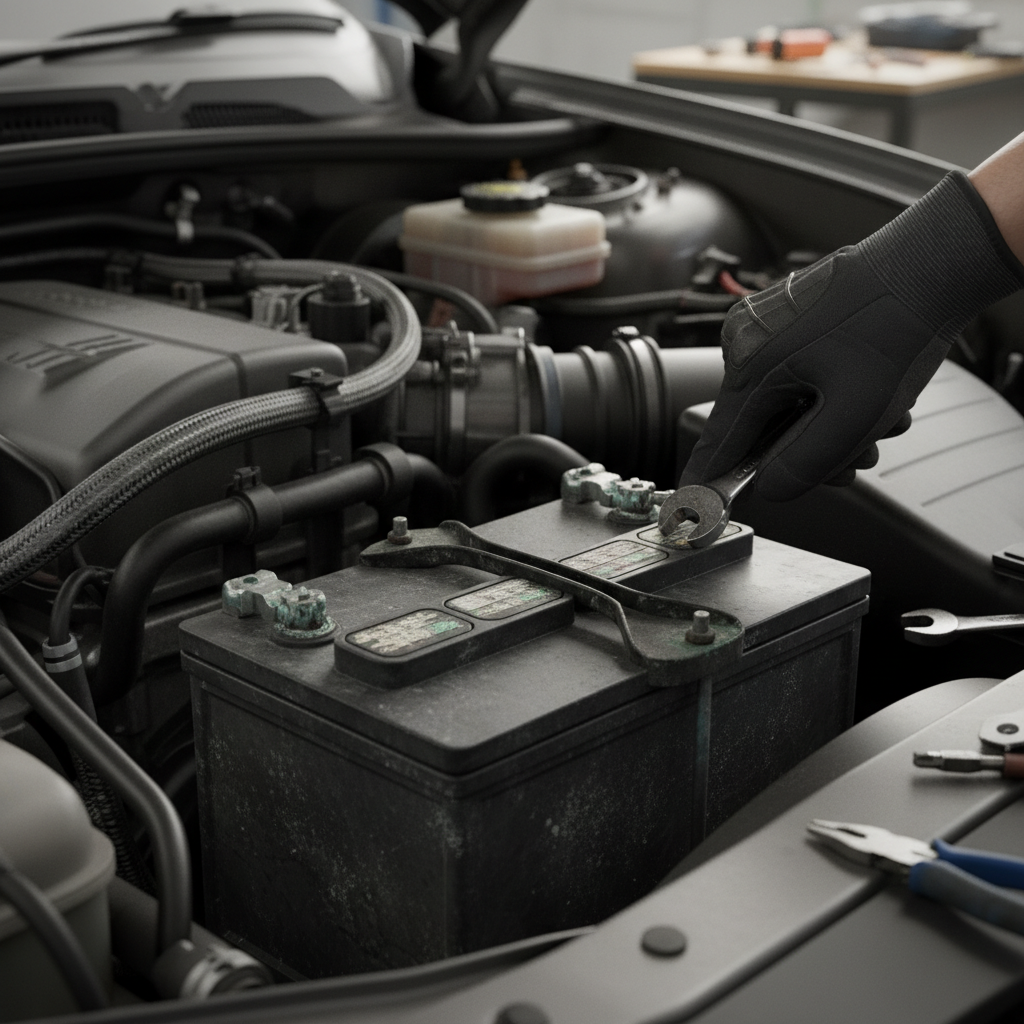
From a technical perspective, the most immediate victim is the lead-acid or AGM battery. Lead-acid batteries suffer from sulfation—a process where lead sulfate crystals harden on the battery plates, permanently reducing capacity. We typically observe that if a battery’s standing voltage drops below 12.4V for standard starter batteries or 12.6V for AGM variants, undercharging and sulfation are likely present.
Beyond the battery, gravity is your enemy. Over 180 days, engine oil—the lifeblood of your internal combustion system—gradually drains away from the upper cylinder heads, cams, and valves, settling entirely in the oil pan. Attempting an immediate high-RPM start in this state creates a "dry start" scenario, where metal-on-metal contact occurs for several critical seconds before the oil pump can redistribute lubrication.
Phase 1: The Critical Pre-Power Inspection
Before you even reach for a portable jump starter, you must perform a "Zero-State" inspection. Applying high-current power to a compromised system can lead to electrical shorts or mechanical failure.
1. Fluid and Leak Detection
Check the ground beneath the engine bay. Look for fresh puddles of coolant (typically green, orange, or pink), oil (amber or black), or transmission fluid (reddish). A vehicle stored for six months may have developed "dry rot" in rubber gaskets or been visited by rodents.
2. The Belt Integrity Check
Visually inspect the serpentine belt. Look for "glazing" (a shiny appearance) or "chunking" (missing pieces of the ribs). According to practitioner insights shared on platforms like Quora, dry rot can set in quickly in fluctuating temperatures, and a snapped belt upon startup can cause immediate overheating or loss of power steering.
3. Rodent Encroachment
In our experience handling long-term storage cases, we often find that rodents find engine bays to be ideal nesting grounds. Check the air intake box and wiring harnesses for signs of chewing. Chewed wires are a primary cause of "ghost" electrical faults that a jump starter cannot fix.
Phase 2: Mitigating the "Dry Start" Risk
Experienced mechanics know that the first few seconds of a dormant engine's life are the most dangerous. To minimize wear, we recommend a "Pre-Oiling" procedure.
The Fuel Pump Fuse Trick
Before connecting your jump gear, locate your vehicle's fuse box (refer to your owner's manual). Find the fuse for the fuel pump and remove it. This prevents the engine from actually firing. Connect your jump starter and crank the engine for approximately 10 to 15 seconds.
Why do this? This allows the starter motor to turn the crankshaft and drive the oil pump, building oil pressure and coating the bearings without the violent force of combustion. Once complete, wait 60 seconds to let the starter motor cool, reinstall the fuse, and proceed with the actual start.
Logic Summary: This heuristic is based on the principle of hydrostatic lubrication. By separating the "cranking" and "ignition" phases, we ensure oil reaches critical tolerances before the engine is subjected to the heat and pressure of 800+ RPM idle speeds.
Phase 3: The Precision Jump Start Protocol
When you are ready to apply power, the method of connection is just as important as the power source itself. Modern portable jump starters are engineered for safety, but they rely on the user following specific physical protocols to function correctly.
1. The Grounding Secret
Most users instinctively connect the negative (black) clamp to the negative terminal of the dead battery. We advise against this for dormant vehicles. A deeply discharged or faulty battery can trip the internal protection of a high-quality jump starter, giving a false "bad connection" signal.
Instead, connect the negative clamp to a solid, unpainted metal part of the vehicle's chassis or an engine bolt. This provides a cleaner path to the starter motor and reduces the resistance that a sulfated battery might introduce.
2. Voltage Drop Management
A "bad ground" is a common culprit for failed starts. According to technical guides on diagnosing electrical issues, if the voltage at a ground connection is lower than the battery voltage by 0.4V or more, the connection is compromised. Ensure your clamps have "bite" through any surface oxidation.
3. Cranking Cadence
If the engine doesn't fire within the first 5 seconds, stop. Do not crank continuously. We follow a strict 10/60 rule: never crank for more than 10 seconds, and always allow a 60-second cool-down. This prevents the starter motor from overheating and protects the lithium-ion cells in your jump gear from thermal stress.

Phase 4: Scenario Modeling — The Cold Climate Diesel Challenge
To demonstrate the importance of safety margins, we modeled a "worst-case" scenario: a heavy-duty 6.7L diesel pickup stored for 6 months in -15°F (-26°C) conditions. Diesel engines require significantly more "break-away" torque than gasoline engines due to their high compression ratios (often exceeding 16:1).
Winter Confidence Analysis
The following data represents a scenario model for a diesel owner using a 2000A peak-rated portable jump starter.
| Parameter | Value | Unit | Rationale |
|---|---|---|---|
| Engine Displacement | 6.7 | Liters | Heavy-duty diesel standard |
| Ambient Temp | -15 | Fahrenheit | Extreme winter storage |
| Battery State | 850 | CCA (Rated) | Standard truck battery |
| Available Power | ~213 | Amps | 25% capacity at -15°F |
| Power Gap | ~2,762 | Amps | Required vs. Available |
| Confidence Score | 0.29 | Ratio | Marginal Success |
Methodology Note: This is a deterministic scenario model, not a lab study. It assumes a 40% sustained current delivery from the jump starter. At -15°F, engine oil viscosity increases the load factor by approximately 300%. In this specific scenario, a single attempt is unlikely to succeed. The user would need to perform the "Pre-Oiling" trick and likely make 2–3 attempts with full cool-down periods to build enough heat in the cylinders for compression ignition.
Phase 5: Post-Start Diagnostics and Safety Compliance
Once the engine is running, your job isn't finished. You must verify that the vehicle is safe for the road and that the charging system is functional.
1. The Alternator Test
Using a multimeter, check the voltage across the battery terminals while the engine is idling. You should see a reading between 14V and 15V at 2000 RPM. If the voltage remains near 12V, your alternator may have failed during dormancy, and the car will stall as soon as the jump starter is disconnected or the battery drains.
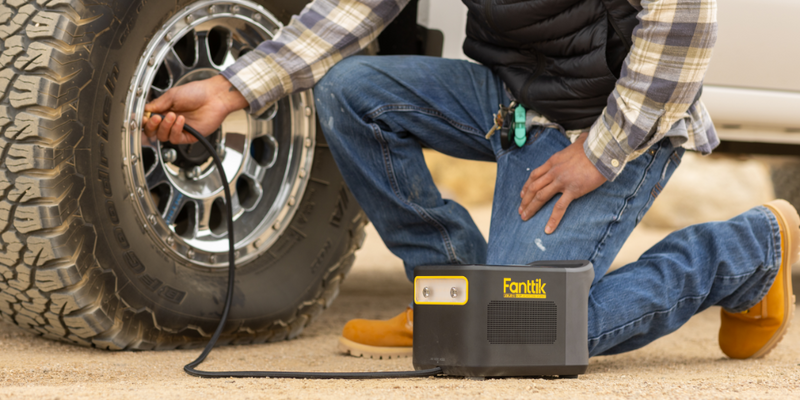
2. Tire Flat-Spotting and Pressure
Tires lose roughly 1-2 PSI per month of dormancy, but more importantly, they can develop "flat spots" from the weight of the vehicle pressing down on one section of rubber for six months. Refer to our guide on seasonal tire checks to understand how to identify structural compromises before hitting highway speeds.
3. Safety and Regulation Compliance
Ensure your vehicle and any portable gear you use comply with regional safety standards. For instance, the EU General Product Safety Regulation (EU) 2023/988 emphasizes the manufacturer's obligation for clear safety labeling and traceability. When using high-current devices like jump starters, always verify they carry recognized safety certifications (such as UL or CE) to ensure the internal protection circuits are reliable.
Engineering Trust in Your Gear
As highlighted in the 2026 Modern Essential Gear Industry Report, the transition to a "cordless world" requires a new level of consumer transparency. Trust is built through "credibility math"—knowing exactly what your gear can and cannot do in a moment of crisis.
When dealing with a vehicle that has been dormant for six months, the goal isn't just to "get it started." The goal is to restore the vehicle to a safe, operational state without damaging the engine or the electrical system. By following a methodical, safety-first protocol—inspecting fluids, building oil pressure, and using high-quality, standard-backed jump gear—you reduce the "friction" of automotive maintenance and ensure your vehicle is ready for the road ahead.
YMYL Disclaimer: This article is for informational purposes only and does not constitute professional automotive repair or safety advice. Jump-starting a vehicle involves high-current electricity and flammable gases; always wear eye protection and follow the specific safety warnings in your vehicle's owner's manual. If you are unsure of any step, consult a certified mechanic.

Leave a comment
This site is protected by hCaptcha and the hCaptcha Privacy Policy and Terms of Service apply.