


The Hidden Science of Winter Interior Odors
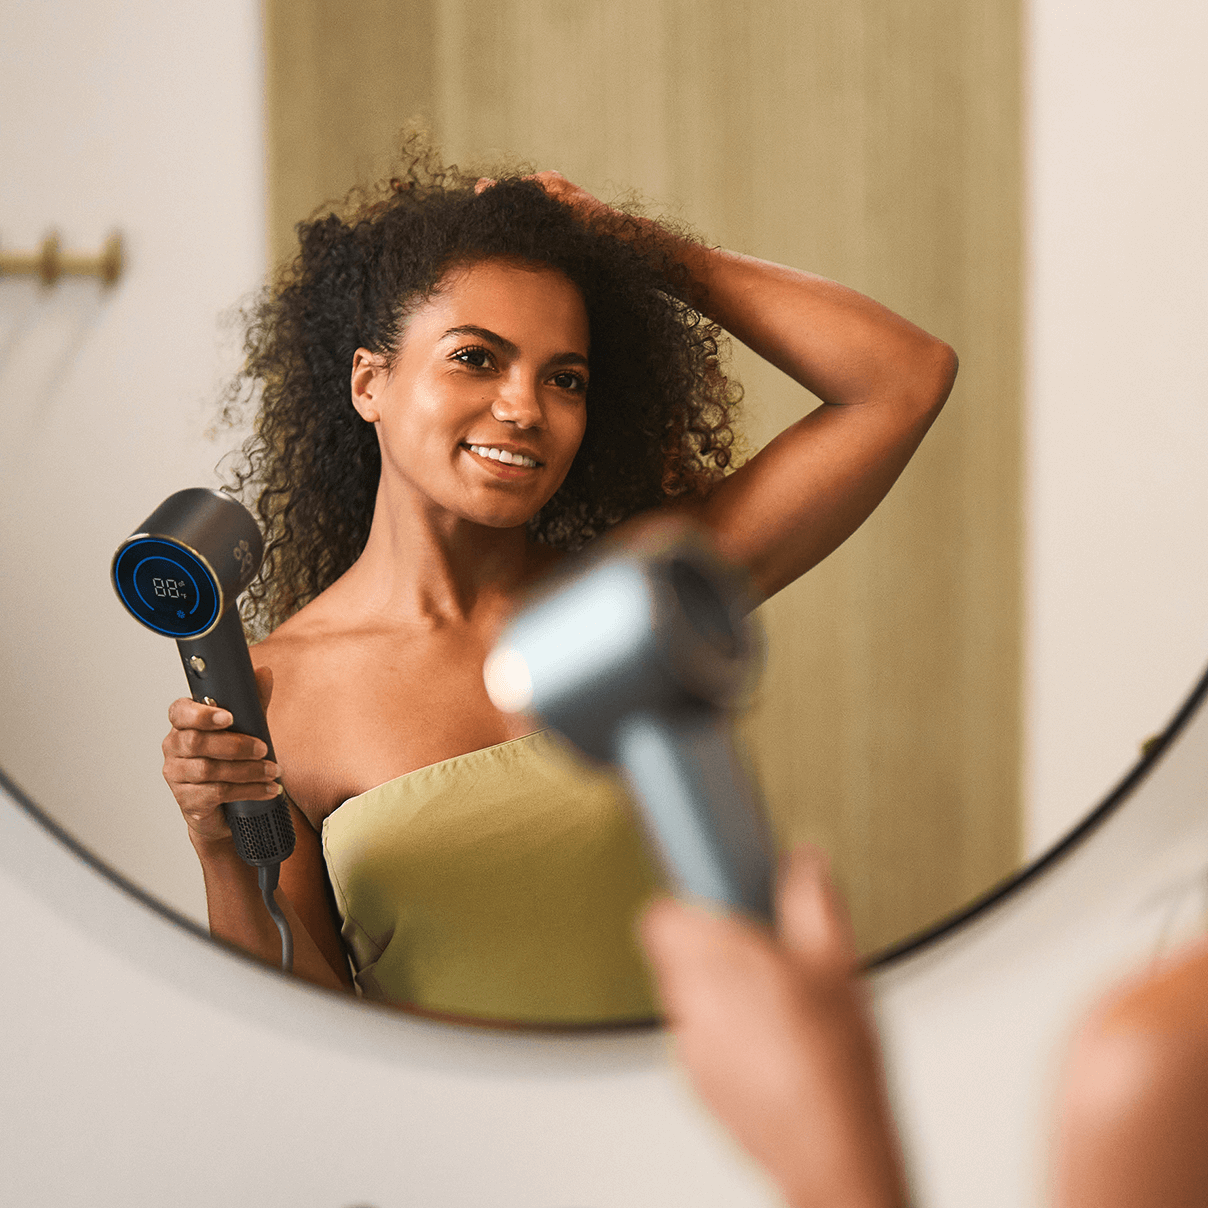
As the temperature drops and the humidity rises, many car owners notice a persistent, musty "winter funk" permeating their cabin. This isn't just a matter of stale air; it is the olfactory signature of a complex biological and chemical process occurring within your vehicle’s fabrics. Throughout the winter, we track in slush, road salt, and organic debris that settle deep into floor mats and seat upholstery. When the heater runs, it creates a warm, humid microclimate—a perfect incubator for microbial growth.
In our observations of vehicle interior maintenance patterns, we often see drivers reach for "fresh scent" aerosol sprays as a first line of defense. However, these products typically rely on alkaline surfactants and synthetic fragrances that merely mask the odor. To truly neutralize dampness and preserve the vehicle’s interior value, we must move beyond masking and address the microbial reservoir at the source.
According to the Auto Care Factbook, the average age of vehicles on the road is increasing, making proactive interior preservation more critical than ever for maintaining resale value. This guide provides a methodical framework for removing winter odors using portable technology and preservation-safe chemistry.
The "Deep Reservoir" Trap: Why DIY Myths Often Fail
A common practitioner mistake is the belief that "more is better" when it comes to cleaning agents. We have observed that using excessive moisture often drives liquid and dissolved contaminants deeper into the foam backing of seat cushions. This creates a long-term odor reservoir that is nearly impossible to reach without professional-grade extraction.
Debunking the Baking Soda and Vinegar Consensus
For years, DIY guides have championed baking soda and vinegar as a universal solution. However, based on material care standards and detailing experience, these methods have significant pitfalls:
- The Baking Soda Limitation: While baking soda is a mild odor absorber, it is largely ineffective against active microbial growth (mold and bacteria) because it lacks biocidal properties. Furthermore, detailing professionals note that baking soda can leave a gritty alkaline residue that, if not completely extracted, may actually attract moisture and lock in odors over time [7].
- The Vinegar Risk: Diluted white vinegar is often recommended for its acidity. However, we suggest caution regarding its use on modern fabric seats. While it can neutralize some odors, the acetic acid can potentially interact with specific synthetic dyes or leave a lingering "sour" scent that is difficult to remove once it penetrates the seat foam [7].
Instead of these "pantry fixes," we recommend a pH-balanced approach. Odor-causing bacteria often thrive in slightly alkaline environments. A more effective approach involves using enzyme-based cleaners or stabilized hydrogen peroxide (typically in a 3% concentration). These solutions are generally slightly acidic (pH 4.0–6.0) and work by breaking down organic proteins—the primary food source for bacteria—at the molecular level.
Step 1: Precision Soil Removal and Inspection
Before introducing any liquid neutralizers, you must remove the dry "fuel" for odors. In the winter, this includes dried salt crystals, skin cells, and pet dander.
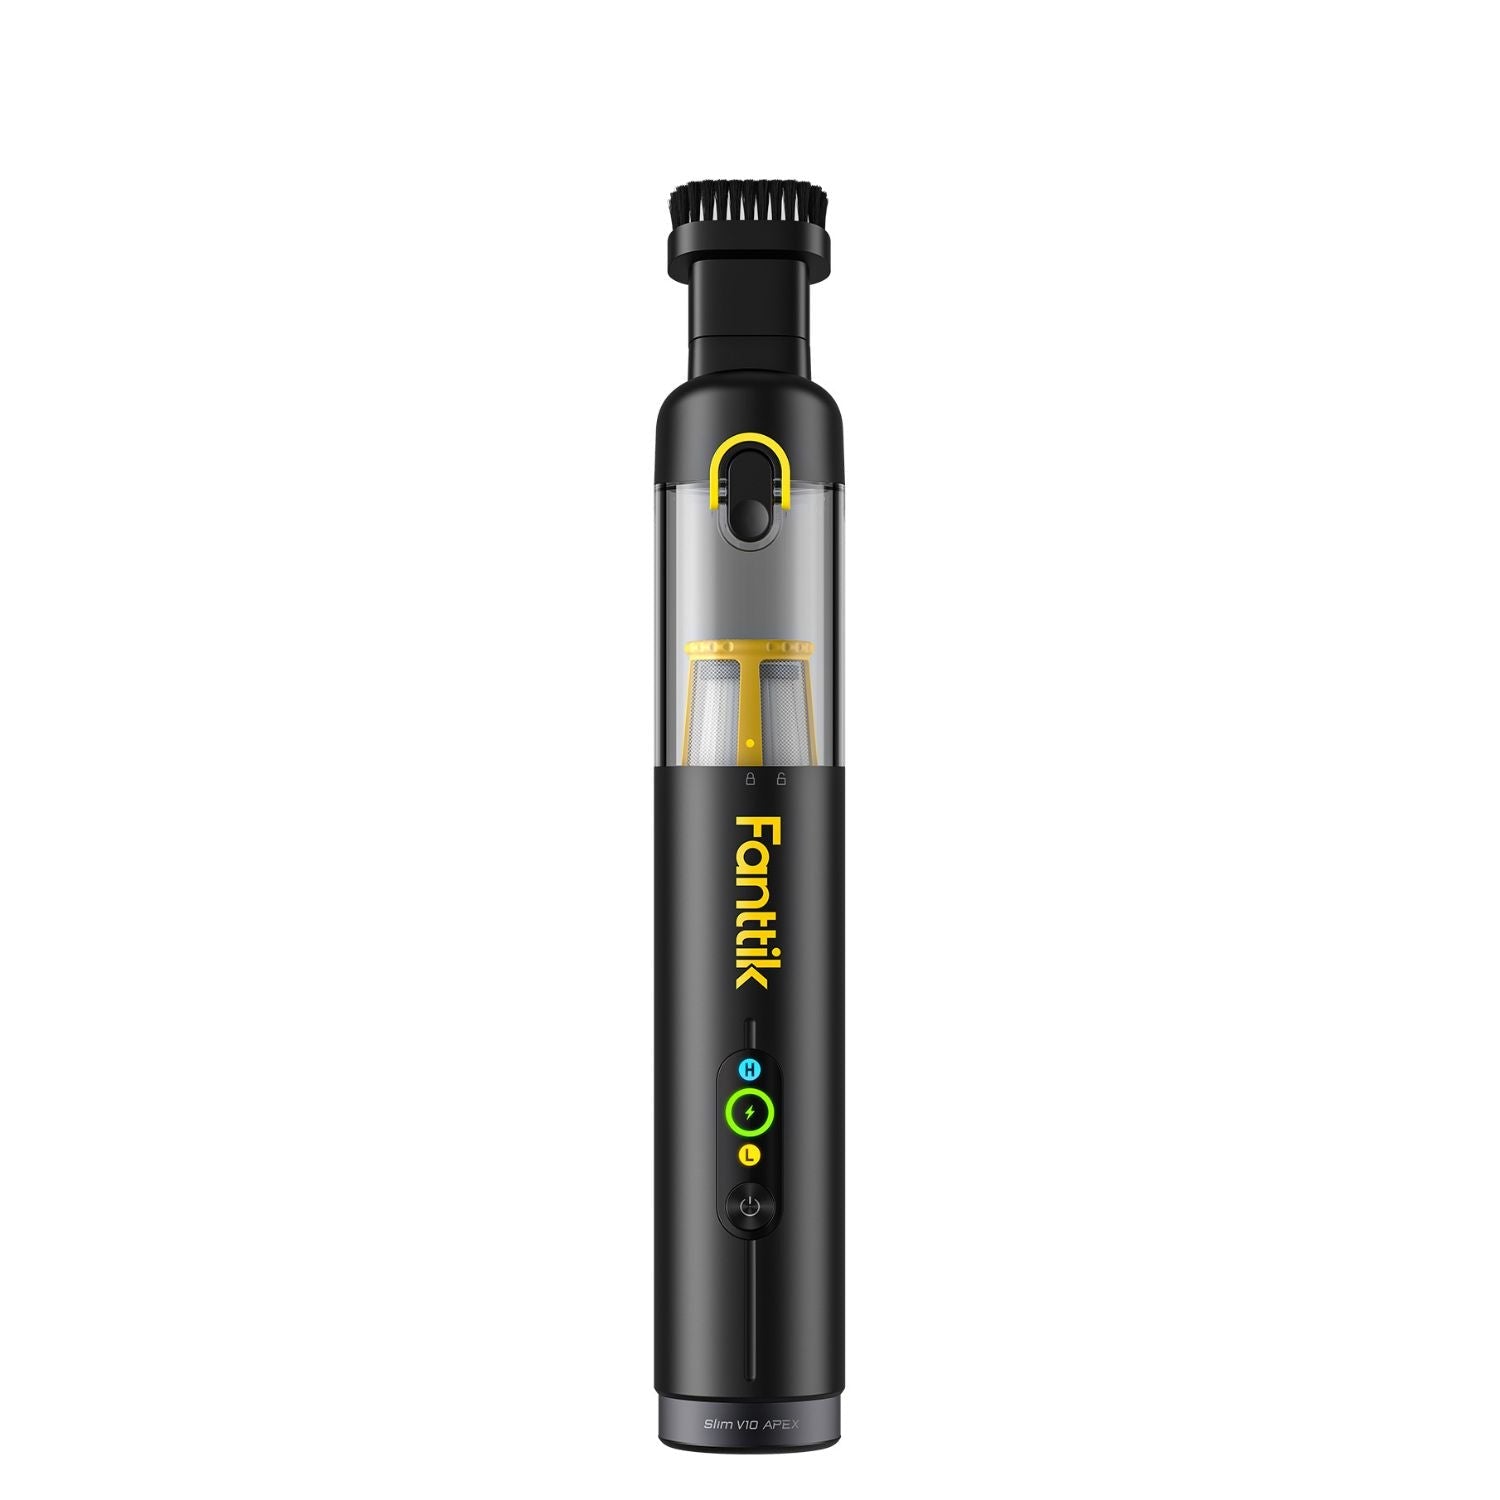
- High-Power Dry Vacuuming: Use a portable vacuum with a high-velocity motor to pull debris from the weave of the fabric. Focus on the seams where the seat back meets the bottom cushion, as this is where organic matter accumulates.
- The Crevice Protocol: Use a crevice tool to reach under the seat rails. Winter moisture often pools here, leading to hidden mold growth on the underside of the carpet.
- Material Inspection: Identify the fabric type. While most modern vehicles use polyester blends, some high-end interiors utilize Alcantara, which requires specialized, low-moisture cleaning techniques [15].

Step 2: The Neutralization Protocol (Mist, Agitate, Extract)
The goal of this phase is to neutralize the odor-causing molecules without saturating the underlying foam. We follow a strict 1-2-3 heuristic to prevent the "deep reservoir" effect.
The Cleaning Heuristic: 1-2-3 Method
- Mist Sparingly: Apply your enzyme-based cleaner in a fine mist rather than a heavy spray. This keeps the chemistry on the surface fibers where the odor resides.
- Agitate: Use a soft-bristled brush to work the cleaner into the fibers. This mechanical action breaks the bond between the soil and the fabric.
- Immediate Extraction: Use a wet/dry vacuum on its wet setting immediately after agitation. This pulls the dissolved contaminants out of the fabric before they can soak into the cushion.
Logic Summary: This "low-moisture" approach is based on the principle of surface tension management. By extracting immediately, we ensure that the liquid acts as a carrier for the dirt, moving it out of the car rather than into the seat.
Step 3: Forced-Air Drying and Thermal Management
Drying is the most overlooked step in interior detailing. In humid winter climates, simply opening the windows is often insufficient. To ensure the fabric is bone-dry and the microbial cycle is broken, we utilize portable air movers.
Modeling a Portable Drying Session
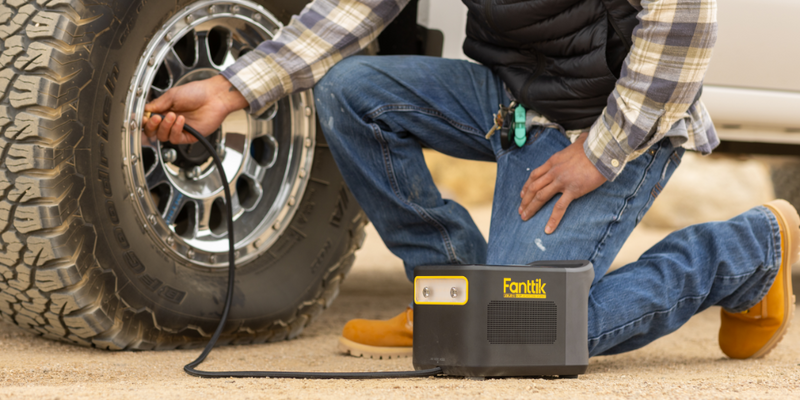
We modeled a "Time-Constrained Family Driver" persona—a parent who needs to treat a vehicle between daily activities. We simulated the use of a high-flow portable air source (modeled after the performance of a 32 LPM unit like the Fanttik X8 Apex) to provide focused airflow to treated zones.
Modeling Assumptions (Heuristic Example)
| Parameter | Value | Unit | Rationale |
|---|---|---|---|
| Target Zones | 4 | Count | Front seats, rear seats, floor areas |
| Airflow Rate | 32 | LPM | Standard high-performance portable output |
| Drying Time per Zone | ~5.5 | Minutes | Estimated time to remove surface moisture from a 4 sq. ft. area |
| Ambient Temp | 20 | °C | Typical garage or mild winter day |
| Duty Cycle Limit | 40 | Minutes | Tool safety threshold |
Analysis Results: Based on these parameters, a complete interior drying session covering four main zones would take approximately 22 minutes of continuous runtime. This fits comfortably within a 30–60 minute maintenance window. Note: Actual drying times vary based on ambient humidity and the volume of liquid applied.
Important Safety Note: During continuous operation of high-pressure portable air tools, adiabatic compression can cause internal air temperatures to rise (theoretically peaking at ~124°C inside the cylinder under maximum load). While the air exiting the nozzle cools rapidly as it expands, always maintain a distance of at least 6 inches from the fabric to protect synthetic fibers from potential heat stress.
Step 4: Long-Term Preservation and Material Care Standards
Neutralizing odors is part of a broader discipline of Seasonal Interior Preservation. To maintain the vehicle’s comfort and value, maintenance should be viewed as a proactive, year-round cycle.
Protecting Against Seasonal Stressors
- Winter: Focus on salt extraction and moisture management.
- Spring: Focus on pollen removal and HVAC filter replacement to prevent "sour" air.
- Summer: Focus on UV protection to prevent the off-gassing of interior plastics.
By maintaining a clean interior, you are protecting a significant financial asset. According to SEMA Market Research, vehicles with well-maintained interiors command higher resale prices and sell faster on the secondary market.
Engineering Trust: Compliance and Safety
When selecting tools for vehicle maintenance, safety is non-negotiable. Modern portable tools are powered by high-density lithium-ion batteries, which require strict adherence to safety standards.
As detailed in the white paper The 2026 Modern Essential Gear Industry Report, trust is built through visible compliance. When using portable vacuums or air dusters:
- Battery Safety: Ensure your devices comply with IATA Lithium Battery Guidance for safe transport and storage.
- Product Safety: For users in the European Union, ensure products meet the EU General Product Safety Regulation (EU) 2023/988, which mandates traceability and rigorous safety testing.
Summary Checklist for Winter Odor Removal
To ensure success, follow this methodical checklist:
- [ ] Test First: Always test any cleaner on a hidden section of a seat seam. Some surfactants can discolor specific fabric dyes.
- [ ] Dry Vacuum: Remove all loose organic debris first.
- [ ] Neutralize: Use a slightly acidic enzyme cleaner (pH 5.5–6.5) or a 3% hydrogen peroxide solution to break down proteins.
- [ ] Extract: Never let the cleaner sit; pull it out immediately with a wet/dry vacuum.
- [ ] Force Dry: Use a portable air mover for at least 5 minutes per treated area to ensure moisture is fully evaporated.
- [ ] Battery Check: If using cordless tools in cold weather, refer to Managing Tool Battery Health in Unheated Winter Garages for storage tips.
By following these professional-grade steps, you can transform your vehicle's cabin from a damp, musty environment back into a clean, comfortable space.
Disclaimer: This article is for informational purposes only. Always refer to your vehicle's owner manual for specific material care instructions. If you suspect significant mold growth or structural leaks (e.g., failed sunroof drains), consult a professional detailing service or mechanic.


Leave a comment
This site is protected by hCaptcha and the hCaptcha Privacy Policy and Terms of Service apply.