


The Invisible Corrosive: Why Road Salt is Your Interior’s Enemy
Winter in snowy climates brings a silent, chemical assault on your vehicle’s interior. While we often focus on the exterior clear coat, the slush and road salt tracked into the cabin are equally destructive. Road salt, primarily sodium chloride or more aggressive de-icers like magnesium chloride, acts as a hygroscopic agent. This means it actively pulls moisture from the air, keeping your carpets and floor liners in a perpetual state of dampness that accelerates material degradation.
At the molecular level, water is a polar inorganic compound [2] that facilitates the ionization of salt. When salt dissolves into a brine, it can penetrate the porous structure of automotive carpeting and the micro-fissures in lower-quality floor mats. Once the water evaporates, the salt recrystallizes, expanding within the fibers and causing physical "blooming" that breaks down the material’s integrity. We have observed in our maintenance routines that if left untreated, this cycle leads to permanent staining, brittle rubber, and eventually, the structural failure of the vehicle’s floor pan due to hidden oxidation.
Building a defense against this grime is not merely about aesthetics; it is about preserving the functional reliability and resale value of your vehicle. In this guide, we will outline a methodical approach to winter interior care, grounded in material science and real-world maintenance modeling.
Material Science: Why TPE Outperforms Vinyl in Sub-Zero Temps
One of the most common mistakes vehicle owners make is assuming all floor liners provide equal protection. Through pattern recognition in automotive care, we have found that the chemical composition of the liner is the single most important factor in winter performance.
Most entry-level liners are made of polyvinyl chloride (PVC) or standard vinyl. These materials have a relatively high "Glass Transition Temperature" (Tg), which is the point at which a polymer shifts from a flexible, rubbery state to a hard, brittle state. For many vinyl compounds, this transition occurs between 0°C and -20°C. When temperatures drop below this threshold, vinyl liners become prone to cracking under the weight of a driver's heel. These cracks trap salt and moisture directly against the carpet, creating a "corrosion sandwich" that is often worse than having no mat at all.
In contrast, Thermoplastic Elastomers (TPE) are engineered to remain flexible at much lower temperatures. According to 3Wliners, TPE materials typically maintain their structural integrity down to -40°C or lower. This flexibility prevents the micro-cracking that leads to salt seepage.
Comparative Material Performance Table
| Feature | Vinyl/PVC Liners | TPE (Thermoplastic Elastomer) | Rationale |
|---|---|---|---|
| Glass Transition (Tg) | ~0°C to -20°C | -40°C or lower | TPE remains flexible in deep freezes. |
| Durability | Prone to cracking | High impact resistance | Avoids "liner-induced" carpet damage. |
| Chemical Resistance | Moderate | High | TPE resists degradation from road chemicals. |
| Grip/Texture | Can be slippery when wet | High friction coefficient | Safety during entry/exit in slushy conditions. |
| Longevity | 1–3 Seasons | 5+ Seasons | Lower total cost of ownership over vehicle life. |
Logic Summary: Our material comparison is based on the standard polymer properties of PVC vs. TPE in automotive applications. TPE's lower Tg makes it the methodical choice for climates where temperatures regularly dip below freezing.
The Master Routine: A Step-by-Step Restoration Protocol
Cleaning salt-laden liners requires more than a quick spray at the car wash. In fact, using high-pressure water or hot water can often exacerbate the problem. We recommend a cool-water, neutral-pH approach to dissolve salt without driving it deeper into the material.
Step 1: Removal and the "Secondary Zone" Inspection
Remove the liners from the vehicle. Do not just clean them in place. This allows you to inspect the door sills and the lower panels of the footwell. We often see a phenomenon known as "liner-induced corrosion," where salt-laden slush splashes over the edge of the liner onto exposed metal sills. Because the liner keeps the main floor dry, owners often overlook these secondary zones until rust appears.
Step 2: The Low-Pressure Pre-Rinse
A critical expert insight is to avoid pressure washers initially. According to professional detailing observations, salt crystals act like an abrasive slurry when hit with high-pressure water, effectively "sandpapering" the surface of your liner. Instead, use a low-pressure stream of cool or lukewarm water to gently dissolve and float the salt crystals away before any physical contact occurs.
Step 3: Neutral pH Cleaning
Apply a neutral pH cleaner. Avoid harsh degreasers or "hot" chemicals that can strip the plasticizers from the liner material. For heavily textured liners, use a soft-bristle detail brush to work the cleaner into the grooves. This mechanical agitation is far more effective than chemical soaking alone.
Step 4: The Cool Water Rinse
Rinse thoroughly with cool water. Avoid hot water; while it dissolves salt faster, it also opens the "pores" of certain porous materials, potentially allowing brine to migrate deeper into the substrate before it can be fully flushed.
Step 5: The "Bead Test" and Protection
Once dry, apply a semi-permanent, flexible polymer barrier (such as those containing siloxane). Avoid oily dressings that attract dirt. To verify the effectiveness of your protection, perform the "bead test": water should form tight, spherical beads on the surface. If the water sheets or flattens, the protection layer has failed and requires re-application.

Scenario Study: High-Altitude Maintenance with Alex Chen
To understand the intensity of winter grime, we modeled a scenario involving Alex Chen, a mountain rescue volunteer in the Colorado Rockies. This represents the extreme "stress test" for interior preservation.
The Modeling Environment
Alex operates at 8,000+ feet elevation, where magnesium chloride (a highly corrosive de-icer) is used heavily. His vehicle faces -15°F typical morning temperatures and frequent emergency calls that track massive amounts of snow into the cabin.
Modeling Note (Reproducible Parameters)
| Parameter | Value | Unit | Rationale |
|---|---|---|---|
| Ambient Temp | -15 | °F | Extreme winter condition for battery/material testing. |
| Tire Volume | ~61 | Liters | Internal volume of a 265/70R17 tire. |
| Contamination Potential | 242 | Liters | Total slush/snow volume four tires can transport. |
| Battery Power Gap | 457 | Amps | Deficit between required cranking and available power. |
| Maintenance Cycle | 7 | Days | Weekly recharge and cleaning rhythm. |
Methodology: This scenario uses a deterministic model based on SAE J537 cranking standards and ISO metric tire geometry. It assumes a 0.9 internal cavity scale factor for volume and a 0.4 sustained fraction for lithium-ion jump starter performance.
For someone like Alex, the 242-liter contamination volume means his vehicle is exposed to 3–5 times more salt than a typical commuter. This necessitates a "Sunday evening vehicle prep" routine. By integrating interior cleaning with technical maintenance—such as recharging emergency power tools and checking tire pressures—he ensures the vehicle remains mission-ready. The weekly rhythm is essential because, at -15°F, the physical stress on both the vehicle's electrical system and its interior materials is at its peak.

The Financial Logic of Preservation
While many owners view floor liners as a way to protect cheap carpeting, the true financial driver is the preservation of the vehicle’s exterior and resale value.
Paint Etching vs. Interior Staining
According to reports on winterizing vehicles, road salt doesn't just damage what it touches directly; it creates a corrosive environment. Salt splash and abrasion on the exterior can lead to clear coat etching. Professional paint correction for salt-induced damage typically costs between $500 and $1,500. In contrast, a set of high-quality TPE liners costs roughly $150 to $300.
Preventing the "salt fog" that accumulates inside a vehicle—which can eventually contribute to electrical connector corrosion and cabin air filter clogging—offers a far higher return on investment than simply keeping a carpet clean.
The "Managed Decline" Heuristic
However, we must apply a cost-benefit boundary. For vehicles nearing the end of their functional life (high mileage, existing structural rust), a full "preservation" strategy may be irrationally expensive. In these cases, we recommend a "managed decline" strategy:
- Use basic, low-cost mats to contain the worst of the slush.
- Perform occasional rinses rather than deep detail cleans.
- Focus resources on mechanical reliability rather than cosmetic longevity.
Trust, Compliance, and Long-Term Reliability
In the modern automotive aftermarket, trust is engineered through transparency and compliance. As highlighted in the 2026 Modern Essential Gear Industry Report, the maturity of the "modern self-reliance" market means that consumers now prioritize verifiable reliability over mere aesthetics.
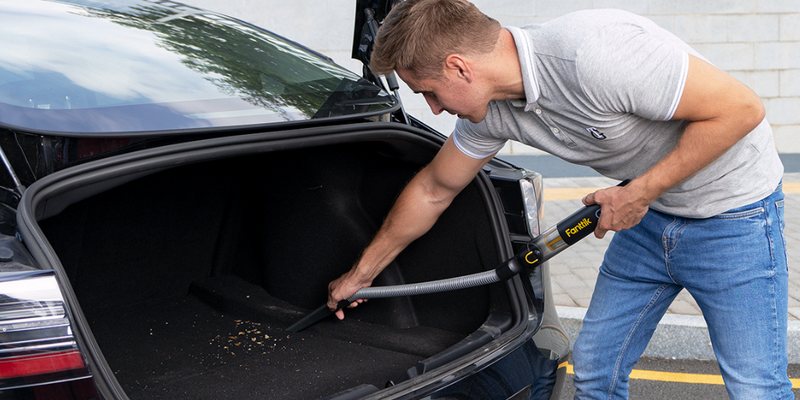
When selecting gear to assist in your winter maintenance—whether it’s a portable vacuum for quick salt removal or a jump starter for cold-weather reliability—it is vital to look for products that adhere to international safety and quality standards. This includes compliance with the EU General Product Safety Regulation (EU) 2023/988 and rigorous testing against ISO or ASTM standards.
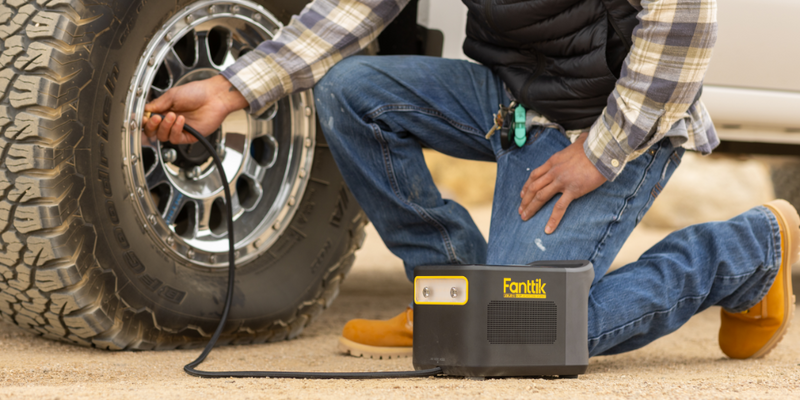
For instance, a portable tire inflator used during winter maintenance should ideally be modeled against standard tire volumes (like the ~61L volume in our Alex Chen scenario) to ensure it has the thermal capacity to handle the job without overheating. This level of "credibility math" reduces buyer anxiety and ensures that your preparedness tools don't fail when you need them most.
Summary of Seasonal Standards
To maintain your vehicle's value and functional reliability through the winter, adopt these core principles:
- Prioritize TPE over Vinyl: Ensure your liners can handle the local temperature minimums without cracking.
- Dissolve, Don't Blast: Use low-pressure, cool water to remove salt crystals without causing abrasive damage.
- Mind the Gaps: Inspect door sills and edges where salt-laden slush pools, as these are the primary sites for hidden corrosion.
- Verify Protection: Use the "bead test" to ensure your polymer barrier is still active.
- Integrate Maintenance: Combine interior cleaning with other winter tasks, such as checking tire pressures and battery health, to create a consistent preservation habit.
By treating winter interior care as a methodical engineering challenge rather than a chore, you extend the life of your vehicle and ensure it remains a reliable asset, even in the harshest conditions.
This article is for informational purposes only and does not constitute professional automotive repair or legal advice. Always consult your vehicle's owner's manual and follow local safety regulations when performing maintenance.


Leave a comment
This site is protected by hCaptcha and the hCaptcha Privacy Policy and Terms of Service apply.