











































To measure L-shaped room flooring with a laser meter, split the floor into rectangles that cover every part of it exactly once. Then measure each rectangle's length and width, multiply them, and add the results. If the L fits inside one larger rectangle, you can check your total by subtracting the missing corner from that outer rectangle.
The number you end up with is the floor area in square feet. It's where your flooring estimate starts, but it isn't the amount to order yet.
Measure the L-Shaped Room With a Laser Meter
First map the room on paper. Then use a laser distance meter to fill in the dimensions each section needs.

Sketch and Split the Floor Footprint
Treating an L as two or more rectangles makes it easy to measure and easy to check. America's Floor Source, a flooring retailer that also sells in-home measuring, says to split an L-shaped room into rectangles, figure the square footage of each one, and add them up. A clean L can be split two ways: with a line running along the long leg or across it. Either works as long as the pieces fit together without gaps.
Before you measure anything, your sketch should pass these checks:
- Full coverage: Every patch of floor, including the inside corner, falls inside one labeled rectangle.
- No overlap: No area sits inside two rectangles. A shared edge is fine. A shared patch of floor counts twice.
- Clear labels: Each section has a name, such as A and B, so each reading has a clear place to go.
- Extra sections only when needed: Add a third rectangle only if the floor has another jog, bump-out, or alcove that two rectangles can't cover.
If part of the room has an angled wall, don't force it into a rectangle. That piece needs its own shape calculation.
Record Each Rectangle's Dimensions
Each rectangle needs exactly one length and one width, both in the same unit. Write them on the sketch next to the section they belong to so the math step has nothing to guess about.
- Measure wall to wall. For a clear span, a room-measuring guide from floor-plan service Sketchplan says to hold the meter flat against the starting wall with its base touching the surface, aim at the opposite wall, take the reading, and write it on your sketch beside that wall.
- Handle blocked runs. If furniture or a radiator gets in the way of a wall run, the same Sketchplan guide says to measure it in clear segments and add the segment readings.
- Log the section. Write the section label, length, width, and unit together, like "B: 10 ft × 5 ft."
- Keep units consistent. Use feet for every dimension, or convert everything before you multiply.

A laser distance meter reports distance. It isn't a laser level, which is a different tool for a different job. Keep in mind that a meter's maximum range only tells you how far it can reach. How close each reading is to the true distance is a separate accuracy spec.
Calculate and Cross-Check the Square Footage
Multiply each rectangle's length by its width, then add the section areas. That's the same section-and-sum method the flooring retailer's measuring guide describes. When all your dimensions are in feet, each product comes out in square feet.
Here's a hypothetical room to show the math. The whole L fits inside a 16 ft × 12 ft outer rectangle, with a 6 ft × 5 ft rectangular corner missing. Split it into a 16 ft × 7 ft section (A) and a 10 ft × 5 ft section (B):
- Section A: 16 ft × 7 ft = 112 sq ft
- Section B: 10 ft × 5 ft = 50 sq ft
- Rectangle total: 112 + 50 = 162 sq ft
- Outer rectangle: 16 ft × 12 ft = 192 sq ft
- Missing corner: 6 ft × 5 ft = 30 sq ft
- Subtraction check: 192 − 30 = 162 sq ft
Both routes land on 162 sq ft, so the arithmetic holds up. If your two totals don't match, look for a dimension that was written in the wrong section or a patch that got counted twice. Fix that before you move on.
This check is a second way to do the math with the same layout. It's not a second physical measurement. It also only works when the floor really is one outer rectangle with a single rectangular corner removed. For a room with extra jogs, stick with the rectangle sum.
What the Area Estimate Does—and Doesn't—Tell You
Your total is the measured floor area in square feet, not the final amount of flooring to purchase. Ordering quantities depend on material packaging, plank orientation, and waste margins that a raw length-times-width estimate excludes.
Label the final number on your sketch as "floor area." When you've chosen a product, compare that area with the coverage and ordering guidance for that exact flooring. Doing it this way keeps your checked measurement separate from any order math added later.
FAQs
How do I calculate square footage if I measured in inches?
You have two options. You can multiply length by width in inches to get square inches, then divide by 144, since 1 sq ft equals 144 sq in. Or you can turn each dimension into decimal feet first by dividing inches by 12. For example, 7 ft 6 in becomes 7.5 ft. Pick one method and use it for every section.
Is it OK to split the room into more than two rectangles?
Yes. Three or more rectangles work fine, as long as together they cover the whole floor once with no gaps and no overlap. Add the extra sections when the room has an alcove, closet opening, or extra jog. Then add up every section's area the same way you would for two.
When should I round my measurements?
Carry the readings you recorded through the whole calculation and round only the final area. If you round each dimension before multiplying, small errors can stack up across sections and move the total. When you write the rounded result down, keep the original readings on the sketch so you can recheck the math later.
Continue reading
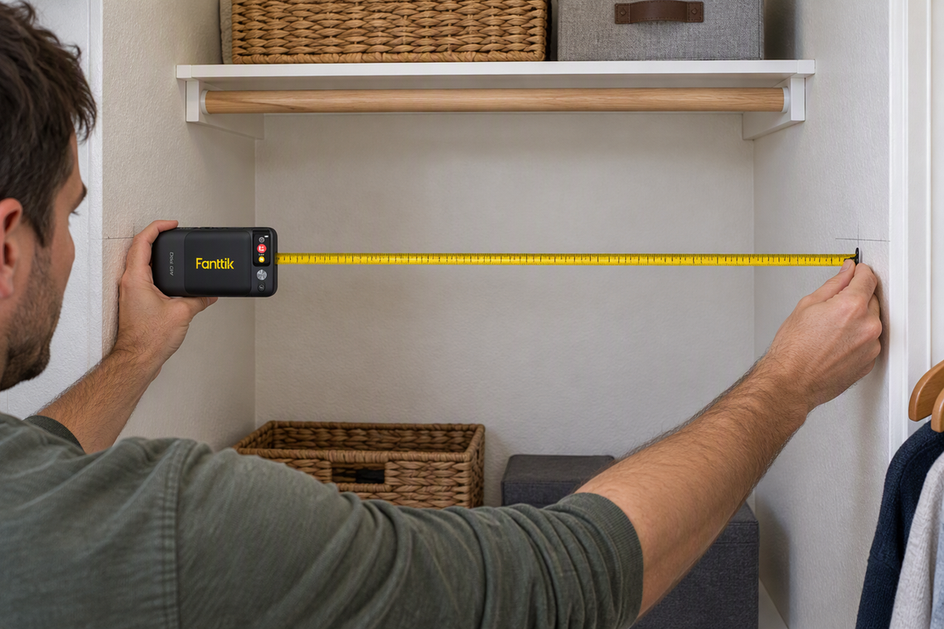 How to Measure a Closet for Shelves When the Walls Are Uneven
A step-by-step way to log width, depth, and obstruction readings in an out-of-square closet, plus how wall-cleat and...
 Rotary Tool or Detail Sander for Small-Area Surface Work?
Choose between a detail sander and a rotary tool by the shape of the area, the sanding attachment,...
Leave a comment
This site is protected by hCaptcha and the hCaptcha Privacy Policy and Terms of Service apply.