












































You can use an electric screwdriver for mechanical keyboard assembly if three things are true. The bit fits the screw head snugly, the driver stays in line with the screw, and the driver runs at a low output you can actually control. Stop the motor as soon as resistance builds, then finish by hand only if your kit allows more tightening.
Your kit's instructions come first. Some keyboard cases call for hand-tightening only. In plastic, a screw that gets driven too far can strip its own threads. Acrylic can crack.
How to Drive Small Keyboard Screws With an Electric Screwdriver
- Check the kit directions for each screw. Find out what size the screw is, what material it threads into, and whether the guide says to hand-tighten. If it says hand-tighten, use a hand driver for that step.
- Match the bit to the screw head and seat it fully. The bit should drop into the head with almost no wobble. A loose or tilted bit can slip and chew up a small head. If you're not sure which profile you need, here's how to match bits to screw heads.
- Line up the parts before you turn anything. The holes in the case or cover should sit right over the threads they go into. The Aurora case assembly instructions have you align the cover's mounting holes with the spacers before threading in the screws. Hold the driver straight along the screw's axis.
- Use short, light bursts of power. Let the tool turn the screw and don't lean your weight on it. A precision electric screwdriver makes sense only if you can control its lowest output. A general cordless screwdriver, drill, or impact driver may not give you that control, and if you can't control the output, a hand driver is the safer pick. How you start the motor also matters, so you may want to compare trigger controls before you begin.
- Stop the motor when resistance rises. Finish by hand only if the kit calls for more tightening and the screw keeps turning smoothly. If the screw is fully threaded and you still feel resistance, stop.

Two kit guides show how much the receiving material matters. The FinnGus plastic case screws are M3x6 mm screws that cut their own threads into the plastic. The guide warns that too much pressure can strip those threads. It also suggests starting with two holes that sit close together near the center of the board so you can get a feel for the right tension.
The Aurora acrylic case is stricter. Its guide says to hand-tighten and to stop if you feel resistance once the screw is fully threaded. If you keep turning, the extra force can crack the acrylic or damage the spacers. For a case like this, skip powered driving on the final turns.
What Torque Setting Should You Use?
There's no torque number or range that works for every keyboard kit, and none of the sources here give one. Many keyboard screws thread straight into plastic, and fastener maker PENCOM says the right installation torque for thread-forming screws in plastic depends on things like hole size, how many threads engage, wall thickness, the type of plastic, and the clamping force you need. According to PENCOM, the only way to find a suitable value is to test in conditions close to the real application.

In practice, use a torque value only if your kit lists one for that exact screw. Otherwise, start at the lowest output you can control and use the resistance check from the steps above. A driver's maximum torque or a number on its dial tells you nothing about the right torque for a keyboard screw. If you're shopping for a driver, here's how to compare torque-control options.
FAQs
How should I tighten the set screw on a 3D-printed keyboard knob?
Use a hand tool. The FinnGus knob screw guidance says to tighten the set screw with the included Allen wrench. It warns that overtightening will strip a 3D-printed knob. It also says to leave it a little loose, since you can always tighten it later.
What should I do if a screw binds before it reaches its seat?
Stop the driver and don't force the screw. Back it out, then check that the holes line up and that you're using the screw the kit specifies for that spot. Try again only if the screw starts smoothly.
Can I reuse a torque setting from a different keyboard kit?
Don't assume you can. A different screw or case material can need a different amount of force. Use a value only when your own kit lists it for that fastener. Otherwise, start at low, controlled output and stop when resistance rises.
Continue reading
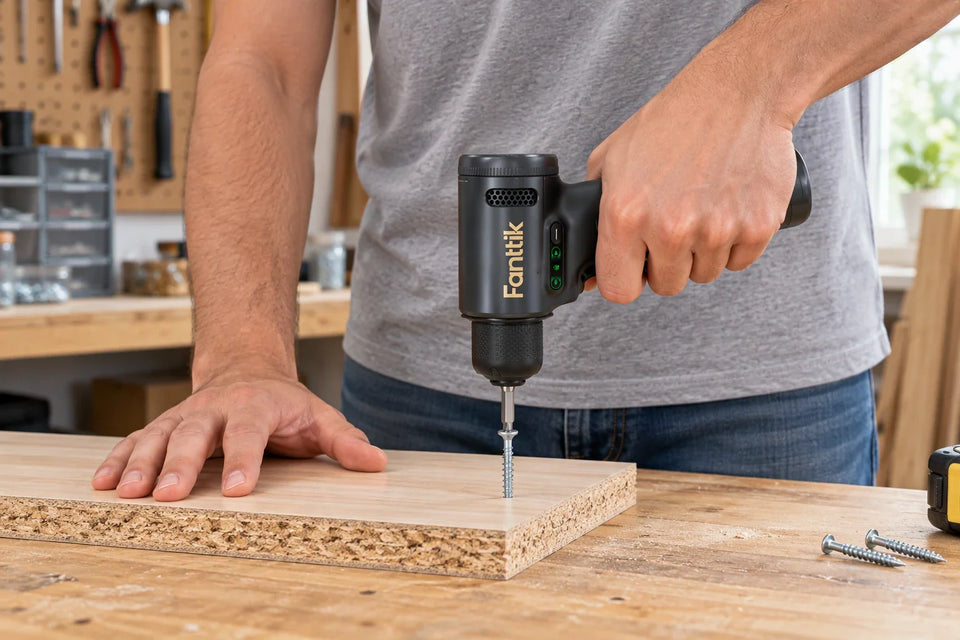 Using a Drill Clutch for Furniture Assembly: Start Low and Test on Scrap
A step-by-step method for driving furniture screws with a drill/driver clutch, from bit fit and scrap tests to...
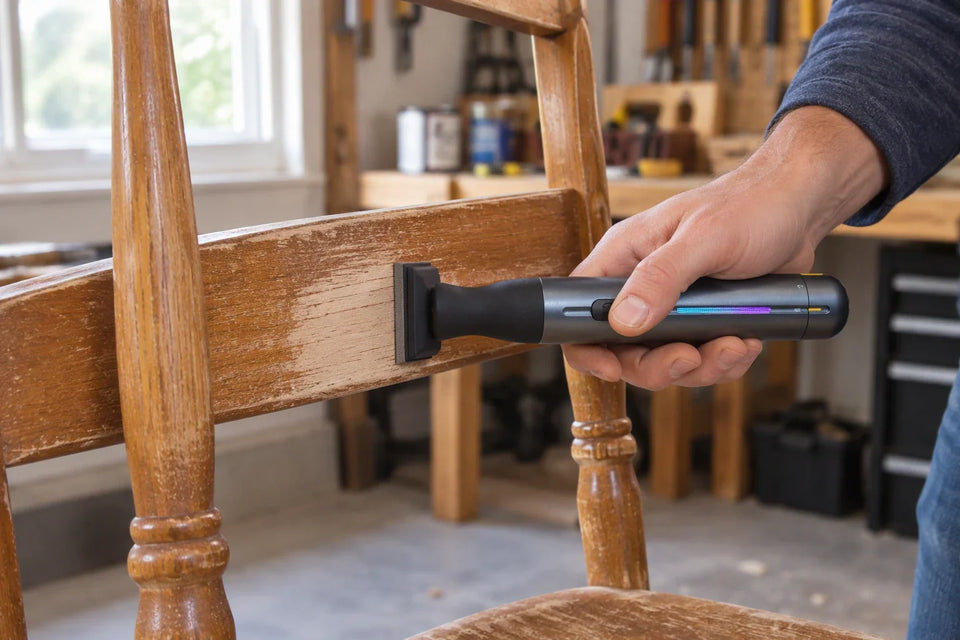 Refinishing a Wooden Chair With a Detail Sander: Protect Edges and Curves
Pick your sanding goal, keep the detail sander on supported flat areas, hand-sand spindles and carvings, and check...


Leave a comment
This site is protected by hCaptcha and the hCaptcha Privacy Policy and Terms of Service apply.