

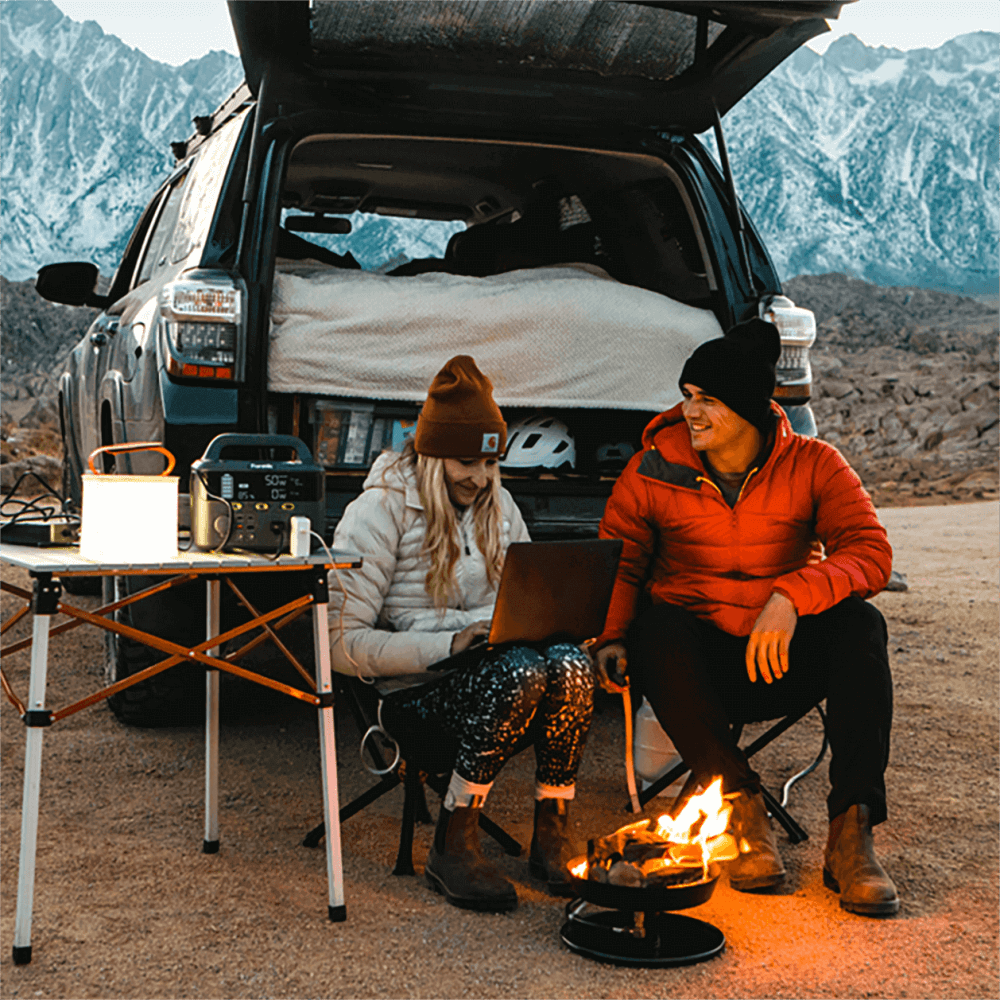

For tent setup after dark, two things come first: a tent you have already practiced pitching, and a working light you can reach right away. When you get to camp, use that light to check the ground and look overhead before you unpack the tent.

Pitch only if the spot passes that check. If it doesn't, move to another permitted spot or wait for daylight.
Darkness turns small problems into slow ones. A missing stake, a pole you've never handled, or a headlamp buried at the bottom of a duffel can eat up time you'd rather spend sleeping. Most of the work for a late arrival happens before you leave home.
What to Have Ready Before You Arrive
The best preparation is a full practice pitch at home. The BLM recommends practicing your tent setup in your backyard before the trip. It also notes that how hard a tent is to set up comes down mostly to its size and shape, so a one-person tent will be much easier than a large family model.
Before you go:
- Do a full practice pitch. Lay out the tent body, poles, stakes, rainfly and any footprint. Set it all up once so you know how the poles attach and where the fly goes. This is also when you'll find a broken pole or missing stake, while you can still replace it.
- Pack the instructions with the tent. Put the manual back in the tent bag after practice so it's there if you forget a step.
- Keep your light within reach. Put a headlamp or flashlight in a door pocket, a jacket or the top of your pack, not deep inside a bag. Turn it on before you leave to make sure it works.
- Pack the tent so it unloads in order. Keep the footprint, tent, poles and stakes together, so you aren't searching through gear in the dark.
A headlamp keeps both hands free for poles and stakes, which matters once you start pitching. No single brightness level is right for every trip. What counts is that the light works and lets you see the ground and the area above you clearly.
Check the Site Before You Pitch
Before you unroll anything, use your light to decide whether the spot is safe enough. The NPS advises making camp before dark and learning the terrain in daylight. Arriving late means you skip that daylight look, so the check you do with a light needs to be careful.
Work through it in this order:
- Confirm you're in a permitted area. Use your assigned site or the area the campground or land manager allows. Don't assume a nearby open patch is fair game.
- Check the ground. NPS describes an ideal tent location as level ground that is not a low place, kept a safe distance from the fire ring and cooking area. Sweep your light across the spot for slopes, dips where water could collect, rocks and debris.
- Look up. NPS lists flash flooding, lightning, wind, and dead trees or branches as campsite hazards. It also says that if you see dead branches overhead, you should not camp under them. Shine your light into the canopy above the spot, not just at the trunk.
- Make the call. If the ground is level, not low-lying, and clear of visible dead branches overhead, you can begin your setup, provided no other obvious hazards or severe weather threaten the site.
When to stop: if your light doesn't let you see the ground and the area overhead well enough to judge the spot, don't rush to pitch there. Applying the NPS hazard guidance cautiously, the safer choice is to move to another permitted spot you can check, or wait until daylight. A light only shows what you can see. It can't rule out every weather or flood risk, so treat a spot that's hard to judge as a "no."
Pitch the Tent Using Its Familiar Setup
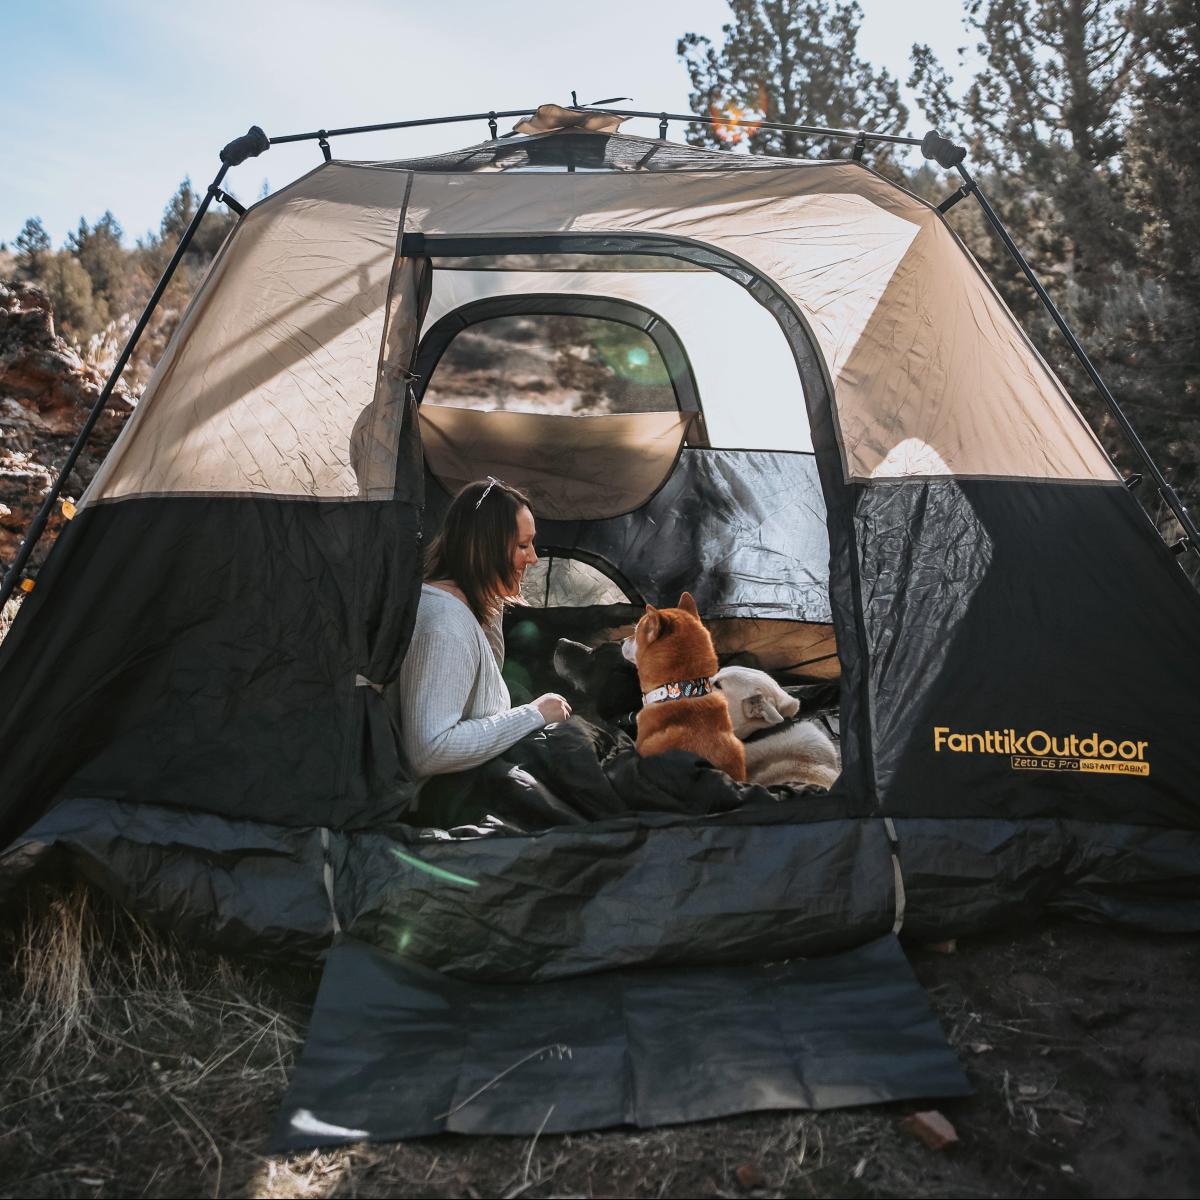
Once the site passes, pitch the tent the way you practiced and follow your tent's instructions. The BLM's general setup sequence works for many tents, but designs vary, so your manual decides the details.
- Lay down the footprint or ground cloth, if you use one.
- Position the tent body over it. BLM suggests facing the door away from the wind.
- Assemble the poles and attach them the way your tent is designed. Some tents use sleeves, some use clips. Group long and short poles together before you start so you can sort them easily in the dark.
- Secure the rainfly as your instructions direct, to the tent body or the poles.
- Stake the tent. Start at the corners so the floor is taut, then add stakes at the other points.
- Tuck in any extra ground cloth that sticks out past the tent floor so it won't collect rain.
Go slowly. Put each part down in a spot your light can find again, and finish one step before starting the next. If something won't fit the way you remember, stop and check the manual instead of forcing a pole or clip.
If you camp somewhere with loose ground, our guide on anchoring a tent in sand covers stakes and anchors suited for loose terrain.
FAQs
Do I need a footprint or groundsheet for a night setup?
You don't have to have one. The BLM says a groundsheet is not essential but highly recommended, because it adds a layer of waterproofing and protects the tent floor. If you use one, tuck any extra under the tent floor so it doesn't collect rain.
What if I lost my tent's instructions?
Look up the manual before your trip. The BLM notes that most manufacturers make lost manuals available online for free. Save a copy to your phone so you can read it without a signal.
Should I bring extra batteries for my headlamp?
It's a smart backup, and in cold, remote places it matters even more. For remote trips in Alaska, the NPS notes that batteries can lose charge in the cold, even in summer, and advises bringing a backup or more batteries than you think you'll need.
Can I pitch in the dark and adjust in the morning?
Only if the spot passed your check with the light. Fixing a loose stake or a sagging fly in the morning is fine. Moving away from a low spot or out from under dead branches is not something to put off. If you can't judge the spot tonight, wait or pick another permitted spot.
Continue reading
 Polishing Small Metal Models With a Rotary Tool
A step-by-step approach for small metal models: tell plating from base metal, pick and test a mild accessory,...
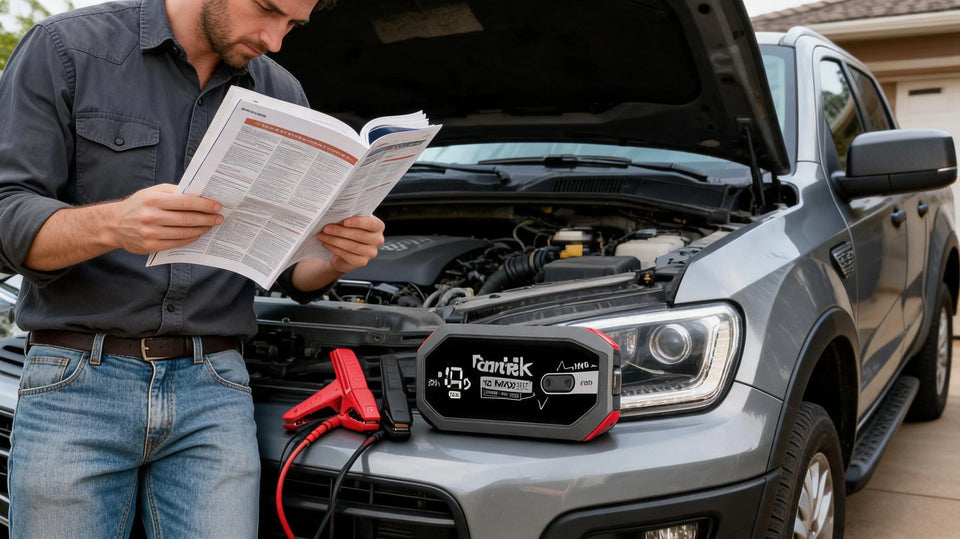 Choosing a Jump Starter for a Diesel Truck
A step-by-step way to compare your truck's manual with a jump starter's published limits, then sort each candidate...

Leave a comment
This site is protected by hCaptcha and the hCaptcha Privacy Policy and Terms of Service apply.