












































Vacuuming carpeted stairs with a handheld vacuum works best one step at a time. Start at the top landing and work down. Use an attachment your vacuum's manual approves for carpet on the tread edges and risers.
This method is for dry debris like dust, crumbs, grit, and hair. Before you start, check that your vacuum and attachment are cleared for carpet. Clean only what you can reach from steady footing, and move to another step when an edge is too far away.
How to Vacuum Carpeted Stairs With a Handheld Vacuum
A handheld lets you clean each tread at close range without carrying a full-size machine up and down the stairs. The sequence below covers the treads, edges, and risers in an order that keeps loose dirt moving toward areas you haven't cleaned yet.

- Confirm the carpet is dry and your vacuum is cleared for it. Following CRI's vacuum-instruction guidance, check your vacuum's current manual for approved surfaces and attachments. Don't assume every handheld or nozzle works on carpet. If you own one of our handheld vacuums, you can find your Fanttik vacuum manual and check its surface and attachment notes before the first pass.
- Clear heavy buildup first if you see it. Consumer Reports explains when to sweep first: if the stairs haven't been cleaned in a while or have obvious dust and debris, remove the top layer with a broom and dustpan or a microfiber floor cleaner.
- Inspect the attachment. CRI advises keeping hoses and attachments free of clogs that restrict airflow. It also advises checking the vacuum head for rough edges or bent metal that could damage carpet. If a nozzle is blocked, clear it. If its edge is rough, use a different approved attachment. CRI's checklist also says to keep brushes clean, replace them when they're worn, and change the filter bag when it's full if your vacuum uses one. The aim, CRI says, is to remove dirt and dust, not just move it around or throw it back into the air you breathe.
- Start at the top landing and work down. Consumer Reports' top-down stair sequence keeps debris you knock loose falling onto lower steps, which you'll clean next anyway. You might want to carry the vacuum up as you go, but Consumer Reports says starting at the landing is more efficient.
- Vacuum the tread in short passes. Stand on the step below or on the landing, and cover only the part of the tread you can reach comfortably. Go back over any area where debris is still visible before you move down.
- Switch to a narrow tool for edges, corners, and risers. Consumer Reports notes that a crevice tool's angled design handles tight spots, and that a crevice tool or small brush attachment works on the vertical risers. Use either one only if your manual approves it for that vacuum and your carpet.
- Stop and reposition at your reach limit. If the far edge of a tread is out of comfortable reach, turn the vacuum off and move to a stable tread or the landing where you can reach it. Then finish that area. Don't lean out over the stairwell to save a step.
- Repeat down to the bottom. Each lower step picks up whatever fell from above. Finish with the bottom tread and the floor at the foot of the stairs.

When Handheld Vacuuming Is Not Enough
This sequence removes loose, dry debris rather than handling stain treatment, spill cleanup, or carpet extraction. For wet spots or deeper soil, CRI's carpet-care guidance separates routine dry vacuuming from restorative cleaning and advises following the carpet maker's specific directions.
If something spills on the stairs, find the care information that came with your carpet or contact the maker before you apply a treatment. CRI notes that improper cleaning or an unauthorized treatment could void a carpet warranty. Once the area is fully dry, you can go back to routine vacuuming.
CRI advises trying to remove a spot as soon as something is spilled or tracked onto the carpet, because spills and soil left in place can become permanent. For specific cleaning information, contact the representative named in your carpet warranty and follow their directions carefully. CRI also notes that most carpet manufacturers require a CRI-certified vacuum to keep the carpet warranty valid, so check your warranty terms. CRI lists Seal of Approval vacuums at www.carpet-rug.org/soa. An independent lab tests those models for soil removal, dust containment, and how well the carpet keeps its appearance.
FAQs
Should I sweep before using a handheld vacuum on carpeted stairs?
Only when there's a lot of buildup. For light routine debris, you can go straight to vacuuming. If you see noticeable dust and debris, or it's been a while since the last cleaning, Consumer Reports suggests clearing the top layer with a broom and dustpan or a microfiber floor cleaner first.
How often should I vacuum carpeted stairs?
Plan on at least once a week, then adjust for how busy your stairs are. CRI's usage-based frequency guidance gives a weekly minimum for floor coverings and recommends vacuuming high-traffic areas like stairs more often based on use. CRI adds that homes with pets may need more frequent vacuuming. Removing loose soil early also keeps it from being ground into the carpet fibers.
What if dirt stays embedded in the carpet after vacuuming?
Extra passes won't turn a handheld into a deep cleaner. CRI says stubborn or embedded soil calls for restorative cleaning and recommends this every 12 to 18 months. Use a method your carpet manufacturer recommends so you keep your warranty.
Do I need to vacuum the risers too?
Yes, if they're carpeted. Consumer Reports recommends vacuuming the vertical risers as well as the treads to get a thorough clean, using a crevice tool or small brush attachment. Its reasoning is that you won't want to repeat this job every week, so it's worth doing it thoroughly. As with the edges, use one only if your vacuum's manual approves it for carpet.
Continue reading
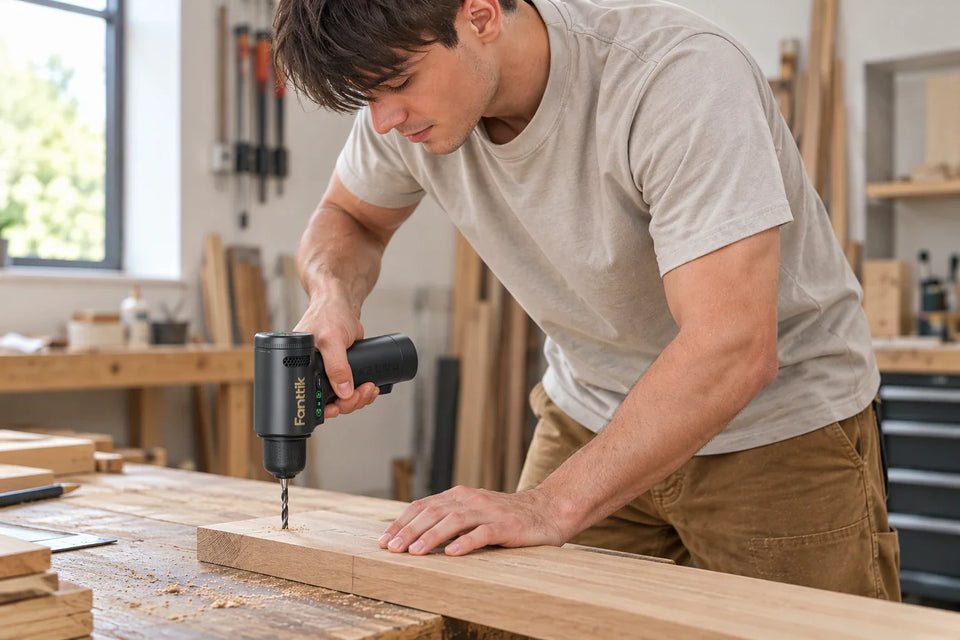 Drilling Pilot Holes Near the End of a Hardwood Board
A step-by-step method for checking end and edge distance, choosing a pilot bit for your screw, testing on...
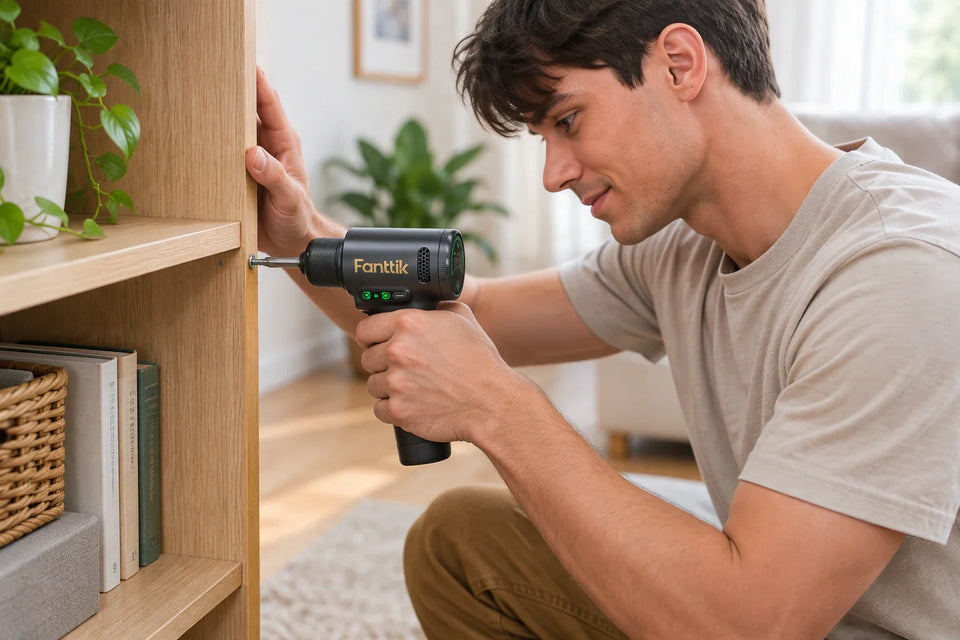 Using a Drill Clutch to Assemble a Wooden Shelf Without Overdriving Screws
A practical method for finding a workable clutch setting on scrap, driving shelf screws straight, and stopping at...
Leave a comment
This site is protected by hCaptcha and the hCaptcha Privacy Policy and Terms of Service apply.