















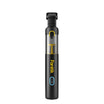
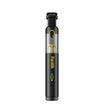
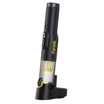
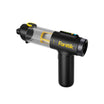


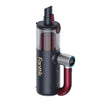
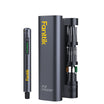
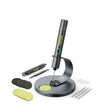
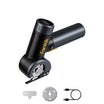





Sometimes, but there is no blanket yes. A mini polisher is only worth considering when you know the trim material and the instructions for your polisher, pad, and polish explicitly support that surface. Detailing guidance for interior piano-black trim treats mild polishing as an option only for light haze or fine swirls, not deep scratches or damaged coating.

If you cannot identify the trim or verify those instructions, leave the piece alone rather than attempting to polish it. When both are confirmed, testing a small, hidden area shows how that spot reacts and gives you an early signal to stop.
Can You Use a Mini Polisher on Gloss-Black Trim?
You can't tell what trim is made of just by looking at it. 3M sells a high-gloss black exterior trim film that it says gives a consistent finish on parts made from different base materials. Two trim pieces can look like the same piano-black surface and still be built differently underneath. So the finish alone tells you nothing about how the piece will handle abrasion, heat, or pressure from a machine.
Paint products don't settle the question either. 3M describes Detail Polish 208 and its companion foam compounding pad for automotive paint detailing, paint finishing, and swirl removal. That tells you the product works on paint. It doesn't tell you the product is safe on a trim piece you haven't identified, even if that trim looks like glossy paint.
The best hands-on guidance available comes from a detailing guide on interior piano-black trim. It describes that trim as usually glossy plastic or coated plastic, not the clear-coated paint used on body panels, so it can be softer, thinner, and more sensitive to pressure and heat. For light haze, the guide starts with a finishing polish and a soft hand applicator. For most DIY users, the guide prefers hand polishing. It treats a small machine as an option for experienced users only where access allows, and says to keep speed and pressure low.
That advice applies to interior trim. It does not approve an exterior piece or any specific mini polisher, pad, and polish combination. Before you use a machine on exterior gloss-black trim, confirm two things:
- The surface: what the trim is and whether the vehicle or trim maker's care guidance allows machine polishing.
- The combination: whether the instructions for your exact polisher, pad, and polish cover that surface.

If you can't confirm both, don't use the mini polisher on that piece.
Which Defects Are Reasonable Polishing Candidates?
On a surface that's cleared for polishing, how deep the defect is decides what you can expect. The guidance below comes from the same interior piano-black guide. Use it to set expectations, not as a rule for every exterior trim piece. Don't apply these boundaries to trim you haven't identified.
- Light haze and fine swirls: These sit close to the surface. The guide says a finishing or fine polish can often improve them. Plan on making them less visible, not on removing every mark.
- Scratches you can clearly feel with a fingernail: The guide warns these may be too deep to remove fully without risk. Polishing might make them less noticeable, but trying to remove them completely can take off too much material or distort the gloss.
- Peeling, flaking, or damaged coating: Nothing in the evidence shows polishing reliably repairs this.
The guide's practical goal is a safe improvement, not perfection at any cost. On thin, soft trim, a partial cleanup is often a better result than causing haze or permanent damage.
How to Test a Small Area—and When to Stop
Only test after the surface and your product combination are cleared. The test shows how that spot reacts. It doesn't prove the setup is compatible. The steps below follow the interior piano-black guide's method:
- Clean the trim first. Spray a suitable cleaner onto a soft microfiber cloth instead of directly onto the trim, especially near buttons or screens. Leftover grit acts like an abrasive once you start polishing.
- Inspect under direct light. A flashlight shows whether you're dealing with light haze or a deeper scratch.
- Mask the surroundings. Tape off nearby leather, rubber, buttons, and textured plastic.
- Work one small, out-of-sight area. Use a mild finishing polish, a soft hand applicator, and light pressure. If you're experienced and access allows a small machine, keep the speed and pressure low.
- Wipe and check. Remove the residue with a clean plush microfiber towel, then look at the spot under the same light.
Stop if the spot looks hazy, the gloss looks distorted, or the finish looks worse than before. The guide warns that piano-black plastics can haze quickly when overworked. Don't switch to a heavier compound or keep making passes to chase the last marks. If the spot improved but some marks remain, the guide allows one more pass or a small step up to a micro-cut polish, never a jump to heavy compounds.
FAQs
Does a successful test spot prove the whole trim piece is safe to polish?
No. A good result only shows how that small area reacted to that polish, pad, and pressure. Another part of the piece, or a different trim panel, may react differently. Treat each new area with the same caution.
Will polishing make piano-black trim scratch-proof?
No. The interior piano-black guide notes that polishing removes or reduces existing defects but does not make the trim scratch-proof. To keep new marks down, it recommends gentler cleaning with soft microfiber and ideally a protective layer.
Can I use a car-paint polish on any gloss-black trim?
Don't assume so. 3M's paint-use instructions for Detail Polish 208 cover automotive paints and paint finishing. That doesn't mean the polish is suitable for every gloss-black trim surface. Use a product only when its instructions cover the trim material you have.
Why does gloss-black trim show marks so easily?
The guide explains that a high-gloss black finish reflects light sharply. A light scratch that would barely show on matte plastic stands out on piano black. That's why it pays to inspect under direct light before and after any test.
Continue reading
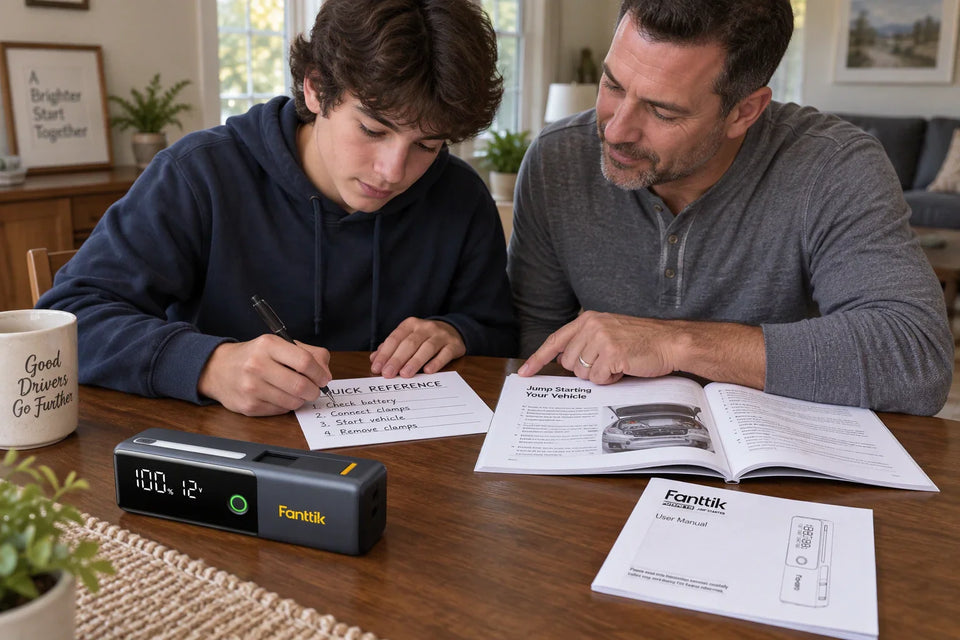 Preparing a New Driver to Use a Portable Jump Starter
A step-by-step guide for new drivers and their parents. Build a vehicle-specific reference card from both manuals before...
 Where to Store a Tire Inflator in Your Car for Roadside Use
Pick a spot you can reach with the car fully loaded, strap it so it can't slide, check...
Leave a comment
This site is protected by hCaptcha and the hCaptcha Privacy Policy and Terms of Service apply.