




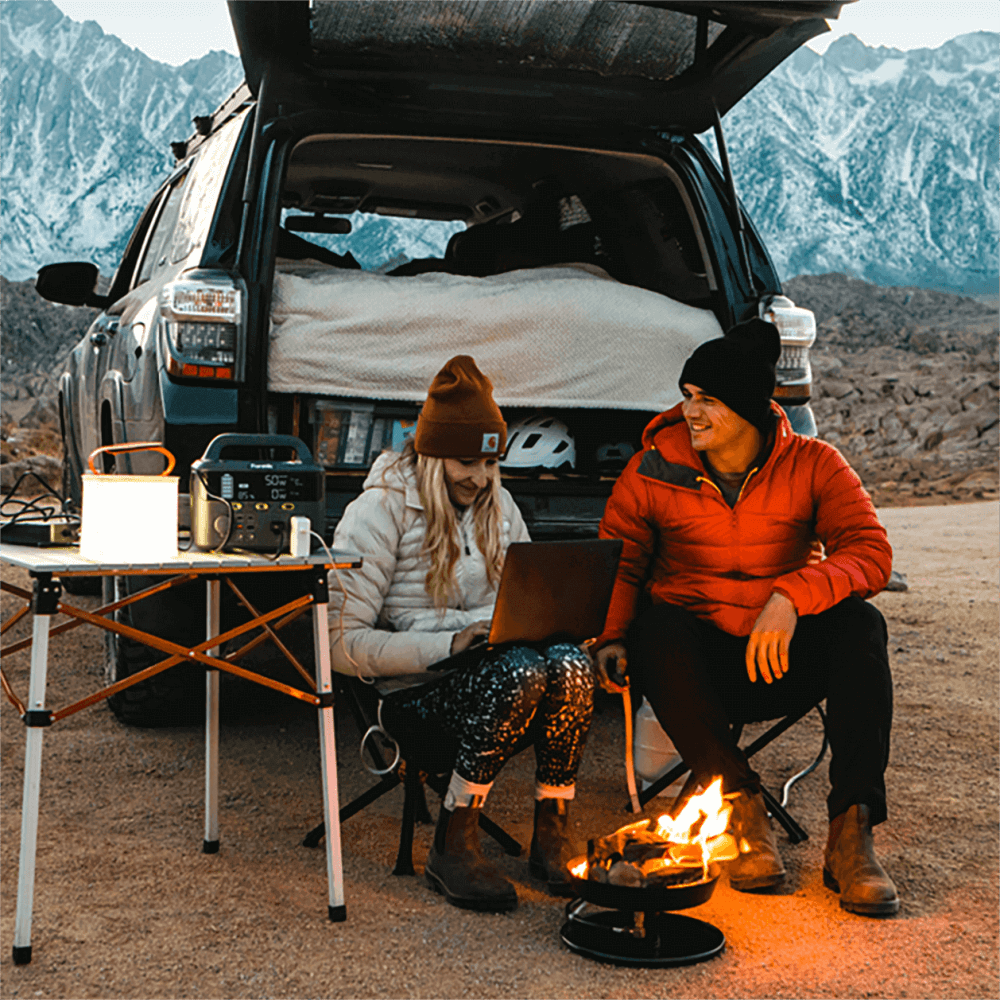










Yes, one person can set up an SUV tent, but only when two things are true. Your exact tent must be confirmed to fit your exact vehicle, and you must be able to handle every connection step it calls for on your own.
The way to find out is to plan the vehicle connection before you open the hatch. Rehearse that sequence at home before the trip. If any required step is too much for one person, arrange help or choose another setup.
Can One Person Set Up an SUV Tent?
There's no single yes or no that covers every SUV tent. Each design connects to the vehicle in its own way. Sleeve size, strap routes, and hook points change from model to model, so solo setup is a question about one tent on one vehicle, not about the whole category.
Treat this as two separate checks. The first is fit. Look for official fit information that matches your vehicle's year, make, model, and hatch or roof-rack setup. A tent that wraps around a rear hatch isn't automatically a match for your hatch, and a strap route printed in a manual doesn't prove your vehicle fits.
The second check is handling. Even a confirmed fit tells you nothing about whether you can do every step alone. Take the Napier Sportz SUV Tent, model 82000, as an example. Its instructions list each setup action in order, but they don't say how many people the job takes. They don't say it's a one-person job, and they don't say you need help. That leaves the call to you.
So go through the actual steps. For a sleeve-style tent like the 82000, that means moving the assembled tent toward the cargo area, pulling the sleeve over the hatch and roof, routing the straps that apply to your vehicle, and reaching the hooks inside. Do this in your driveway, not at the campsite. If one step is too much for you, such as the sleeve pull, plan for a second person or pick a different shelter. That's practical planning advice, not a manufacturer rule. If you're still choosing a shelter, our guide on backpacking vs. camping tents compares weight, packed size, and setup.

Plan the Vehicle Connection Before Opening the Hatch
The order of steps comes from your tent's own manual. The steps below follow the model 82000 instructions as a worked example. They are not a universal SUV-tent procedure, so swap in your own manual's order if you have a different tent.
Before you start, confirm fit for your exact vehicle. Then decide which strap route you'll use. The 82000 has one route for vehicles with a roof rack and another for vehicles without one. Pick yours ahead of time so you can stage the right straps. Neither route proves that your vehicle fits.
Next, check the site and vehicle conditions in the 82000 manual. Pick a smooth, level campsite. Turn the engine off and set the parking brake. Don't install this tent when the vehicle is wet or the temperature is below 32°F, because the manual says either one may cause damage. Keep the engine off the whole time the tent is attached, and let the engine and exhaust cool fully before you install or use the tent.
Here is the 82000 sequence, with the hatch staying closed until step 5:
- Lay out the tent with the vehicle sleeve facing your cargo area.
- Unfold the poles and feed the four fiberglass roof poles through their sleeves into the center hub and corner joints. If a pole sticks in its fabric sleeve, guide it through gently. Don't force it.
- Insert the four steel corner poles into the corner joints and the corner grommets, then attach the pole clips.
- From inside, unzip the vehicle-side door and mesh, roll them up, and secure them with the T-straps.
- Open the back hatch, move the tent toward the cargo area, and slip the sleeve under the bumper and over the hatch and roof.
- Attach your staged straps using the roof-rack route or the no-rack route.
- Outside, hook the bottom straps to the wheel wells, one per side, and tighten the bumper straps. If your vehicle has an exhaust pipe there, make sure it sits outside the sleeve.
- From inside, connect the center strap and the outer hooks, then stake the tent down.

Steps 5 through 8 are the ones to time and test during your rehearsal. Everything before the hatch opens can be done slowly at ground level. After it opens, you're moving a fully built tent and stretching fabric over the vehicle. If a vehicle connection turns out to be unmanageable alone, choosing a conventional ground tent lets you bypass vehicle attachment entirely.
FAQs
How does the 82000 strap route differ with and without a roof rack?
With a roof rack, the 82000 instructions say to unclip the long strap from its female clip and wrap the two short straps around the rack on each side, then tighten. Without a rack, you run the long straps to the front of the vehicle, open the hood, hook them to the hood hinge or frame, and tighten.
Where do the 82000's inside hooks attach?
From inside the tent, find the center strap near the bumper and hook it to the tailgate latch. The two outer hooks go to a cargo-bag hook or to the tailgate latch.
How can I reduce battery drain while the hatch is open?
The 82000 manual says to disconnect the battery or turn off the door lamps so they don't stay on while the hatch is open. According to the manual, this reduces the risk of battery drainage. Do this before you start the connection, since the hatch stays open for as long as the tent is attached.
Do I need to stake the tent if it's attached to the vehicle?
The 82000 instructions include staking the tent through its corner and side webbing loops after the inside hooks are attached. If you use the rainfly, its guy lines are staked to the ground too.
Continue reading
 Cleaning a Car Polishing Pad Between Detailing Jobs
Step-by-step care for foam, microfiber, and knitted wool buffing pads, plus how to tell a pad is clean,...
 Cleaning Dry Camping Debris From a Car Trunk With a Handheld Vacuum
A step-by-step guide to clearing sand, crumbs, and dry dirt from trunk carpet with a handheld vacuum, plus...
Leave a comment
This site is protected by hCaptcha and the hCaptcha Privacy Policy and Terms of Service apply.