

No single PSI works for every touring bike with panniers. Loaded bike tire pressure depends on how much weight each wheel actually carries, so set the front and rear separately. Base each one on that wheel's load and the tire's real width.

Start with the bike packed exactly as you'll ride it. Then pick a starting pressure for each tire and keep both inside the tire and rim limits. Don't reuse your unloaded solo-ride setting or add the same few PSI to both tires.
Set Loaded Front and Rear Pressures
Panniers rarely spread weight evenly. Rear bags push more load onto the back wheel, and front bags shift some forward. This method, from a Bicycle Quarterly reprint by Jan Heine, turns that split into two separate pressure choices:
- Pack the bike as ridden. Load the panniers, trip gear, water, and anything else you'll carry.
- Level the wheels. Put one wheel on a scale and the other on a block of the same height so the bike sits level.
- Sit in your normal riding position. A helper holds the bike upright and writes down the scale reading.
- Turn the bike around and repeat for the other wheel. You now have a front wheel load and a rear wheel load.
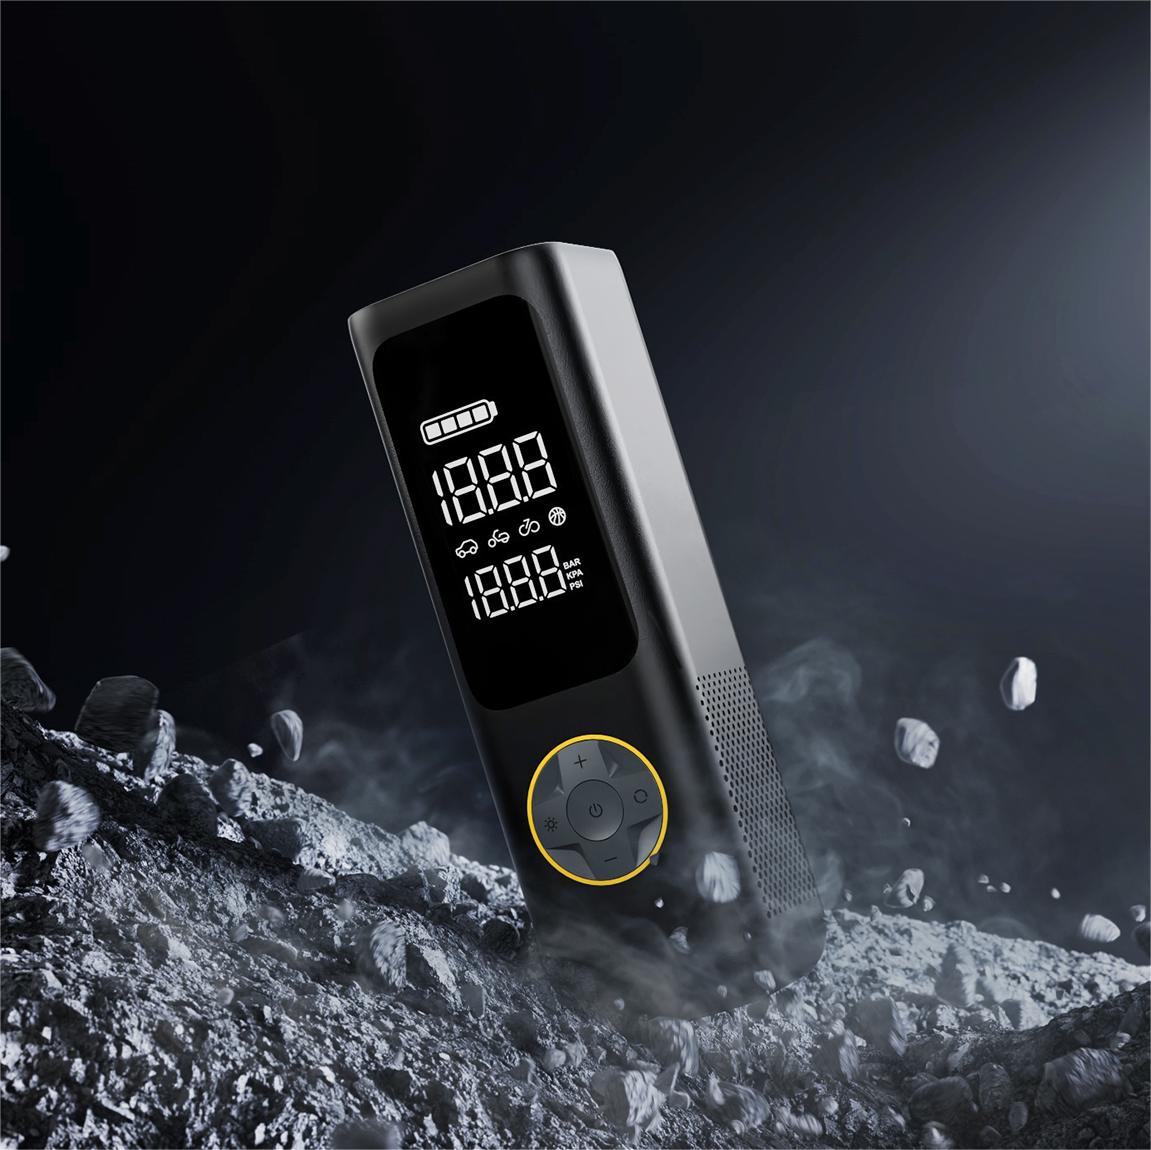
- Look up each load against your tire's actual width in the article's 15% tire-drop chart. Tire drop means how far the bike sinks as the tires flatten under load. The chart lists wheel load, not total bike weight, and it assumes the tire sits on a rim of suitable width. Once you have both targets, use a reliable bike pump with an accurate gauge to inflate each tire to its specific pressure.

The article gives one example: 45 kg (about 100 lb) on the front wheel and 55 kg (about 121 lb) on the rear, on 37 mm tires, works out to 45 PSI front and 53 PSI rear. Those numbers only show how the chart works. Don't use them for a different load or tire width. A narrower tire carrying that same weight requires substantially higher pressure, which is why the article points heavy riders and loaded bikes toward wider tires.
Treat the chart result as a practical starting point, not a standard. The article ties the 15% approach to average road surfaces. It says lower pressure may help on very rough or unpaved roads, and a small increase may help on very smooth roads. It doesn't give a set number for either change.
Keep Pressure Inside Tire and Rim Limits
The pressure you pick for a loaded wheel is a working pressure, while the limits printed on your tire mark the outer boundaries. Tire maker Schwalbe notes that there is no universal pressure recommendation because ideal pressure depends mainly on rider and luggage load. Always keep your working pressure inside the permitted range molded onto the tire sidewall, never exceeding the maximum or dropping below the minimum.
Your rim may have its own cap, and that cap can be lower than the tire's maximum. When it is, the lower number wins. If a chart result lands outside either range, the limit governs. You can also switch to a tire width whose chart result falls inside the limits.
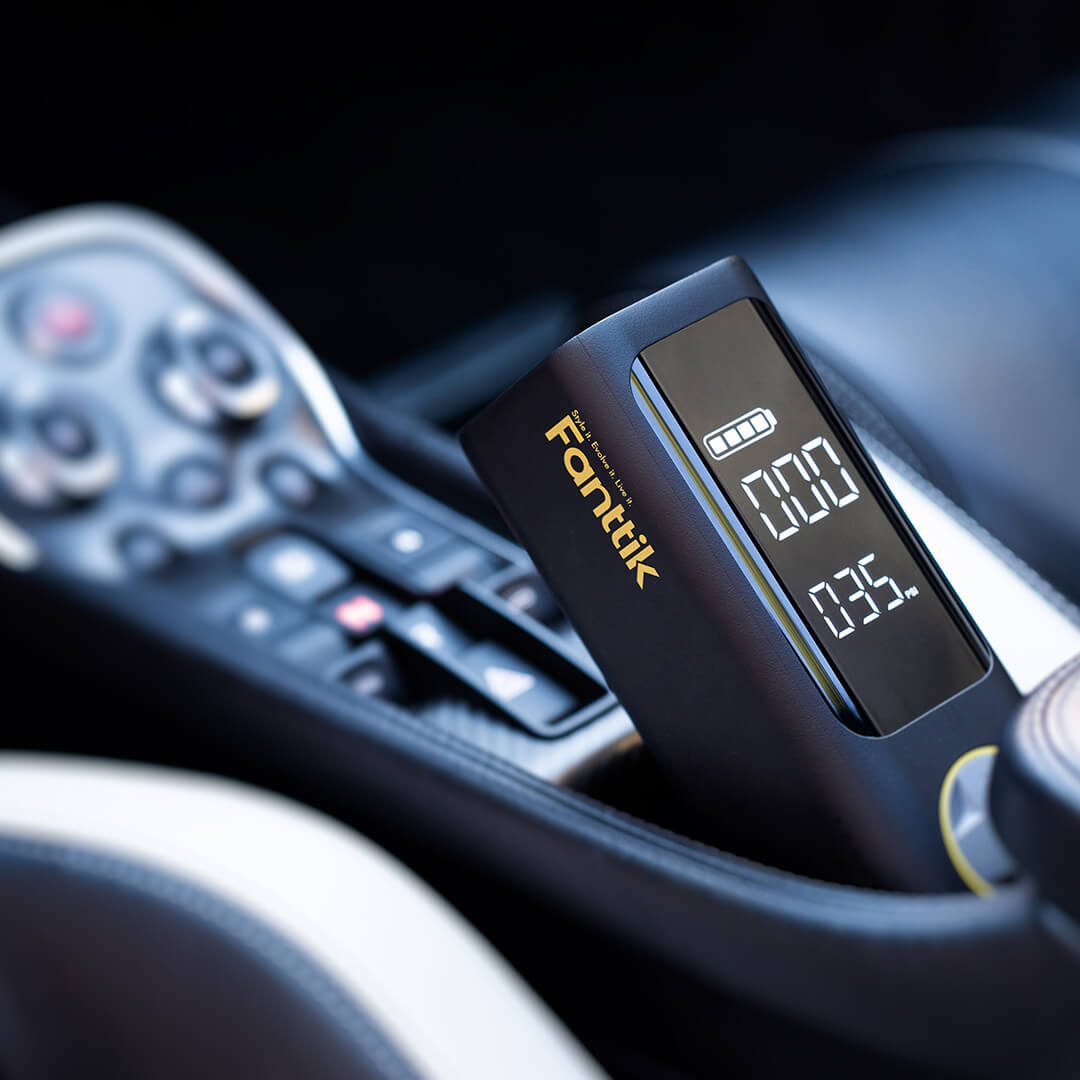
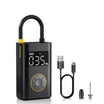
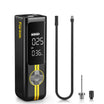
A pump or inflator's maximum PSI is a third, separate number. It tells you how much pressure the pump can produce. It is not a pressure to aim for, and it doesn't allow you to go past a tire or rim limit.
If you can't identify the exact tire and rim, or you don't know their limits, don't ride on a guessed pressure. Find the model names and their pressure guidance first.
FAQs
Does 15% tire drop mean lowering pressure by 15%?
No. Tire drop is how much the tire flattens under the weight of the bike, rider, and load. The 15% figure describes that flattening, not a cut in PSI. You reach it by inflating each tire to the chart value for its wheel load and width.
Should road surface change the starting pressure?
Only as a fine-tuning step. The chart is meant for average roads. The source suggests going lower on rough or unpaved roads and slightly higher on very smooth pavement, but it gives no set amount. Make small changes and stay inside your tire and rim limits.
What if I move gear between panniers after setting pressure?
Moving weight between front and rear bags changes each wheel's load. Weigh the wheels again with the new packing and look up each new reading. The front and rear pressures may change by different amounts, or only one may change.
Why not just inflate to the number on the sidewall?
The sidewall number is a maximum, not a target. The Bicycle Quarterly article notes that inflating to the maker's maximum tends to leave narrow tires underinflated and wide tires overinflated compared with the 15% drop pressure.
Continue reading
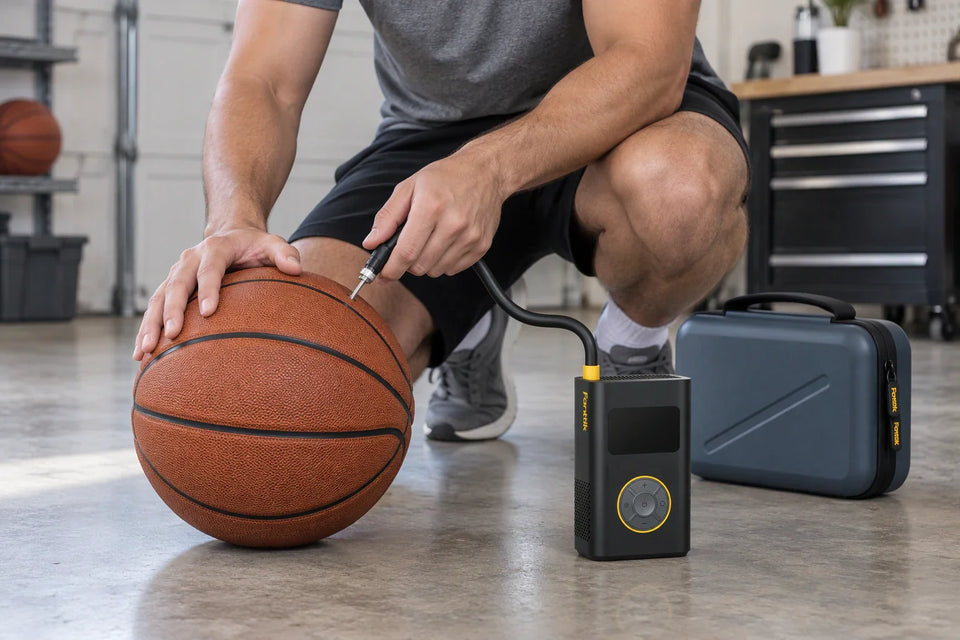 Can a Portable Tire Inflator Inflate a Basketball? Check the Model First
A practical check for using a tire inflator on a basketball: confirm ball use and needle fit, then...
 Vacuum Dried Mud From Car Mats After a Hike
A step-by-step post-hike routine for loosening trail mud from floor mats, what to do when it's still wet,...
Leave a comment
This site is protected by hCaptcha and the hCaptcha Privacy Policy and Terms of Service apply.