


The Precision Paradox: Why Tool Length Dictates Success in Micro-Assembly
In the world of micro-assembly—where a misplaced 0.5mm can mean the difference between a functional device and a paperweight—the choice of tools is often reduced to "small is better." However, our experience on the repair bench and in micro-manufacturing cells suggests a more complex reality. The relationship between tool length, leverage, and fine motor control is not a linear trade-off; it is a dynamic system influenced by physics, ergonomics, and even control theory.
When we handle intricate tasks like smartphone repair, model building, or PCB assembly, we are navigating a "Precision Paradox." A longer tool provides the leverage needed to break a factory-sealed thread, but that same length amplifies "wobble"—the lateral displacement at the tip caused by minor hand tremors. Conversely, a tool that is too short can obscure your line of sight and force an ergonomic grip that induces premature fatigue.
Understanding these dynamics is critical for any professional or hobbyist who prioritizes engineering excellence. In this guide, we will analyze how the distance between your grip and the bit tip influences your control bandwidth and why the "feel" of a tool is actually a measurable byproduct of rotational inertia and natural frequency.
The Physics of Control: Leverage vs. Lateral Stability
The most fundamental conflict in micro-assembly is the balance between the torque required to turn a fastener and the stability required to keep the bit seated. In our observations of common assembly mistakes, the most frequent failure point is using a tool that is too long for the specific fastener, leading to "camming out"—where the bit slips out of the screw head and strips the drive.
The 6x Heuristic for Tool Length
Through pattern recognition in high-consequence assembly, a seasoned rule of thumb has emerged: the tool's effective length (measured from the center of the grip to the bit tip) should typically not exceed 5 to 6 times the diameter of the screw head.
- For M2 Screws: Common in electronics, an M2 screw head diameter is roughly 3.5mm to 4mm. Following this heuristic, a tool length under 120mm is ideal for maintaining a high degree of lateral control.
- The Mechanism: As tool length increases, the lateral force exerted by the hand is magnified at the tip. If the tool is too long, the user's fingers must work twice as hard to stabilize the "wobble" while simultaneously applying downward pressure.
Rotational Inertia and "Wobble"
From a mechanical standpoint, increasing a tool's length doesn't just make it harder to aim; it fundamentally changes its rotational inertia. According to the Ergonomic Handle Configuration Study, increasing a tool's length from 50mm to 100mm can quadruple its rotational inertia ($I \propto L^2$). This makes precise, high-bandwidth corrections much more difficult. In practice, you are fighting the tool's own resistance to change direction, which manifests as a sluggish, "heavy" feel that betrays the delicate nature of micro-components.

Control Theory: Why Stiffness Matters
In advanced micro-assembly, we must look beyond simple leverage and consider the tool as part of a closed-loop control system (the human hand + the tool + the workpiece).
The Stability Lobe Conflict
Conventional wisdom often cites Stability Lobe Diagrams (SLD) to discuss tool length. However, research published in Springer’s International Journal of Advanced Manufacturing Technology highlights that SLD theory—which assumes a rigid workpiece—often fails in micro-assembly.
In our world, the "workpiece" (such as a 100µm gear or a thin silicon wafer) is often compliant. For a component with a stiffness of ~10 N/m, a contact force of just 1 µN causes a 100 nm displacement. This displacement is significant at the micro-scale. If your tool is too long and lacks structural stiffness, the natural frequency of the system drops. To compensate, your brain (the controller) must work faster, which can introduce instability and "hunting" at the tip, leading to accidental damage.
The Balance Point Heuristic
A tool’s balance point is arguably more critical than its total weight. If a tool is front-heavy, your fingers must fight to stabilize the tip before even beginning the task. We have found that the most effective precision tools, like the Fanttik S1 Pro Cordless Electric Screwdriver, prioritize a balanced internal weight distribution. This ensures that the tool sits naturally in a "pen grip" without requiring constant muscular correction.
Ergonomics: The Friction Points of Long Sessions
While technical precision is paramount, it cannot be separated from human ergonomics. For professionals engaged in high-volume micro-assembly, the tool is an extension of the hand.
Handle Diameter vs. Fatigue
We often see users gravitate toward ultra-slim tools for micro-work, assuming they offer better "feel." However, for tasks requiring sustained pressure—such as seating self-tapping screws into plastic—a slightly thicker handle (12mm to 14mm) is generally more effective.
- The Logic: A slightly wider grip allows the hand to maintain a more neutral posture, reducing the "pinch force" required to prevent the tool from spinning in the palm.
- The Trade-off: While a thicker handle improves comfort, it can increase the tool's mass and length, bringing us back to the conflict with rotational inertia.
Pen-Grip vs. In-Line Dynamics
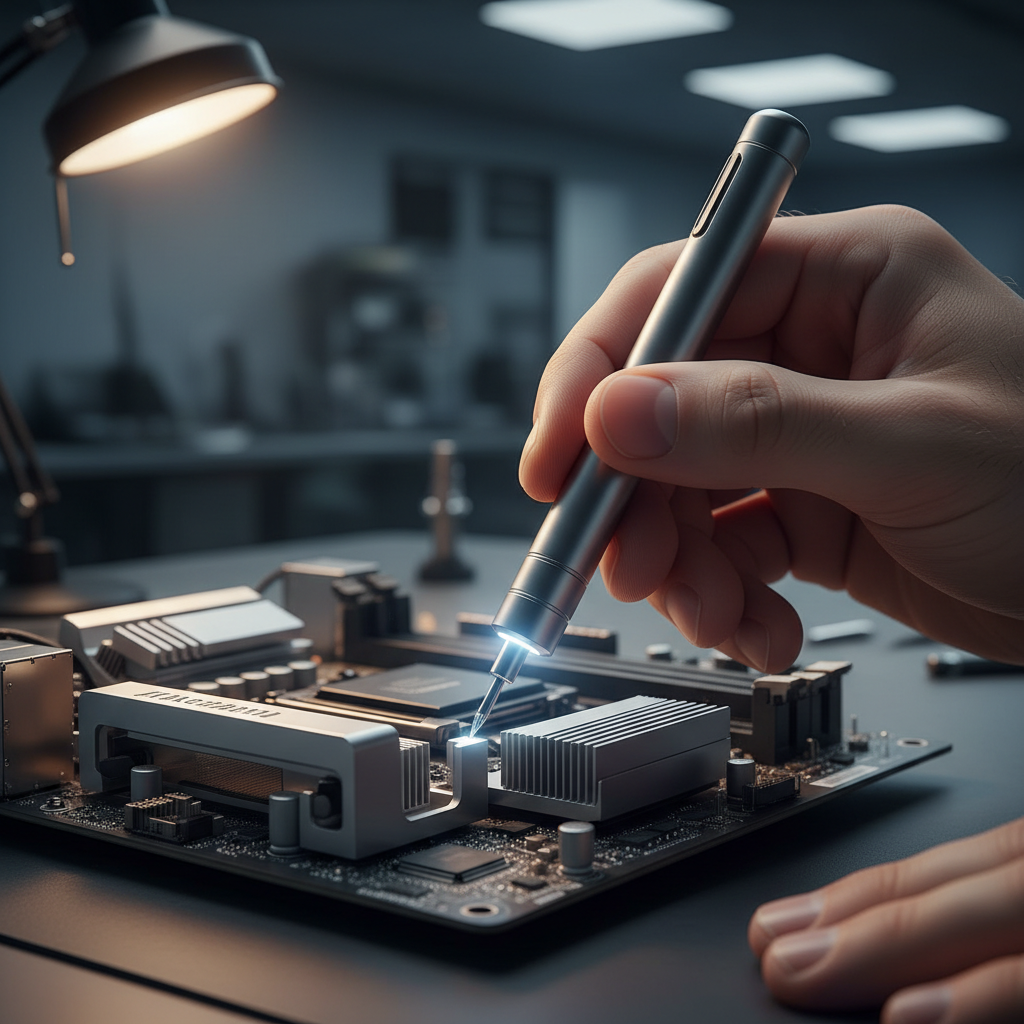
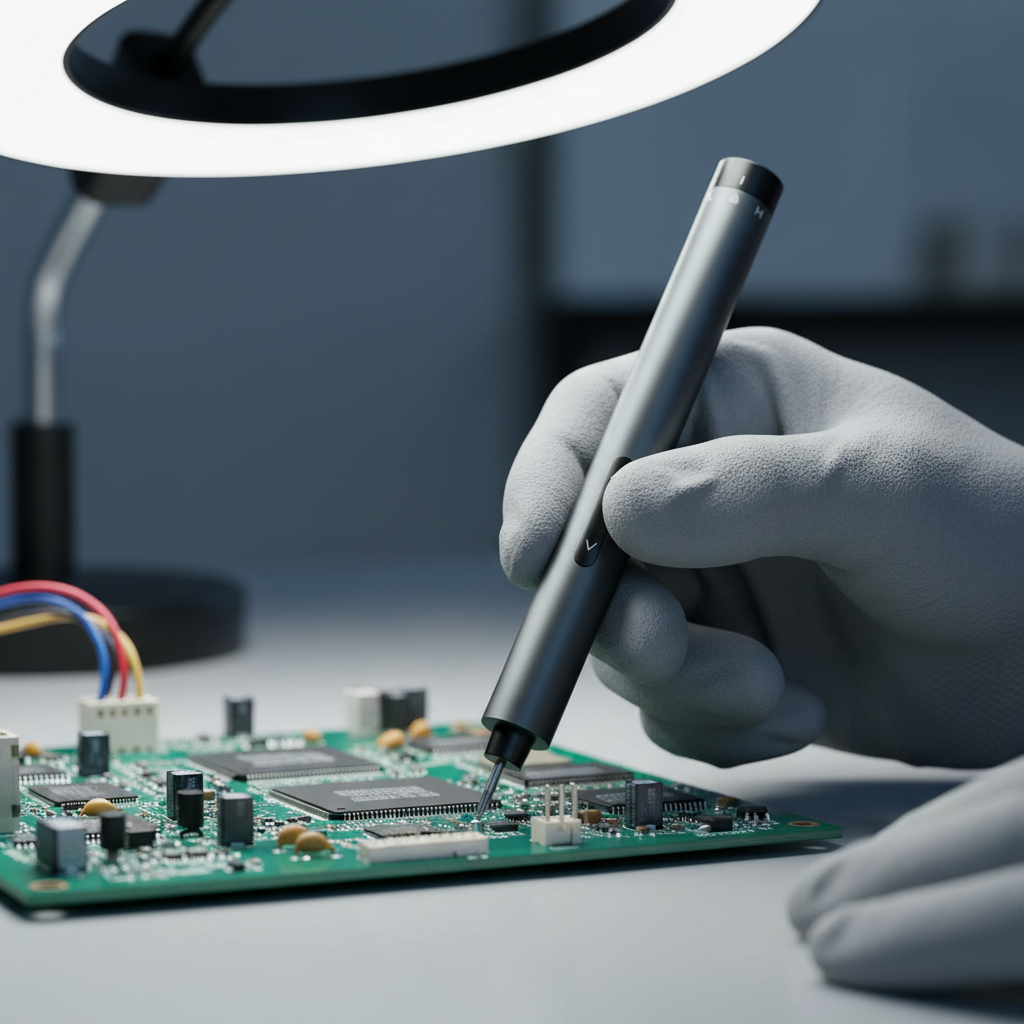
For micro-assembly, the "pen-grip" is the gold standard for control. It utilizes the fine motor skills of the thumb and forefinger. However, if the tool is too long, the back end of the screwdriver may interfere with the wrist or the line of sight. This is why many professional-grade electric drivers are designed with a sleek, cylindrical form factor that mimics a high-end drafting pen.
The Electric Shift: Redefining Throughput and Safety
The transition from manual to electric tools in micro-assembly isn't just about speed; it's about removing the human variable from the torque equation. When we use tools like the Fanttik L2 Pro Cordless Electric Screwdriver, we are fundamentally changing how we interact with the fastener.
Modeling Productivity and Ergonomic Gains
To quantify the benefit of this shift, we modeled a professional electronics repair scenario. By automating the rotation, the user can focus entirely on alignment and downward pressure, which are the two most critical factors in preventing camming out.
Modeling Note (Scenario: Professional Repair) Our analysis assumes a technician servicing 80 M2 screws per session (e.g., 2-3 laptops). This is a scenario model based on standard industry elemental times, not a controlled lab study.
Parameter Manual Value Electric Value (L2 Pro/E1 Max) Unit Rationale Time per Screw 18 4 seconds Includes alignment & seating Wrist Rotations 12 0.5 count Repetitive vs. static grip Total Session Time 24 5.3 minutes Derived from 80 screws Estimated Savings -- ~18.7 minutes Productivity multiplier Ergonomic Impact High Strain Low Strain -- Based on NIOSH MSD guidelines
Torque Safety: The Clutch is King
In micro-assembly, high torque is a liability, not an asset. Stripping a brass thread or cracking a plastic post can be a catastrophic failure. Practitioners know that a clutch that disengages smoothly at low torque (below 0.5 Nm) is the most valuable feature of an electric driver.
According to the ISO 898-1 standard for mechanical properties of fasteners, M1.6 to M2.0 screws typically require a safe torque range of 0.02 Nm to 0.1 Nm. Using a tool with a precise low-torque setting—like the 0.05 Nm mode found on modern precision drivers—provides a significant safety margin.
Complementary Tools for a Clean Workflow
Precision assembly doesn't end with the screwdriver. Maintaining a clean workspace is essential for ensuring that microscopic debris doesn't interfere with component seating or electrical contacts.
- Air Management: Using a tool like the Fanttik B10 Pro Electric Air Duster is a professional standard for clearing dust from sensitive PCB surfaces before assembly. Unlike canned air, which can spray liquid propellant, a dedicated electric duster provides a consistent, dry airflow.
- Material Modification: For makers and modelers, the Fanttik F2 PRO Cordless Rotary Tool Kit allows for the fine-tuning of parts. When a micro-component doesn't quite fit, a low-speed sanding or carving pass (using the Revostor Hub for precision control) is often the only way to achieve the required tolerance.
Decision Framework: Choosing Your Tool Length
When selecting a tool for your next project, use this decision matrix based on our shop-floor observations and technical modeling.
| Task Profile | Recommended Tool Length | Grip Style | Priority Feature |
|---|---|---|---|
| Deep Recess (e.g., Appliance Repair) | 150mm+ | In-line / Palm | Reach & Visibility |
| Mobile Device (M1.2 - M2.0 screws) | < 120mm | Pen-Grip | Low-Torque Clutch (<0.1 Nm) |
| High-Volume Assembly (40+ screws) | Electric (Balanced) | Hybrid | Ergonomic Sustainability |
| Model Building / Crafts | Variable (Rotary) | Pen-Grip | Speed Control (RPM) |
Common Pitfalls and "Gotchas"
- The "Long Bit" Trap: Sometimes users try to gain reach by using an extra-long bit in a short driver. This often shifts the balance point too far forward, making the tool feel "tippy" and reducing your ability to sense the screw’s thread engagement.
- Overtightening in Plastic: Always start your screws manually for half a turn to ensure they aren't cross-threaded, then use the electric driver for the long "run-down" phase.
- Ignoring the IP Code: If you are working in environments with fine dust or moisture, ensure your tools are rated according to IEC 60529 (IP Codes). A tool with internal ingress protection will maintain its precision long after unprotected tools have seized.
Engineering Trust in Every Turn
Ultimately, the goal of micro-assembly is to build something that lasts. This requires a commitment to using the right tool for the right task, backed by an understanding of the underlying physics. As noted in the industry white paper The 2026 Modern Essential Gear Industry Report: Engineering Trust in a Cordless World, modern tool design is moving toward a "Trust Architecture." This means tools are no longer just about raw power; they are about visible compliance, truthful performance claims, and predictable results.
By choosing a tool length that respects the 5-6x diameter heuristic and prioritizing ergonomic balance over marketing superlatives, you are not just fixing a device—you are practicing the art of precision engineering.
Disclaimer: This article is for informational purposes only and does not constitute professional engineering or safety advice. Always refer to the manufacturer's service manual for specific torque specifications and assembly procedures for your device.
References & Sources
- EU General Product Safety Regulation (EU) 2023/988
- ISO 898-1: Mechanical properties of fasteners
- NIOSH: Musculoskeletal Disorders and Workplace Factors
- Springer: Surface location error prediction and stability analysis of micro-milling
- PubMed: Ergonomic Handle Configuration Study
- Fanttik: The 2026 Modern Essential Gear Industry Report
Leave a comment
This site is protected by hCaptcha and the hCaptcha Privacy Policy and Terms of Service apply.