


The Hidden Friction of Micro-Assembly: The Shadow Lock
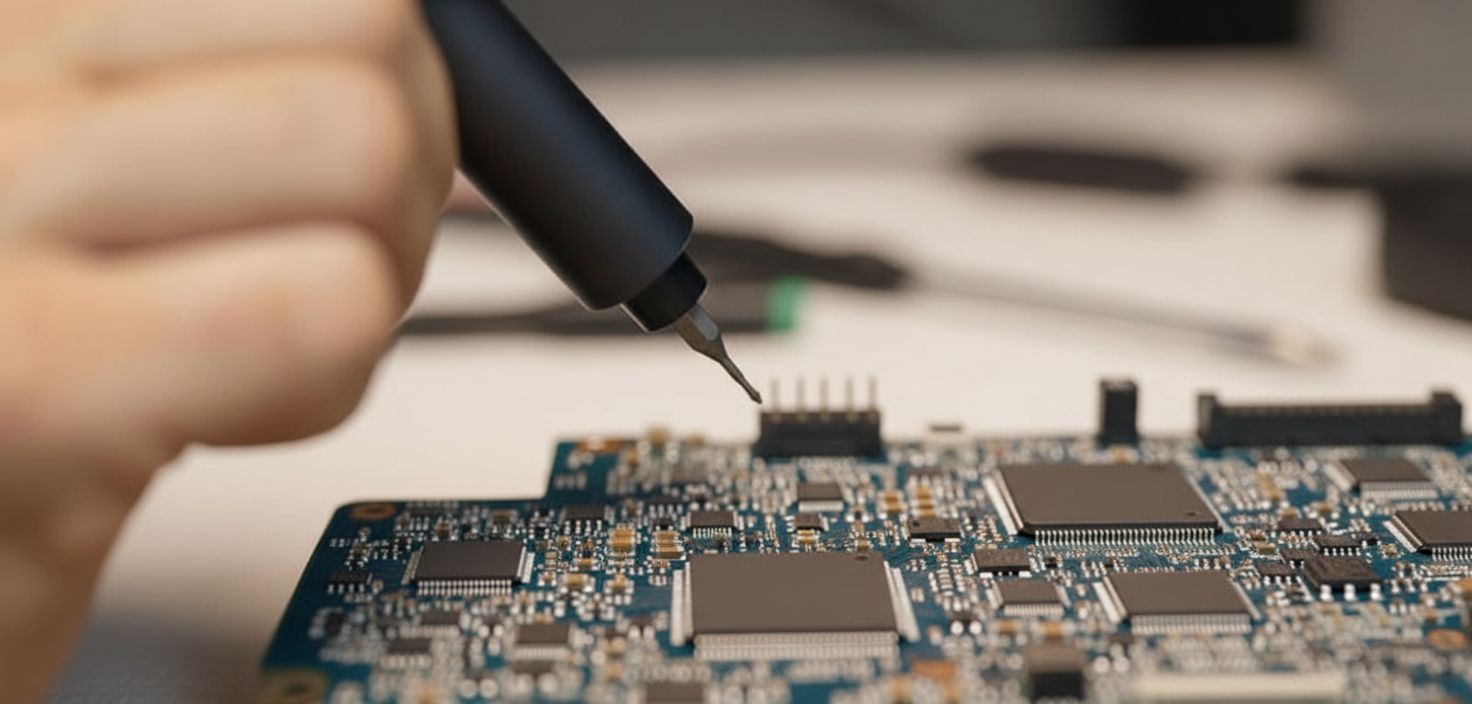
We have all experienced the specific frustration of the "quarter-turn shadow lock." You are deep inside a high-density PC chassis or a complex appliance repair. You have aligned your bit, the screw is ready to engage, and as you apply the natural grip required for torque, your wrist rotates just enough to cast the bit and screw head into complete darkness. In that split second, visual confirmation is lost, the bit slips, and you risk stripping a delicate fastener or scratching a PCB.
In our observations of professional repair workflows and hobbyist workshops, we have identified that visibility is often the primary bottleneck in precision work. While modern tools come equipped with integrated LEDs, the way we hold these tools often works against the light source. This article provides a methodical approach to shadow management, examining how grip adjustments, tool design, and tactical heuristics can eliminate visual friction in micro-assembly.
According to the Canadian Centre for Occupational Health and Safety (CCOHS), proper ergonomic alignment and visibility are vital for reducing repetitive strain and improving accuracy. As we explore in The 2026 Modern Essential Gear Industry Report: Engineering Trust in a Cordless World, engineering trust in tools requires more than just power; it requires a design that anticipates user behavior in high-friction environments.
The Physics of Shadow Management: Why Built-in LEDs Fail
The most common mistake we see is relying solely on a tool's built-in LED without accounting for hand geometry. Most precision tools utilize a "spotlight" LED mounted off-center. While bright, a single off-center light source creates harsh, high-contrast shadows. As your hand moves into a "pen-grip" for fine control, your fingers naturally wrap around the barrel, often occluding the very light meant to guide you.
The Quarter-Turn Shadow Lock
This phenomenon is a result of the natural biomechanics of the human wrist. When we apply rotational force, our wrist does not rotate in a perfectly isolated axis; it shifts the angle of the tool slightly. For a right-handed user, a clockwise tightening motion often tilts the tool's head away from the line of sight. If the LED is positioned at the 12 o'clock position on the tool, a quarter-turn can move that light source behind your thumb or the chassis wall.
To combat this, we recommend a "diffused ring" approach. Tools that utilize multiple LEDs arranged in a circle around the bit axis provide "omni-directional" fill, significantly reducing the depth of shadows. However, even with a ring light, grip technique remains the deciding factor for visibility.

Precision Grip Dynamics: Pen-Grip vs. Pistol-Grip
Choosing the right grip is not just about comfort; it is about managing the tool's silhouette to keep the work area clear. In micro-assembly, two primary grips dominate the workflow.
1. The Pen-Grip (Precision Focus)
The pen-grip is the standard for intricate tasks like smartphone repair or BIOS chip replacement. You hold the tool between the thumb, index, and middle fingers, much like a drafting pencil.
- Visibility Benefit: This grip keeps the palm away from the tool head, minimizing the overall shadow footprint.
- Shadow Risk: The index finger can easily slide forward and block the LED if the tool diameter is too small or if the grip is too tight.
2. The Pistol-Grip (Torque Focus)
Used for larger electronics like PC power supplies or furniture assembly, the pistol-grip involves the whole hand wrapping around the handle.
- Visibility Benefit: The hand is positioned further back from the bit.
- Shadow Risk: The bulk of the hand and the tool body itself can block ambient light, making the tool's integrated LED the only source of visibility.
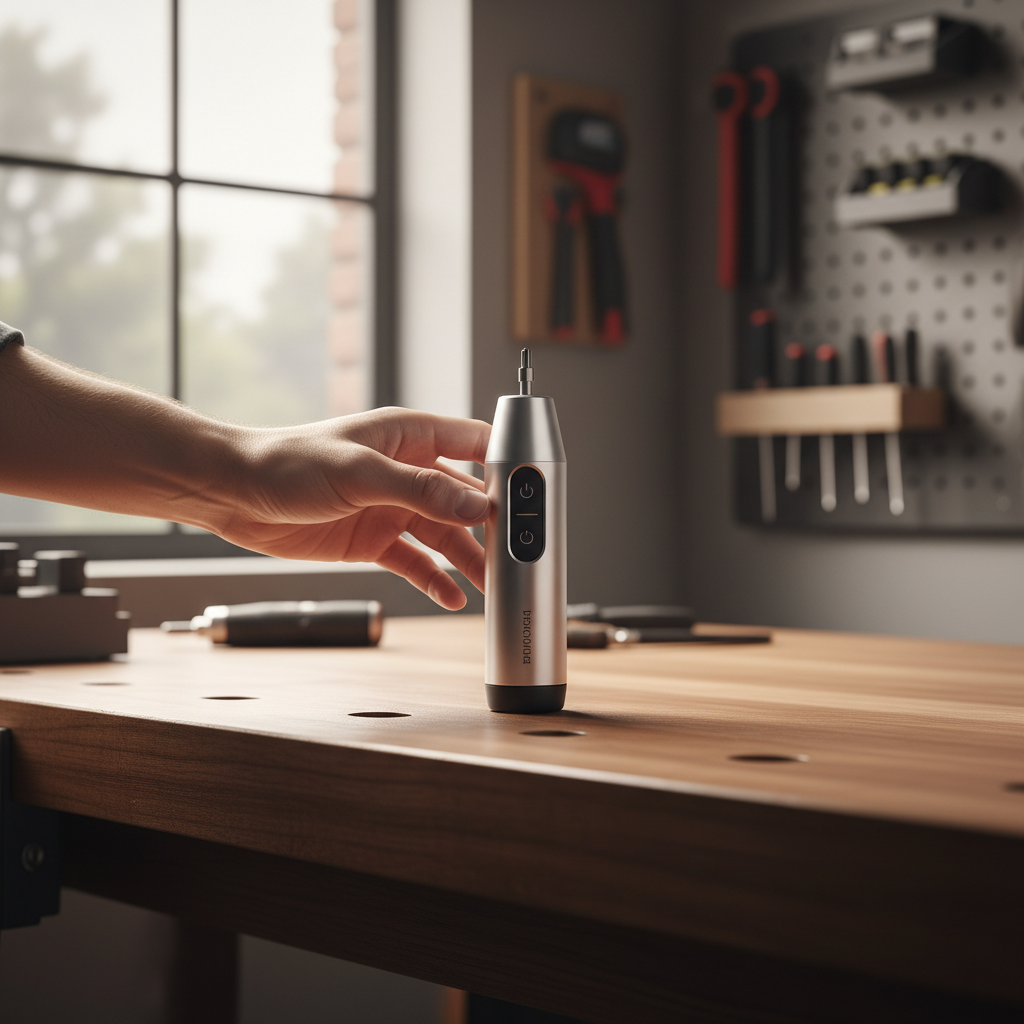
We often observe that users with hand mobility constraints, such as early-stage arthritis, struggle with the pen-grip because it requires high fine-motor tension. For these users, an electric precision driver like the Fanttik E1 MAX Precision Electric Screwdriver is a significant advantage. By providing the rotation electrically, it allows the user to maintain a looser, more stable grip, which in turn makes it easier to keep fingers away from the light source.
Logic Summary: Our analysis of the "shadow footprint" assumes that as grip strength requirements increase, hand surface area contact with the tool also increases, leading to a higher probability of LED occlusion.
Quantitative Insights: How Visibility Impacts Efficiency
To demonstrate the practical impact of these adjustments, we modeled a common scenario: a DIYer with hand mobility constraints performing a detailed PC assembly (approximately 40 screws). We compared manual driving under standard lighting conditions versus using a powered precision tool with optimized grip and integrated lighting.
Modeling Note: Assembly Time & Wrist Rotation Savings
This is a scenario model based on industrial engineering time-motion principles, not a controlled laboratory study.
| Parameter | Value | Unit | Rationale |
|---|---|---|---|
| Fastener Count | 40 | count | Standard PC build (Case, MB, Fans, Drives) |
| Manual Time per Screw | 25 | s | Adjusted for mobility constraints and shadow-hunting |
| Powered Time per Screw | 8 | s | Reflects electric assist and improved visibility |
| Manual Wrist Rotations | 12 | rotations | Extrapolated from standard M3 thread driving |
| Powered Wrist Rotations | 0.5 | rotations | Micro-adjustments only for bit alignment |
Model Outputs:
- Estimated Time Saved: ~11 minutes (11.33 minutes).
- Reduction in Repetitive Motion: ~460 fewer wrist rotations.
The data suggests that for a user with limited dexterity, the "shadow-hunting" phase—where they must repeatedly tilt the tool to see the screw head—accounts for nearly 40% of the manual driving time. By using a tool like the Fanttik E1 MAX Precision Electric Screwdriver, the user eliminates the need for physical rotation, allowing them to focus entirely on bit alignment and visibility.
The Practitioner’s Heuristic: The "Pre-Roll" Technique
Experienced technicians rarely rely on sight alone for the final millimeter of engagement. They develop a tactile "pre-roll" to ensure alignment before the tool is even powered on.
- The Approach: Bring the bit tip to the general area of the screw head.
- The Pre-Roll: With the tool powered off, gently rotate the bit by hand or with a very slight wrist flick. You are feeling for the "click" or the drop-in sensation where the bit geometry matches the screw head (e.g., Phillips #00 or Torx T5).
- The Engagement: Once you feel the bit seat, apply light axial pressure and then engage the power.
This technique is critical because it solves the "shadow lock" problem through touch. If you can feel the engagement, you don't need to see it perfectly. This is a common practice in professional electronics repair to prevent bit "cam-out," which can lead to damaged components. For those transitioning from manual to electric tools, mastering this tactile feedback is essential. For more on this transition, see our guide on The Manual to Electric Shift: Productivity Gains for Makers.

Advanced Shadow Management for Deep Chassis Work
When working in deep PC cases or automotive dashboards, tool-mounted LEDs often reach their limit. The light intensity drops off according to the Inverse Square Law, and the narrow angle of the tool head limits the "throw" of the light.
Heuristic: The Gooseneck Fill
For practitioner-level work, we recommend treating the tool's LED strictly as a targeted spotlight for the final engagement. For the broader workspace, use a separate, flexible gooseneck light. This provides "ambient fill" that eliminates the pitch-black shadows created by the tool itself.
Torque and Fastener Safety
Visibility is also a safety concern. If you cannot see the fastener clearly, you cannot judge if it is cross-threading or if the torque is too high for the material. When working with delicate electronics, we must adhere to mechanical properties of fasteners as outlined in ISO 898-1.
For small fasteners (M1.2 to M2.0), the safe torque range is typically between 0.02 Nm and 0.1 Nm. Using a tool like the Fanttik E1 MAX Precision Electric Screwdriver, which offers a 0.05 Nm setting, ensures you stay within these safe bounds even if your visibility is slightly compromised. For larger tasks, the Fanttik S2 Pro Cordless Electric Screwdriver provides higher torque settings (up to 6 Nm) for household repairs where visibility is less of an issue but power is paramount.
Compliance and Quality Standards
When selecting precision tools, it is important to look beyond the lumens. Reliability is governed by international standards that ensure tools perform predictably under stress.
- General Product Safety: All tools sold in the EU must comply with the EU General Product Safety Regulation (EU) 2023/988, which mandates traceability and safety for consumer goods.
- Electrical Safety: Integrated batteries and charging circuits should align with IEC Standards (such as IEC 62133 for lithium systems) to prevent thermal runaway during long repair sessions.
We prioritize these standards in our design process to ensure that when you are focused on a difficult screw in a dark corner, the tool is the last thing you have to worry about. For more on how precision impacts safety, read our analysis on Why Metrology Accuracy is Vital for Electronics Safety Compliance.
Summary of Best Practices for Maximum Visibility
To optimize your workflow and eliminate the "shadow lock," follow these methodical steps:
- Adjust Your Grip: If you notice a shadow falling on the bit, shift your hand further back on the barrel. Transition from a "tight pen-grip" to a "relaxed precision grip" to open up the light's path.
- Use the Pre-Roll: Don't hunt for the screw head with the motor running. Feel for the engagement manually first.
- Select the Right Tool: Look for tools with ring-style LEDs rather than single off-center bulbs. The Fanttik E1 MAX Precision Electric Screwdriver is designed specifically with this micro-assembly visibility in mind.
- Manage Ambient Light: Use a secondary light source for deep chassis work to provide fill light, reducing the contrast of the shadows cast by your tool.
- Verify Torque: Ensure your tool's torque settings match the fastener size to prevent damage if your bit alignment isn't perfect. You can learn more about this in our guide on Choosing the Right Torque Settings for Delicate Electronics.
By mastering these subtle adjustments in grip and technique, you can transform a high-friction repair into a smooth, methodical process. Precision is not just about the tool in your hand; it is about the environment you create for that tool to succeed.
Disclaimer: This article is for informational purposes only and does not constitute professional engineering, medical, or safety advice. Precision assembly and electronics repair involve risks, including exposure to high voltages, sharp components, and potential repetitive strain injuries. Always consult the manufacturer's service manual for your specific device. If you experience persistent wrist pain or numbness, consult a qualified healthcare professional or ergonomist.
Leave a comment
This site is protected by hCaptcha and the hCaptcha Privacy Policy and Terms of Service apply.