












































You can use a detail sander on a thin veneer tabletop, but only for light surface prep. It is the wrong tool for stripping a finish or leveling deep damage. Veneer is a thin layer of real wood glued over a base, so aggressive sanding can cut right through it.
Before you start, confirm the top is veneer and find out how your sander moves the pad. If the tool's action is unclear, or the job calls for heavy removal, put the sander down and use a hand sanding block.
Can You Use a Detail Sander on Veneer?
Yes, provided the tabletop is confirmed veneer, the task is light surface prep, and the tool's action suits delicate wood. FormWood's veneer-specific sander guidance emphasizes that preventing sand-through is the primary goal, describing the process more like gentle polishing than leveling.

Tool type matters more than the name on the box. FormWood says a random orbital sander can be used on veneer with a very light touch and a steady hand. It generally does not recommend quarter-sheet or half-sheet palm sanders. Those vibrate in one direction, which can be too aggressive and leave visible scratch patterns. "Detail sander" is a label, not a sanding action, so check your manual to see how the pad moves and what the maker says about its use.
Start by identifying what you're working on. Look at the tabletop's edges and underside for signs of a thin face layer over a different base material. If you can't confirm it's veneer, don't treat it like solid wood.
Next, match the tool to the job:

- Light prep, like scuffing before a new coat or smoothing minor roughness: a suitable sander used gently can work. FormWood still suggests starting by hand, since it gives you the most control and lets you feel the surface.
- Removing a thick old finish or sanding out gouges and deep stains: this goes past light prep. A detail sander used this way can remove the veneer before the problem is gone.
- Unknown tool action or no clear manual guidance: use a hard rubber or cork sanding block instead.
How to Limit Abrasion on the Tabletop and Edges
Keep the Sanding Light and Moving
FormWood's technique advice for the broad face of the top applies whether you sand by hand or with a power tool:
- Use light pressure. Let the abrasive do the cutting. Pressing down removes material too fast.
- Keep the tool moving. Pausing in one spot, even briefly, can leave a dip or burn through the veneer.
- Work with the grain. Cross-grain scratches show up clearly once stain goes on.
- With an orbital sander, keep it flat. Tilting it puts pressure on the pad's edge, where it can dig in.
- Start and stop off the wood. Bring an orbital sander to full speed before it touches the surface, and lift it off before you switch it off.
- Clear dust between grits. A vacuum brush or tack cloth keeps loose abrasive grit from scratching the surface.
None of these steps makes sand-through impossible. They slow the rate of removal so you have time to notice trouble. Stop often and look at the surface in good light.
Know what you are looking at when you stop. Fine Woodworking points out that different species behave differently. In its example, a softer, thinner wood could sand through before a harder, thicker one, even with a flat block. It also notes that a dark spot may just be a knot that needs no more sanding. A dark spot next to a seam, though, could be glue that hasn't been fully sanded off yet.
Hand-Finish Vulnerable Edges
Take the power tool away before you reach the edges. Oakwood Veneer's advice for vulnerable edges says the edges are where veneer is most vulnerable. It recommends light, even pressure on a sanding block there. A flat block spreads pressure over the whole contact area. Paper wrapped around your fingers creates pressure points that can cut through.
Make short, controlled strokes along the edge, with the grain, and let the block stay flat on the face. Oakwood also says to stop once the surface feels smooth to the touch. Extra passes at the edge add risk without making the finish better.
Oakwood is more cautious about power tools than FormWood. It advises avoiding power sanders on veneer altogether and using a wooden or foam sanding block instead. It also recommends wiping off dust regularly with a tack cloth or clean cloth. Built-up dust can form a paste that clogs the sandpaper and scratches the veneer, and edges have little material to spare.
FAQs
Can I use 150-grit sandpaper on any veneer tabletop?
Not as a universal rule. FormWood gives 150-grit as a starting point for most raw wood veneers. It advises against coarser grits like 80 or 100 because they're too aggressive for veneer. A finished tabletop is a different situation from raw veneer, and published veneer projects use different grit sequences. For raw veneer, FormWood's sequence moves from 150 to 180 and then 220. It says sanding beyond 220 is generally unnecessary and can keep some stains from absorbing evenly. Fine Woodworking's veneer project used 120, then 220, then a gray scotch pad. Treat those numbers as context-specific, and start with the gentlest grit that does the job.
How can I tell whether my detail sander is suitable for veneer?
Check the manual for how the pad moves. If it describes a random-orbit action, FormWood's cautious-use guidance applies. If it works like a single-direction sheet or palm sander, the same veneer guidance generally discourages it. If the manual doesn't make the action clear, use a hand block.
Does a color change always mean veneer is about to sand through?
No, but it's a reason to stop and look. In Fine Woodworking's example of a color-change warning, a spot that looked slightly more yellow was glue about to be exposed. The author advises not sanding that area any further. On your own tabletop, a color shift could have another cause, so pause there and inspect it before you sand again.
Continue reading
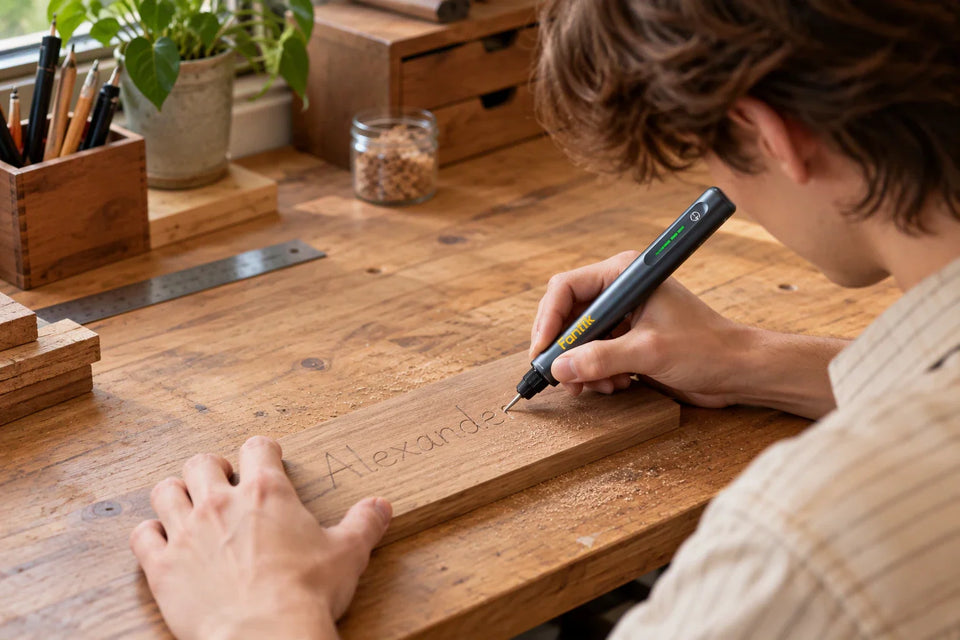 Engrave a Name on a Wooden Gift: Practice Before the Finished Piece
A practice-first method for lettering a name on wood: plan the layout, rehearse on scrap, secure the gift,...
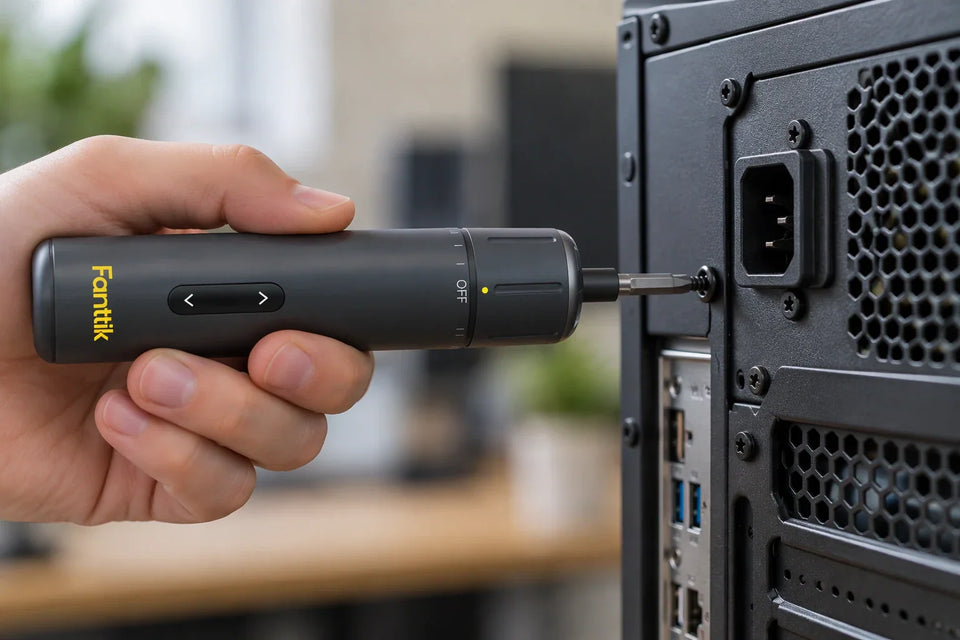 Desktop PC Case Assembly With an Electric Screwdriver: Protect Threads and Components
A practical guide to using powered drivers on desktop PC chassis screws: when manual control wins, how to...

Leave a comment
This site is protected by hCaptcha and the hCaptcha Privacy Policy and Terms of Service apply.