












































To pressure-wash pavers before sealing, start by checking the instructions for your pavers, joint sand, washer, and sealer. Then test a gentle fan spray on a spare paver and keep the stream off the joints. After that, rinse the area well, inspect the joints, and refill any that washed out.
Seal only after the area meets your sealer's written drying and weather conditions. A paver face that looks dry is not enough by itself. Many sealers also set rules for elapsed time, surface temperature, and damp substrate below the surface.
Check the Materials and Test a Controlled Wash
There's no single safe pressure or nozzle distance for every patio, so go through these checks before you wash the whole area.

- Identify the pavers and read their care guide. Unilock's paver-washing guidance says many pressure washers have enough power to expose the aggregate on the paver surface. It also says nozzle style, distance from the surface, and pressure (PSI) all affect the result.
- Check the joint material's cleaning limits. Polymeric sand can restrict when you're allowed to wash. Techniseal's EZSAND datasheet restricts high-pressure washers during the first 30 days. It also says the joints must harden before you clean or seal. The typical minimum wait is 30 days, but it varies with climate and how the pavers were installed. If your joints are newer than that, hold off on pressure washing.
- Read your washer manual. Look for the settings and soft-spray accessories it allows. Don't copy settings from another machine. Techniseal also points users to the washer maker for soft-jet accessories. For more general precautions, see our guide to pressure washer etching and safety.
- Read the sealer's prep steps before you wash. Some sealers ask for a specific cleaner or a specific drying time after cleaning. Plan the wash around those steps.
- Test before the full wash. Unilock recommends testing on several spare stones left over from the original installation. If you don't have spares, use a small hidden corner.
- Stop if the test causes damage. Change methods if the test roughens or marks the surface or moves joint sand. Switch to a gentler approach that your washer and paver instructions allow.
Inspect the Surface and Joints After Washing
A clean paver face doesn't mean the joints made it through. Unilock's fan-spray guidance says sand stays in the joints when you use a fan nozzle and keep the spray from blasting straight into them. Even with that care, inspect every section after the final rinse:
- Leftover cleaner or soil. If you used a cleaning product, rinse it off completely and send the runoff toward suitable drainage points.
- Surface marks. Look for streaks, lap lines, or spots where the aggregate is now exposed. If you find these, your spray was too aggressive for the remaining sections.
- Eroded joints. Unilock's post-cleaning inspection guidance says to check the sand joints after cleaning and re-sand any that have eroded.
- The right refill method. Refill joints only with a compatible jointing product, and follow that product's own installation and cure steps. Polymeric sand and ordinary sand are not installed the same way.
If you plan to clean nearby concrete as well, our concrete deep-cleaning guide explains how to contain wash water.
Use the Sealer's Drying Criteria to Decide When to Seal
Your sealer's datasheet decides when the pavers are ready, not how they look. Check for three main requirements: a minimum drying time, observable substrate conditions, and strict weather windows. For concrete pavers, Techniseal's WL-87 drying requirements mandate that the surface be clean, dry, and warm to the touch, requiring at least 24 hours of drying after cleaning or rain while barring damp substrates.
The weather can also delay sealing after the surface dries. WL-87's application conditions require temperatures between 40°F and 95°F during application and for the next 24 hours. No rain can be in the forecast for the next 24 hours either. These numbers apply only to WL-87. If you use a different sealer, look up its own values. If the datasheet names joints or the substrate, check those areas too, not just the paver faces.

FAQs
Does EZSAND's 30-day wait mean the joints are ready for any sealer?
No. The 30-day wait is a minimum for the joints to harden, and it applies only to EZSAND. Once you wash the pavers, your sealer's own drying rules after cleaning still apply.
Why might EZSAND joints stay damp when the paver faces look dry?
Moisture can be held below the surface. Techniseal's EZSAND drainage guidance says the bedding layer has to drain properly for the joint sand to dry. Some bedding materials hold moisture. If the joints stay soft or dark after the faces dry, wait before you seal.
Does WL-87's 24-hour drying minimum apply to every paver sealer?
No. That minimum comes from the WL-87 datasheet. Other sealers may set different times or conditions, so use the datasheet for the exact product you're applying.
Can a battery pressure washer handle paver prep?
It depends on how big the job is and which washer you have. Our article on whether battery-powered pressure washers are worth it explains when a cordless model is enough and when a corded model works better for longer jobs.
Continue reading
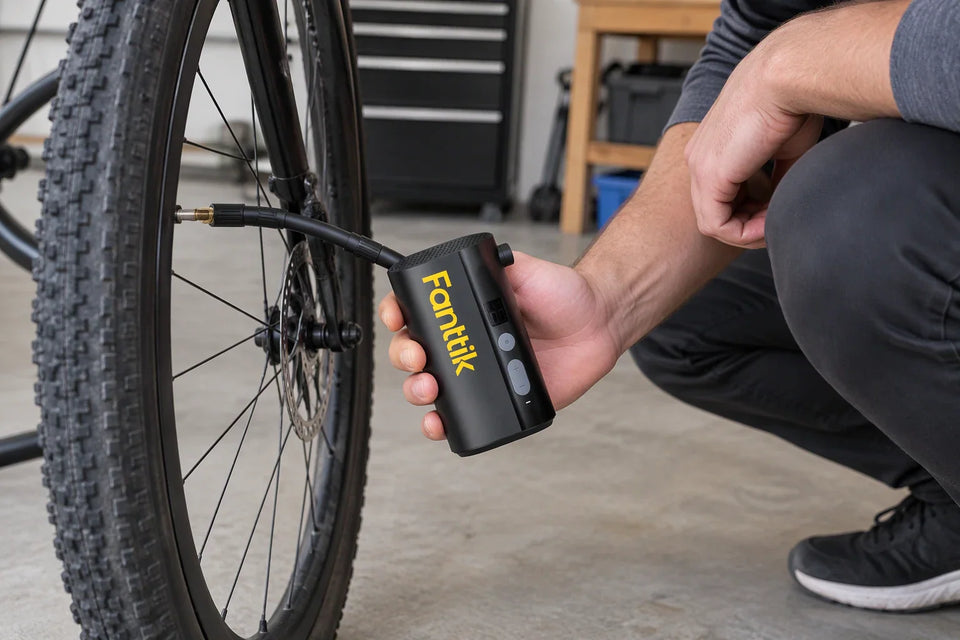 Before Your First Spring Ride, Test Your Bike Tires and Mini Pump
A pre-season checklist for cyclists: spot tire damage, set pressure within the tire's marked range, and confirm your...
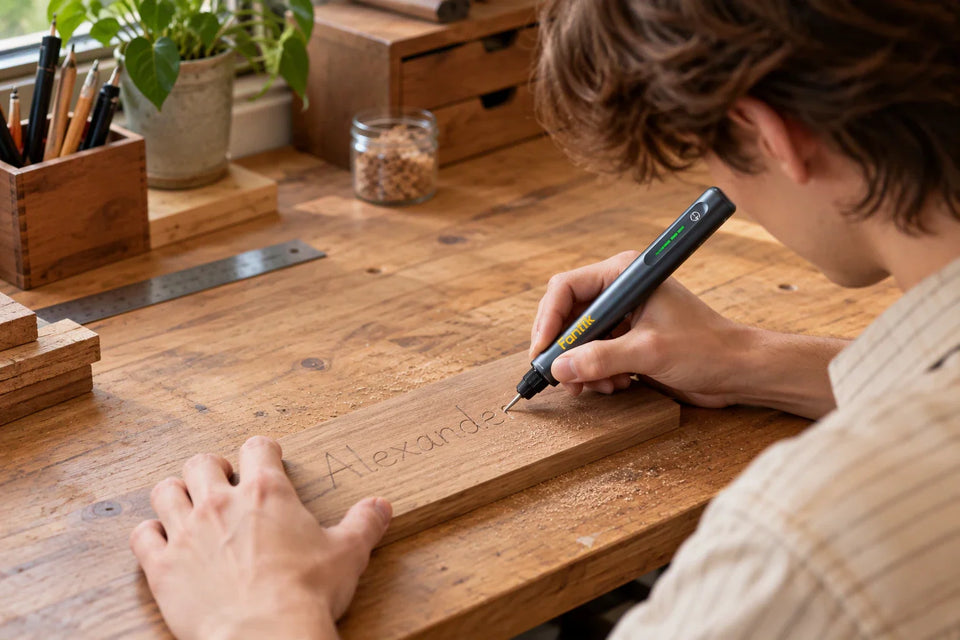 Engrave a Name on a Wooden Gift: Practice Before the Finished Piece
A practice-first method for lettering a name on wood: plan the layout, rehearse on scrap, secure the gift,...
Leave a comment
This site is protected by hCaptcha and the hCaptcha Privacy Policy and Terms of Service apply.