












































Good spring bike prep starts a day or two before your first ride. Inspect both tires for damage and find the pressure range printed on each sidewall. Then test your mini pump on your bike's valve so you know it seals and pushes air into the tire.

If the pump is rechargeable, check its charge as well. A manual pump doesn't need charging. Doing all of this early gives you time to fix a damaged tire, a slow leak, or a pump that won't connect before you head out.
Inspect Both Tires and Find the Right Pressure Range
Do the tire check before using a mini bike pump to add any air. A pump test can show that air gets in, but it can't tell you whether the tire is in good shape.
- Check the tread. Spin each wheel slowly and look for cuts, nicks, and worn spots. Pick out any stones, glass, or gravel stuck in the tread. Continental's tread and sidewall inspection signs also list a flat spot or bare canvas in the middle of the tread as a sign the tire needs replacing.
- Give the rear tire a closer look. Because of how a rider's weight is distributed, the rear tire usually wears faster than the front.
- Check the sidewalls. Look for tears or bulges. A tear can grow until the inner tube bulges out through it.
- Look at the bead line. The bead is the edge of the tire that sits in the rim. It should look even all the way around. If it doesn't, let the air out and reseat the tire.
- Read the pressure range on the sidewall. According to Schwalbe, no single pressure suits every bike or tire. The right number depends mostly on the load on the tire, which means your weight plus anything you carry. Never go above or below the tire-specific pressure range and limits printed on the sidewall. Use a gauge rather than a thumb squeeze to check pressure.
The maximum PSI on your pump is not a target for your tire. It only tells you how much pressure the pump can produce. Your tire's sidewall range is what sets the limits. If you can't read the sidewall, look up the tire or bike maker's guidance. Don't guess.
Test the Pump on Your Bike's Valve
This test confirms that the pump connects and moves air. It doesn't tell you anything about the tire's condition or whether the tire holds air.
- Match the pump to your valve. Identify your bike's valve type. Then check your pump's instructions to see whether its head or included adapter supports that valve. If the pump has a conversion step, follow those instructions.
- Check the charge on a rechargeable pump. Look at its battery indicator or display. If the battery is low or you can't tell how much charge is left, recharge it according to the pump's own instructions. A manual pump has no battery, so you can skip this step.
- Remove the valve cap and attach the head. Tern's guide says to secure and reseat the pump head with its lever or threaded top. If you hear air leaking from the pump instead of going into the tire, detach the head and reattach it to get a better seal.
- Inflate while watching a gauge. Pump to your chosen pressure within the sidewall range. The tire should firm up and the gauge reading should rise steadily.
- Detach the pump and replace the cap.

Resolve Problems Before Setting Out
If your inspection or pump test reveals an issue, address it before your ride rather than risking a breakdown on the road. Fix leaks, replace damaged rubber, or swap faulty gear while you are still at home.
- Tear, bulge, or bare canvas: Don't ride on it. A sidewall tear or exposed canvas is damage that warrants tire replacement, so replace the tire or have a bike shop look at it first.
- The tire was firm a few days ago and is noticeably soft now: A major pressure drop over a few days points to a slow puncture in the inner tube. Find and fix it before your next ride.
- The bead line still looks uneven after reseating: Deflate the tire and reinstall it before you inflate it to full pressure.
- The pump still leaks or won't inflate: First reseat the head and double-check the pump's valve setup and charge. If it still fails, bring a compatible pump that works or put off the ride until you have one.
FAQs
How should the riding surface affect pressure within the tire's range?
Tern suggests pressure choice within the marked range based on where you'll ride. Higher pressure rolls more easily on smooth pavement. Lower pressure gives more grip and absorbs more shock on rough roads or in wet conditions. Either way, stay within the limits on the sidewall.
Can the front and rear tires use different pressures?
Yes. If cargo on a rear rack puts much more weight on the back wheel, Tern recommends running the rear tire at a somewhat higher pressure than the front. Keep each tire within its own marked range.
Does the valve cap keep air in?
No. Tern notes the cap isn't needed to stop air from leaking out. It does help keep dirt out of the valve, so put it back on after you inflate.
Should I aim for the maximum pressure on the sidewall?
Not by default. Tern warns against overinflating. An overinflated tire passes more bumps through to you, can make the bike harder to handle, and can raise your risk of a flat. Start inside the range and adjust for comfort and handling.
Continue reading
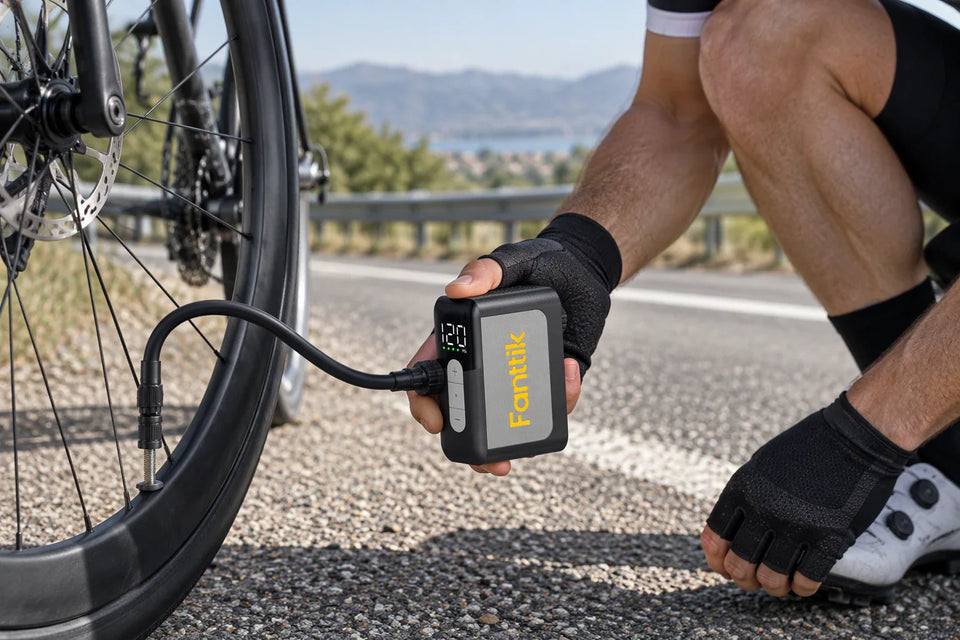 Choosing a Mini Electric Pump for Long Road Rides
A practical way for road cyclists to match a compact electric inflator to their tire, route length, and...
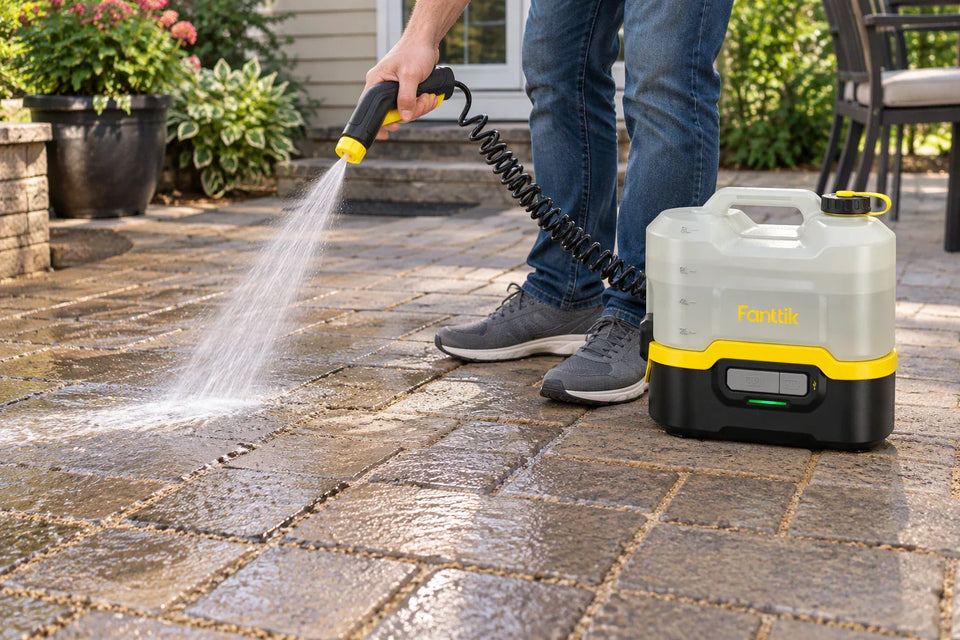 Pressure-Washing Pavers Before Sealing: Clean Gently and Let the Base Dry
A step-by-step prep guide: check paver and joint-sand limits, test a controlled wash, repair eroded joints, and use...
Leave a comment
This site is protected by hCaptcha and the hCaptcha Privacy Policy and Terms of Service apply.