

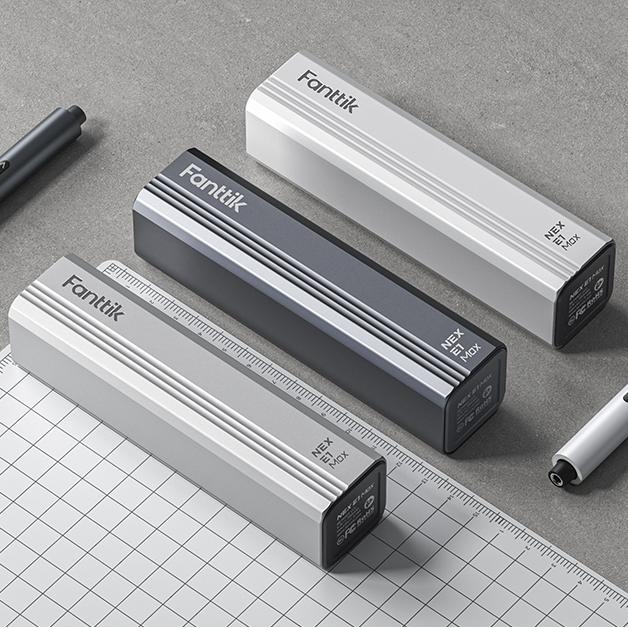






























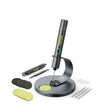





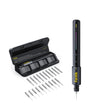


Use a detail sander only on the parts of the handrail where its pad sits flat and even, such as the broad sides and corners you can reach. Hand-sand the rounded top and any molded curves that the pad can't fully touch. That way you keep the rail's shape instead of flattening it.
Before you start any stair handrail sanding, check what the old finish is and cover the stairs around the rail. If the paint could contain lead, plan the job differently before the sander touches it.
Where a Detail Sander Fits on a Handrail
Pad contact determines where the sander works. If the whole pad rests completely flat with no gaps or rocking, you can use the machine there. Wide flat sides, flat bottom edges, and reachable inside corners usually pass this test.
If only the tip or one edge of the pad touches, stop using the sander on that area. A pad that rides on one edge puts all the cutting force on a small spot. On a rounded top, that can grind a flat spot or blur the edges of a decorative profile.
Here's how that plays out on a rail with a flat side and a rounded top. The pad sits evenly on the side, so you sand that face with the machine. On the top it rocks, so you switch to hand sanding and follow the curve. Some detail sanders come with shaped pads made to fit molding profiles. A shaped pad only counts as a fit if it matches your rail's curve.

Check the Finish and Protect the Stairway
Before you start sanding, identify the coating and seal off the work area. If the paint could contain lead, stop and set up full containment rather than relying on ordinary drop cloths.
- Decide how much finish you're removing. A light scuff so a new coat will stick is a different job from stripping down to bare wood. Your goal decides how hard you sand and what abrasive you choose.
- Check whether the coating could contain lead. EPA's pre-1978 lead-paint warning says homes built before 1978 are more likely to have lead-based paint. It also says sanding paint that contains lead can create hazardous dust and chips. If your rail is painted and the house is that old, stop here. EPA recommends hiring a lead-safe certified contractor for this work. If you do it yourself, use EPA's lead-safe practices in the next step.
- Set up for lead-safe work if lead is possible. Covering the stairs with a drop cloth isn't enough. EPA's lead-safe DIY practices call for sealing off the work area and keeping non-workers out. They also call for frequent HEPA vacuuming and bagging and sealing all waste so dust and debris can't escape.
- Protect nearby surfaces for routine sanding. Cover the treads and the floor below. Tape off the balusters, newel posts, and walls where the rail meets them so stray passes don't scuff those finishes. Move rugs and other items out of the stairway.
- Catch dust where it's made. OSHA's workplace source-capture guidance names collectors placed where dust is produced as the preferred engineering control for wood dust. That guidance is written for workplaces. At home, the closest match is the dust bag or vacuum port on your sander, if it has one. Your sander's manual explains how to connect it.
Sand Supported Faces and Corners
Sand only the flat faces and inside corners where the pad stays completely supported. Keep the tool moving smoothly along the grain to avoid gouging or softening crisp edges.

- Set up the tool. Attach the pad and sandpaper the way your sander's manual describes. Use the manual for speed settings too. Detail sanders often use hook-and-loop or adhesive-backed paper, and adhesive paper can peel off the pad. Check that the edges are stuck down before each section.
- Pick your abrasive to match the goal. Use finer paper for a light scuff before recoating. Use more aggressive paper only when you're removing finish. Test it on a hidden spot first, like the underside of the rail near a wall bracket.
- Keep the pad flat and moving. Let the sander's weight do most of the work. Make steady passes along the length of the rail and don't stop in one place.
- Handle corners carefully. Use the pointed tip to get into inside corners, but keep the pad flat while you do. Pull back before you reach an outside edge so the edge doesn't round off.
- Check often. Wipe off the dust and look at the surface under good light. Stop if you see a flat spot, a softened edge, or swirl marks. Flat spots and soft edges mean the pad wasn't supported, so finish that area by hand.
Hand-Sand Curves Without Changing the Profile
Wherever the sander pad rocks, switch to hand sanding with flexible paper or a profile-matched backing block. This spreads pressure evenly across rounded tops and molded curves so you preserve the original profile.
On a rounded top, wrap the paper over your palm or fingers so it covers the whole curve, then sand along the rail's length. This keeps you from cutting a flat line into the arc.
On molded profiles, a backing that fits the shape keeps the edges sharper. Woodworkers use rubber profile pads made to fit moldings, or foam shaped to match the profile, as a sanding backing. Any firm, flexible backing that matches your rail's curve does the same job. A flat block doesn't work here because it will flatten the curve.
Use an untouched part of the rail as your guide. Run your hand from the sanded area onto it. You should feel the same curve with no ridge, flat, or dip. If the curve starts to change, use lighter pressure and a finer paper. Then blend the area into the rest by hand instead of taking off more wood.
FAQs
What if I don't know when my home was built?
EPA's advice when home age is unknown is to assume the area you're working on has lead-based paint. Then use its lead-safe DIY practices. EPA also recommends hiring a certified lead inspector or risk assessor to test the surfaces. A test result tells you whether you need full lead-safe setup.
What grit should I use on a wooden handrail?
No single grit sequence works for every rail. It depends on whether you're scuffing for a new coat or removing old finish, and what that finish is. Start with the finest paper that gets the job done on a hidden test spot. Move to a coarser paper only if the finer one isn't cutting through.
Is a sander's dust bag enough if lead may be present?
No. A dust bag on its own is not a lead-safe setup. EPA's DIY guidance pairs tools with HEPA-filtered vacuum attachments with sealing off the work area. It also calls for HEPA cleanup and sealing waste in bags. EPA also lists wet-dry sandpaper or a sanding sponge, and misting surfaces before sanding, as ways to keep dust down.
Continue reading
 Choosing Tent Stakes for Soft or Loose Campsite Ground
Match your anchors to the ground you camp on. Soft soil and loose sand need different stakes, and...
 Electric Air Duster vs. Canned Air for Routine Desk Cleaning
How often you dust shapes the choice: a rechargeable duster suits repeat work if you keep it charged...

Leave a comment
This site is protected by hCaptcha and the hCaptcha Privacy Policy and Terms of Service apply.