




































You can use a rotary tool on a PLA print seam, but the use that is backed by finishing guidance is narrow. It means polishing a small part after you have already sanded the seam down.

Grinding a raised seam off with a spinning abrasive is not a proven method, so don't count on it, and don't expect polish alone to flatten a bump.
PLA softens with friction heat, and that sets the limit. Keep speed and contact time low, test first, and stop as soon as the surface warms, smears, or loses detail.
Can a Rotary Tool Smooth a PLA Print Seam?
Yes, but only for polishing. When working on a seam, your print can be in one of two states, and they call for different tools.

A raised seam still has extra plastic on it, such as a ridge or a line of small blobs where each layer started. Getting rid of it means cutting material away. The finishing guidance in this article does not cover doing that job with a rotary abrasive. It names no attachment, grit, or contact method that reliably takes a PLA seam flat without damage. A rotary bit might still work on your print, but the method is unproven, and that matters on a part you care about.
A seam that is already sanded flat is a different job. At that point you are only refining the surface finish. For this step, published PLA finishing guidance describes rotary polishing on small parts. It uses a polishing compound that is compatible with plastic, low tool speed, and short contact time to limit heat buildup. That is a finishing step after sanding. It is not a way to remove the seam. The low speed and short contact matter because PLA softens with friction heat. If the tool stays on one spot too long, it can warm the plastic enough to smear it instead of bringing up a shine.
It also helps to separate a single seam from general layer-line cleanup. Smoothing the lines across a whole surface is a sanding job. For that work, UltiMaker recommends wet sanding for broader layer-line smoothing on PLA and other materials with low heat resistance, because sanding heat can damage the part. The advice is about sandpaper, not rotary tools. It still shows how sensitive PLA is to friction heat, and a spinning tool creates friction quickly.
In practice, take the seam down with hand sanding. Bring in the rotary tool afterward if you want a polished finish on a small part.
How to Test and Limit a Rotary Polish on PLA
Use the steps below only for polishing a small PLA part that you have already sanded. They do not cover removing a raised seam with a rotary abrasive.
- Confirm the seam is already flat. Run a fingertip across it and look at it under angled light. If you can still feel a ridge, go back to sanding. Polish will not take it down.
- Set up a trial piece. When looks matter, finishing guides advise trying a process on a spare print or a hidden area first. Use the same filament and finish the trial with the same sanding steps as the real part. Then you are testing your exact polishing setup before it touches the visible seam. Treat this trial as a cautious precaution, not a proven procedure. It lets you see how your tool, compound and filament behave together without risking the part you care about.
- Use a plastic-compatible polishing compound. Follow the directions on the product and work one small area at a time.
- Keep speed and contact time low. Use low enough speed and short enough contact that heat doesn't build up. No universal RPM setting is documented for this job, so let the trial piece show you what your tool and compound do.
- Watch the surface and feel for heat. If the part feels warm, stop and let it cool before you continue. If friction leaves shiny smears or starts rounding edges and details, stop polishing that area. Both signs mean the PLA is softening instead of polishing. Sanding guidance for PLA also calls for light pressure, short passes, and extra care around thin walls, sharp edges, and fine details. Those are hand-sanding habits, not settings for a rotary tool, but the same areas tend to suffer first under friction.
- Judge the trial before the real part. If the trial area comes out clear and even, with no smearing, repeat the same setup on the seam. If it smears or the detail goes soft, keep the visible part on hand finishing. If the result is unclear, take that as a reason to stay with hand finishing rather than press harder or run the tool faster.
- Clean before coating. If you plan to prime or paint, wipe the sanding dust off the part first.
Wiping dust off the part prepares it for coating. It does nothing to protect you while you work. For eye protection and dust control during powered work, follow the current instructions for your rotary tool and the accessory you are using.
FAQs
Can rotary polishing remove deep layer lines or support scars?
No. Polishing after sanding is not an efficient way to remove deep layer lines or support scars. Those defects need material taken away first, usually by sanding. Trying to polish them out means running the tool over the same spot again and again. That is exactly the kind of long contact that builds heat in PLA. This is a limit of polishing. It does not cover every kind of rotary bit.
What grit should I use on a rotary attachment?
No reliable rotary grit is documented for PLA seams. Grit numbers you may see for PLA refer to ordinary sandpaper used by hand. They don't carry over to a spinning attachment, which cuts and heats the plastic differently. If you decide to experiment anyway, treat any rotary attachment as untested on your print and use the same trial-piece approach described above.
Can polishing compound replace sanding?
No. In this workflow, polishing is a finishing stage after sanding, not a shortcut around it. Compound on an unsanded seam won't level the raised plastic. Sand first, then polish.
Continue reading
 Jump Starter or Jumper Cables for a Solo Road Trip?
Driving alone? See how donor-car access, charge readiness, vehicle fit, and your owner's manual decide whether a portable...
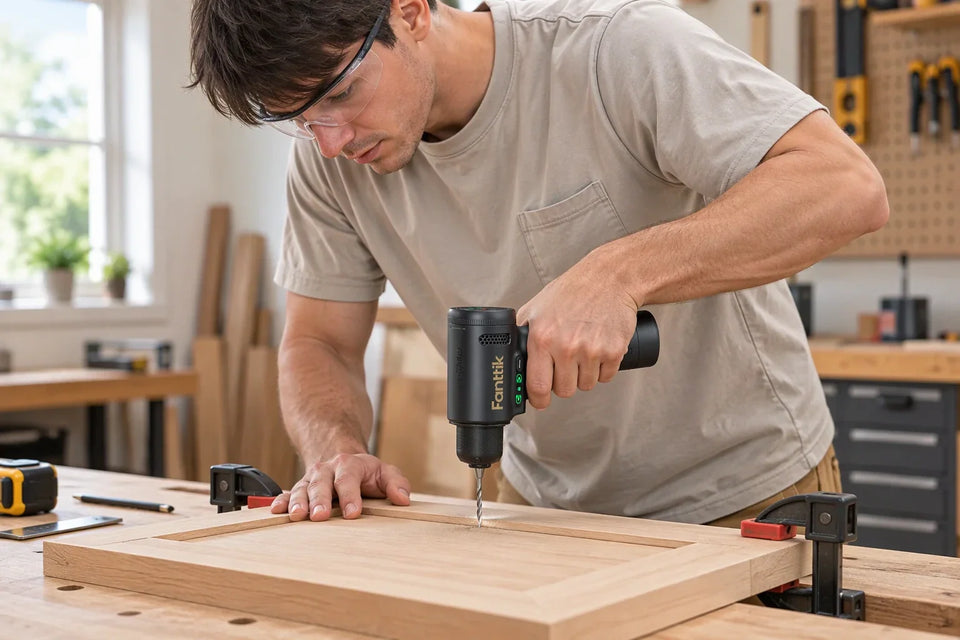 Drilling Pilot Holes in Hardwood for Cabinet Screws
Two published #8 hardwood pilot sizes, why they differ, and a scrap-test, clamping and depth-control routine to follow...
Leave a comment
This site is protected by hCaptcha and the hCaptcha Privacy Policy and Terms of Service apply.