











































Choose your polishing pad and compound as one pair, based on the defect you want to remove and the finish you want to leave. Start with the least aggressive pair that you think can reach that goal. Step up only if a test spot shows it falls short.
No single pad or compound fits every correction. Your starting pair should come from your goal and the products' own instructions, not from a pad color chart.
Choose the Pair for the Defect and Finish
Before you pick anything, name two things: the correction you need and the finish you will accept. Together, they set how much cutting power the pair needs.
Start with the correction goal, and describe it by what you see. Clearing mild surface haze is a light goal, so it points toward a gentle pair. Fading a scratch you can still see after a wash is a stronger goal, so it points toward more cut. You don't need to guess the scratch depth in numbers. A plain description of the defect and how much of it you want gone is enough to set your starting point.
Pad cut is the pad's share of that work. In Car and Driver's explanation of how pad cut affects defect removal and finish, aggressive pads remove deep scratches and imperfections quickly. A less aggressive pad needs more buffing time but leaves a smoother finish. The same guide also says to think about the paint surface you will be working on. So more cut can get you to the correction faster, but it may not leave the smoothest surface.
Your finish goal decides whether one step will do. If a gentle pair can fix the defect and still leave the gloss you want, one step is enough. If the defect needs more cut than that, plan for a possible second, lighter pass to refine the surface afterward.
Here is the selection rule. Pick the least aggressive polishing pad and compound that you think can reach your correction goal, and choose them from product guidance that documents them as a pair. The pad and the compound each add cut, so change only one at a time later. That way you know which change made the difference.
Illustrative example: you want to clear light haze on a fuel door. Start with the system's polishing or finishing pad and its lightest polish, not its cutting pad and heaviest compound. Labels like cutting, polishing, and finishing describe what a pad is meant to do. Our pad-and-compound pairing guide explains how those foam types differ.

Check the Pad and Compound Compatibility Guidance
Before your first pass, make sure the pad, compound, and machine you actually own are meant to work together. Only the products' own documentation can tell you that a specific pad and compound belong together.
- Pairing named in the instructions: Look for a compound label or manufacturer guide that names the pad type or pad line to use with it. If you find one, you have a documented pair. If not, treat the combination as untested, and let the test spot be your evidence.
- Pad fit on your polisher: Car and Driver advises that you check that the pad is compatible with the buffing machine. Confirm the pad is made for your type of polisher and fits its backing plate. This check covers the pad and the machine only. It says nothing about whether the pad works with your compound.
- Your paint surface: Read which finishes the compound and pad are intended for. If your paint isn't covered, pick a product whose instructions include it.
- Grade and color labels: Read them only within their own product system. A pad color or "medium" grade from one brand tells you nothing about another brand's pad.
- Use directions: Note the amount of product, machine speed, and working method the manufacturer lists. Follow them on the test spot so the result reflects the pair, not a guess at technique.
Let the Test Spot Decide Whether to Keep, Refine, Step Up, or Stop
Run one test spot with your starting pair, then compare the result to the goal you set. What you see on that spot decides your next move.
One way to structure the test comes from Detail the World's paint correction guide, which describes one guide's fine-pad-and-polish test. You pick one two-foot-square section, start with a fine pad and polish, and check the result. If it isn't enough, you step up to a medium pad and then a cutting compound. Use that as a practical starting method, along with the directions for your own products.
- Test the starting pair. Work one small section using the product directions you confirmed. Wipe off the residue and inspect the area in good light. Write down the pad, the compound, and the machine setting you used.
- Keep the pair if the defect is reduced to your goal and the finish looks the way you want. Use the same pad, compound, and setting on the rest of the small area.
- Refine the finish if the correction is there but the surface isn't as smooth or glossy as you want. Add a separate, lighter polishing step. As one example, Road & Track's reported test-door result for P4 after C4 says Chemical Guys P4 polish, used after the brand's C4 compound, smoothed out the compound's gritty residue and left a slick, glossy surface. That report covers one test door and does not name the pad.
- Step up one variable if the defect is still visible and the finish otherwise looks good. Following Detail the World's progression, move to a medium pad first, then to a cutting compound if needed. Retest after each change so you know which one helped.
- Stop and reassess if the test spot looks worse than before you started, such as new haze or marks that weren't there. Do the same if the defect doesn't change after you step up. Don't keep switching to stronger combinations. Recheck the product directions, your technique, and whether the pair suits your paint. If you can't explain the result, have a detailer or body shop look at the panel before you go further.

FAQs
Can I use a pad from one brand with a compound from another?
You can, but treat it as an untested combination. Each brand's color codes and grade names describe its own system, so they don't tell you how a pad will behave with another brand's compound. Make sure the pad fits your polisher, follow the compound's own directions, and use your test spot result as your proof that the pair works.
Does a pad's color tell me how aggressive it is?
Only within the product line that assigned it. One brand's orange or yellow pad may sit at a different point on the cut scale than another brand's pad of the same color. To learn a pad's role, go by the manufacturer's own description, such as cutting, polishing, or finishing.
Do I always need a separate polish after using a compound?
No. You need a second step only when the test spot shows the correction is done but the finish isn't as smooth or glossy as you want. A more aggressive pad removes defects faster, and a less aggressive pad leaves a smoother finish. So the more cut your first step uses, the more likely you are to want a lighter follow-up pass.
What should I write down from the test spot?
Record the pad, the compound, the machine setting, and the result you saw after wiping the area clean. These notes let you repeat a winning pair across the rest of the small area. They also show you exactly which variable you changed if you step up or need to stop.
Continue reading
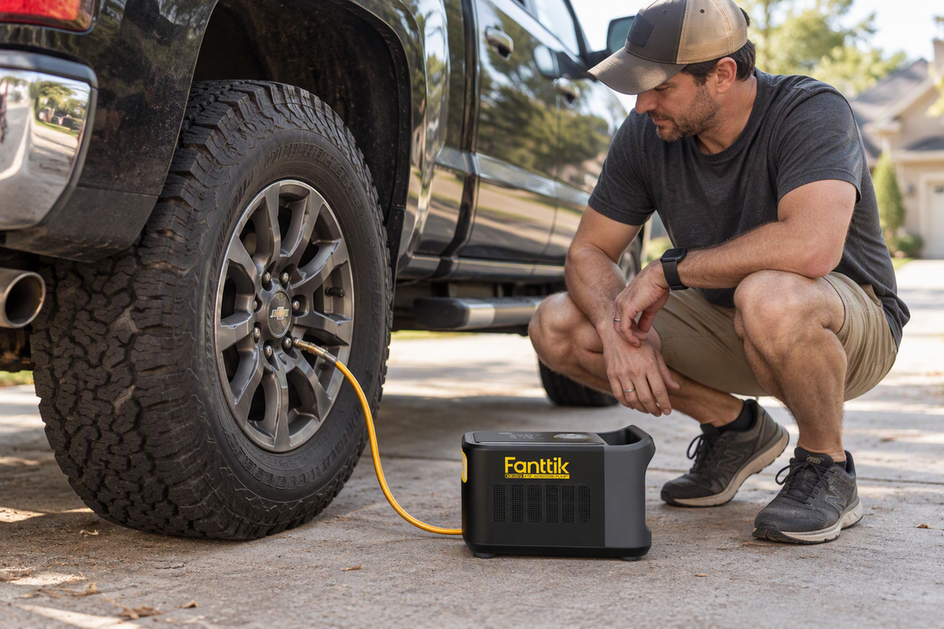 How to Choose a Portable Tire Inflator for Routine Top-Ups or Roadside Use
A practical guide to matching an inflator to your tires, power source, and workload, plus why max PSI...
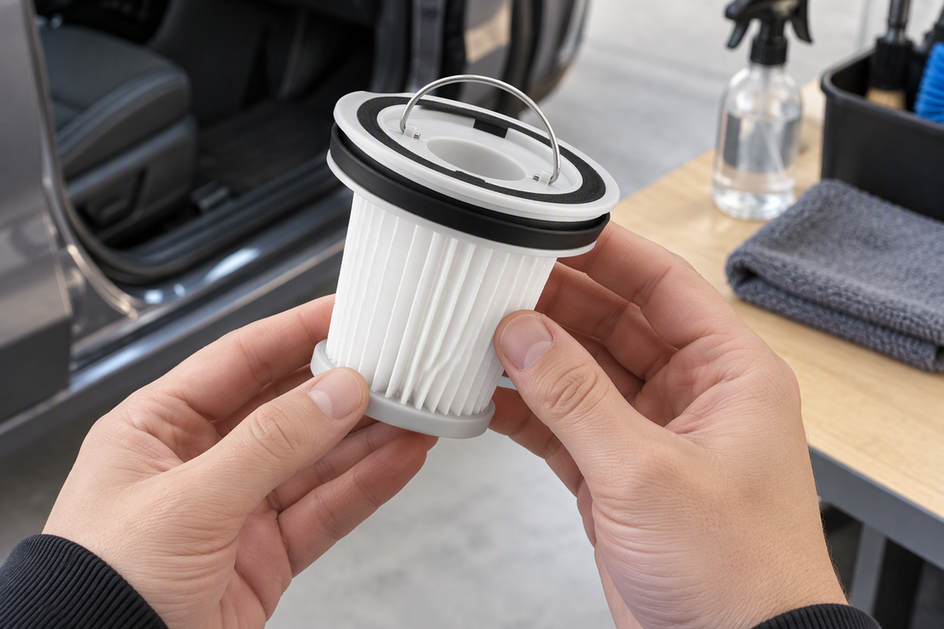 Why Fine Dust Can Escape a Car Vacuum That Picks Up Crumbs
Crumbs vanishing doesn't mean fine dust stays inside. This guide separates surface residue from exhaust dust and shows...
Leave a comment
This site is protected by hCaptcha and the hCaptcha Privacy Policy and Terms of Service apply.