









































Start by clearing loose items out of the console and cupholders, then pick a soft brush or narrow crevice nozzle to loosen dust in the vents and console seams. Vacuum from the top down, moving from open surfaces into tighter recesses, and save wiping for any residue the vacuum leaves behind. This order keeps grit from spreading and protects glossy trim and touchscreens along the way.
What You Need and the Cleaning Order
A vent-and-console cleanup only needs a portable vacuum with small attachments and a microfiber cloth for leftover residue. Toyota's interior-cleaning guidance for attachments and touchscreens recommends removing loose items first, then working from accessible surfaces into tighter recesses before any wiping step.
Prepare the Interior Before You Turn on the Vacuum
- Clear trash, coins, and loose items from the console and cupholders.
- Note where screens, glossy trim, vent slats, and any sticky spots are before you pick a tool.
Follow a Top-Down Cleaning Order
- Vacuum accessible flat surfaces first.
- Move into vents and console recesses with a soft brush or crevice nozzle.
- Finish with a wipe only where the vacuum leaves residue behind.
Which Attachment Should You Use for Vents and Console Crevices?
Match the attachment to the surface: a soft brush loosens dust without scraping delicate trim, and a narrow crevice nozzle reaches seams and recesses. Suction, airflow, and nozzle shape each affect the result, so treat them as separate factors rather than one score.
Use a Soft Brush for Vents and Sensitive Areas
- Use it to loosen dust from vent faces and slats, where a hard nozzle could scratch a textured or matte finish.
- Treat brushing as a first pass that lifts debris for the vacuum to capture, not a guarantee against marks.
Use a Crevice Nozzle for Seams and Recesses
- Use the narrow nozzle for console seams, storage channels, and cupholder edges when it fits without forcing.
- Keep the nozzle moving in light passes near glossy trim and displays instead of pressing it against the surface.
Our Slim V10 APEX car vacuum is built for this kind of detail work. It ships with a crevice nozzle and three brush attachments, and its 120W brushless motor delivers up to 19,000Pa suction in high mode for pulling dust out of vents and console seams. That suction figure describes peak output, not a required threshold for this task, so attachment fit and controlled contact still matter more than the number on the box.
How to Vacuum Car Vents
Work across vent slats in short passes instead of dragging the nozzle over the whole panel at once. Reach recessed channels only with an attachment narrow enough to fit without forcing it.

Work Across the Slats
- Position the soft brush or narrow nozzle at the face of one slat.
- Move across each slat individually rather than sweeping the whole vent in one motion.
- Let the vacuum capture dust as the brush loosens it.
Reach Recessed Vent Channels
Use the narrowest attachment that reaches into an open channel without wedging into place. If a slat or channel is too tight for any included tool, skip it rather than forcing the nozzle. Prying against the plastic housing risks cracking a clip or marking the trim.
How to Vacuum Center-Console Crevices and Cupholders
Clear loose contents from the console before vacuuming, then work from open storage areas into narrow seams and cupholder edges. Cupholders get their own short pass because crumbs collect differently there than dust does in a flat seam.
Clear the Seams and Storage Areas
- Empty loose items from storage compartments and trays.
- Vacuum broad surfaces first, then trace seams and button edges with the brush or crevice nozzle.
- Use light, controlled passes rather than dragging a hard nozzle across painted or glossy trim.
Finish the Cupholders
- Vacuum loose crumbs from the cupholder opening and rim.
- Reach the base or a narrow edge only if the attachment fits without forcing.
- If material feels tacky rather than loose, treat it as residue and move to wiping instead of pushing the nozzle harder.
How to Protect Glossy Trim and Touchscreens
Power down the touchscreen before cleaning near it, and loosen dry grit with a soft brush before any microfiber touches high-gloss trim or a display. Keep liquid away from vents, seams, buttons, and other openings throughout.
Keep Grit Off Glossy Surfaces
- Loosen dry dirt with a soft-bristle brush before microfiber touches high-gloss trim or a display.
- Wipe with light, controlled strokes. No method is scratch-proof, so let the brush do the work of lifting grit first.
This brush-before-microfiber order matches Chevrolet owner display cleaning instructions, which also warn against window cleaners or solvents on those surfaces.
Keep Liquid Out of Openings
- Turn off the touchscreen before cleaning it to avoid accidental taps.
- Apply any approved cleaner to the cloth itself; never spray directly onto the dash or console.
- Follow your vehicle's own screen guidance. Toyota's interior-cleaning guidance allows a lightly dampened microfiber cloth with a specialized LCD cleaner, while other manufacturers restrict window cleaners and solvents on the same surfaces.
- Keep liquid away from vents, seams, buttons, and speakers no matter which product you use.
When Vacuuming Is Not Enough
Vacuuming works well on loose, dry dust and crumbs that lift freely with suction. Sticky residue or embedded grime needs a different method, not more pressure on the nozzle.
Dry Dust and Loose Crumbs
- Keep using controlled vacuum passes as long as particles lift freely.
- Use whichever attachment reaches the area without scraping or forcing.
Sticky Residue and Embedded Grime
- Stop increasing suction or pressing the nozzle against bonded material; that's a wiping problem, not a suction problem.
- Switch to a cloth or detailing method suited to the surface and your vehicle's cleaning guidance.
- Don't assume a portable car vacuum handles liquid or wet debris unless its documentation says so.
For broader day-to-day habits that keep any portable car vacuum working well, see our guide on car vacuum dos and don'ts.

FAQs
Can a car vacuum remove sticky residue from a cupholder?
No. A vacuum lifts loose, dry particles; it isn't a tool for scraping off bonded residue. Stop pressing the nozzle against the spot and switch to a lightly dampened cloth suited to the cupholder material.
What if there is liquid in the center console instead of dust?
Don't assume a portable car vacuum can handle liquid or wet debris unless the equipment is explicitly rated for that job. Once the area is dry again, the dry-first vacuuming method in this guide still applies.
How do you clean a vent when the nozzle does not fit between the slats?
Don't force it. Use the smallest attachment included with your vacuum, or work a soft brush in from an accessible angle, and stop if the tool catches or drags against the plastic.
Continue reading
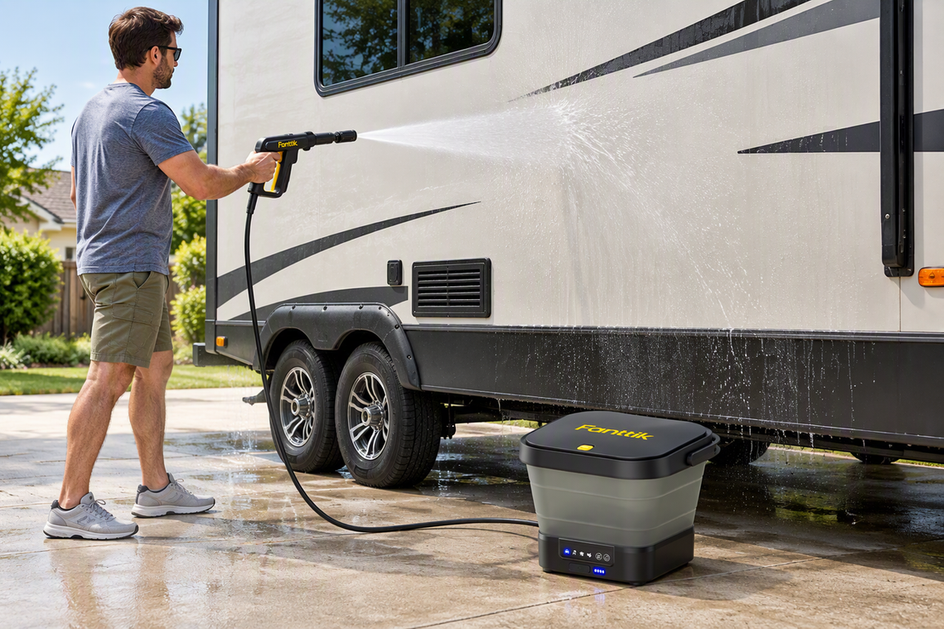 Can You Wash a Camper With a Pressure Washer?
A practical breakdown of when pressure washing an RV sidewall is safe, what settings to start with, and...
How Often Should You Charge a Portable Car Jump Starter?
A practical monthly check and three-month recharge reminder keeps a stored jump starter ready, with your model's manual...
Can You Wash a Camper With a Pressure Washer?
A practical breakdown of when pressure washing an RV sidewall is safe, what settings to start with, and...
How Often Should You Charge a Portable Car Jump Starter?
A practical monthly check and three-month recharge reminder keeps a stored jump starter ready, with your model's manual...

Leave a comment
This site is protected by hCaptcha and the hCaptcha Privacy Policy and Terms of Service apply.