








































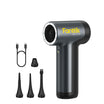



To vacuum pet hair from car upholstery with less risk of abrasion, start by confirming that your seat material and your vacuum attachment are a documented match. Test that pairing on a hidden spot with light contact. If the surface looks the same afterward, make gentle passes, and stop the moment fibers catch, pull, or change.
Careful technique lowers the risk of rubbing damage, but it can't promise zero damage. If hair is still there after a few light passes, the answer is not more pressure or scraping. That situation gets its own decision, covered below.
How to Vacuum Pet Hair From Car Upholstery Gently
The gentle method has two stages: confirm the match, then test before you clean. Each stage gives you a clear point to go ahead or stop.
Confirm the Seat and Attachment Are a Documented Match
First, identify what your seats are actually covered in. Woven cloth, fuzzy fabric, leather, and vinyl can each have their own care rules. Seams and perforated panels may need more control than open seat areas. Find the care guidance in your vehicle owner's manual or from the upholstery maker. Then read your vacuum's instructions to see which attachment is meant for that surface.
Check both manuals before attaching a tool to your seat material. A soft-looking brush, a "pet" label, or a tool that worked on another car does not mean the manufacturer guidance approves it for your seats.
General car-care advice helps only within its own scope. Toyota's interior guide recommends vacuuming fabric seats for loose debris such as dirt and crumbs. That supports vacuuming cloth seats in general. It doesn't cover pet hair or say which attachment to use. If your cloth seats also need stain work after the hair is gone, our guide to deep cleaning fabric car seats covers that next step.
Test Contact, Then Vacuum Gently
When you have checked both manuals for a compatible pairing, run a short test before cleaning the whole seat:

- Pick a hidden area. Good choices are the lower back of the seat, the side facing the door, or a spot that sits under a cushion edge.
- Use light contact. Let the attachment rest on the surface and glide. Don't press it into the fabric.
- Look closely at the test spot. Check for snagged loops, pulled fibers, fuzzing, shine marks, or any visible change in texture or color.
- Stop if anything changed. End the test with that attachment. Pressing harder won't fix a snag. It only adds more of the contact that caused it.
- Continue only if the spot looks the same. Make slow, gentle passes over the hair you can reach. Check the surface every few passes instead of grinding over one area.
A clean test spot tells you the attachment behaved well there. It doesn't prove the whole seat is damage-proof. Bolsters, seams, and worn areas may react differently, so keep your passes light and keep watching the surface as you move across the seat.
What to Do When Pet Hair Remains After Vacuuming
If hair is still woven into the upholstery after a few gentle passes, stop vacuuming that area rather than pressing harder or scraping. In one reported Odyssey vacuum test, Hagerty writer Matthew Fink spent four minutes going over the carpet in his 2019 Honda Odyssey with a shop vacuum after a short ride with a cat. The visible dirt and mulch were gone, but hair remained embedded in the carpet and seat backs.

That was one vehicle, one vacuum, and one session, so it doesn't predict what your seats will do. What it does show is that hair left after a vacuum pass is not a sign that you need more force. More pressure means more rubbing, and rubbing is the abrasion you were trying to avoid.
Try these steps in order instead:
- Reset the vacuum. Empty the bin and clear any hair wrapped around the attachment, following your vacuum's maintenance instructions. Then try one more light pass. For cordless models, our cordless car vacuum guide covers filter care.
- Go back to the care guidance. Use a different removal method only if your vehicle or upholstery guidance, or your vacuum maker, supports it for that material.
- Hand it off when no method is documented. If the hair is deeply embedded and no supported method fits your seat, an upholstery or detailing professional can look at the material in person.
FAQs
Does fabric-seat vacuuming advice also apply to leather or vinyl seats?
Not automatically. General advice to vacuum fabric seats covers cloth upholstery only. Leather and vinyl are different surfaces, and their care rules can differ. Follow the care guidance written for your actual material, and use only the attachment your vacuum maker lists for that surface.
How should I handle seams and perforated panels?
Treat them cautiously as distinct spots even if flat fabric passed a light pass. As a precaution, keep contact minimal, move slowly, and stop immediately if threads shift or edges show signs of disturbance.
If the hidden-spot test looks fine, is the rest of the seat safe?
The test only shows how that one spot reacted to that attachment. Worn areas, bolsters, and panels made from different material can respond differently. Keep using light passes across the whole seat and check the surface as you go, not just at the start.
Will a more powerful vacuum remove embedded hair without contact?
Not necessarily. In the reported shop-vac test, hair remained embedded even after visible debris was cleared. Following the specific care guidance for your seats and attachments is more reliable than assuming higher suction will lift trapped fibers.
Continue reading
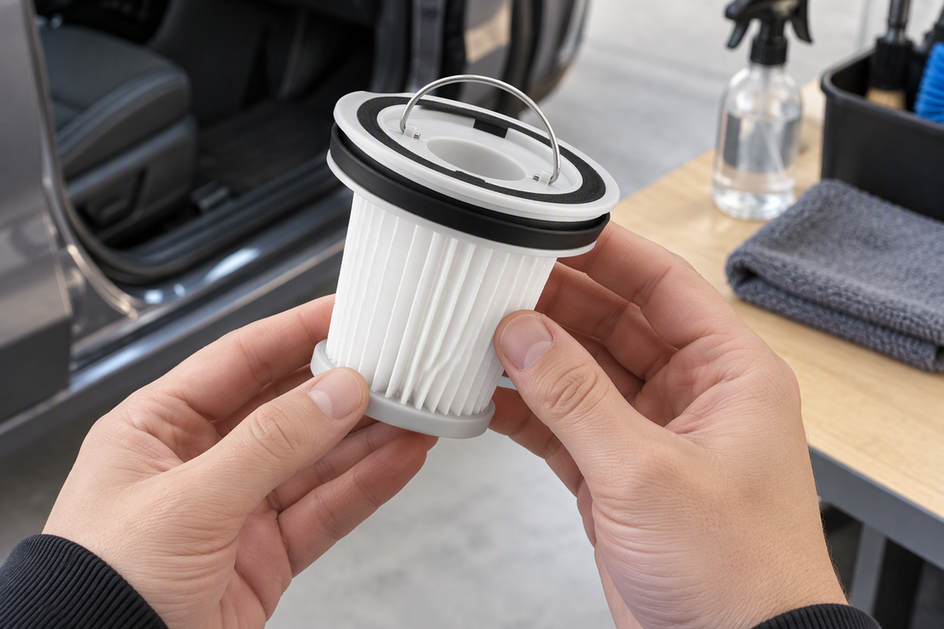 Why Fine Dust Can Escape a Car Vacuum That Picks Up Crumbs
Crumbs vanishing doesn't mean fine dust stays inside. This guide separates surface residue from exhaust dust and shows...
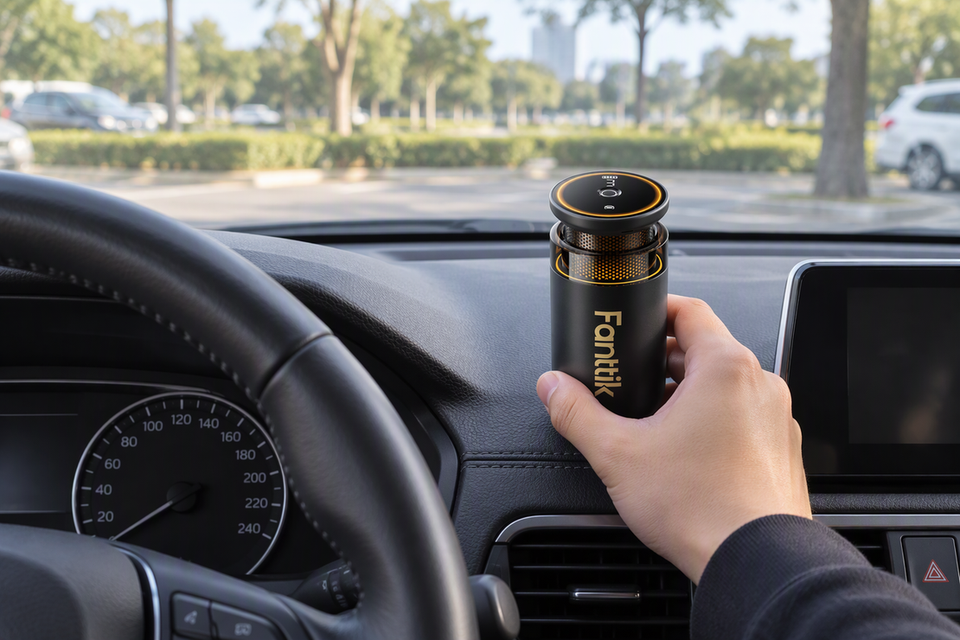 Where to Place a Car Air Freshener Without Blocking the Driver
A step-by-step way to test any freshener spot from the driver's seat, rule out airbag areas with your...
Leave a comment
This site is protected by hCaptcha and the hCaptcha Privacy Policy and Terms of Service apply.