


The Precision Threshold: Why 0.1Nm Matters in Modern DIY
In the world of high-stakes electronics repair and delicate hobbyist work, the difference between a successful assembly and a catastrophic failure is often thinner than a human hair. We have moved past the era where "hand-tight" was a sufficient metric for fastener tension. Today, as devices become more compact and materials shift toward lightweight plastics and thin-walled aluminum, the requirement for precision has entered the realm of the micro-adjustment.
When we operate at the 0.1Nm (Newton-meter) scale, we aren't just tightening a screw; we are managing mechanical stress. For a detail-oriented DIYer working on a vintage timepiece or a flagship laptop, a variance of just 0.1Nm can be the deciding factor in structural integrity. According to the industry standards outlined in The 2026 Modern Essential Gear Industry Report: Engineering Trust in a Cordless World, the shift toward cordless, high-precision tools is driven by the need to eliminate human error in these high-consequence environments.
In this guide, we will explore the technical mechanics of ultra-fine torque adjustment, the hidden risks of over-tightening, and how to master 0.1Nm increments to protect your most fragile projects.

The Physics of the Micro-Scale: M1.2 to M2.0 Fasteners
Most consumer-grade tools operate in a torque range suited for furniture assembly or basic home repair—typically between 1.0Nm and 6.0Nm. However, for the delicate internals of a smartphone or a laptop, these forces are destructive.
The fasteners common in these devices, such as M1.4 or M1.6 screws, often require a seating torque as low as 0.05Nm. At this scale, the human hand enters what we call a "haptic dead zone." Research into neuromuscular control suggests that the human proprioceptive threshold for perceiving a single 0.1Nm increment is virtually non-existent in a handheld context (Loram et al., 2003).
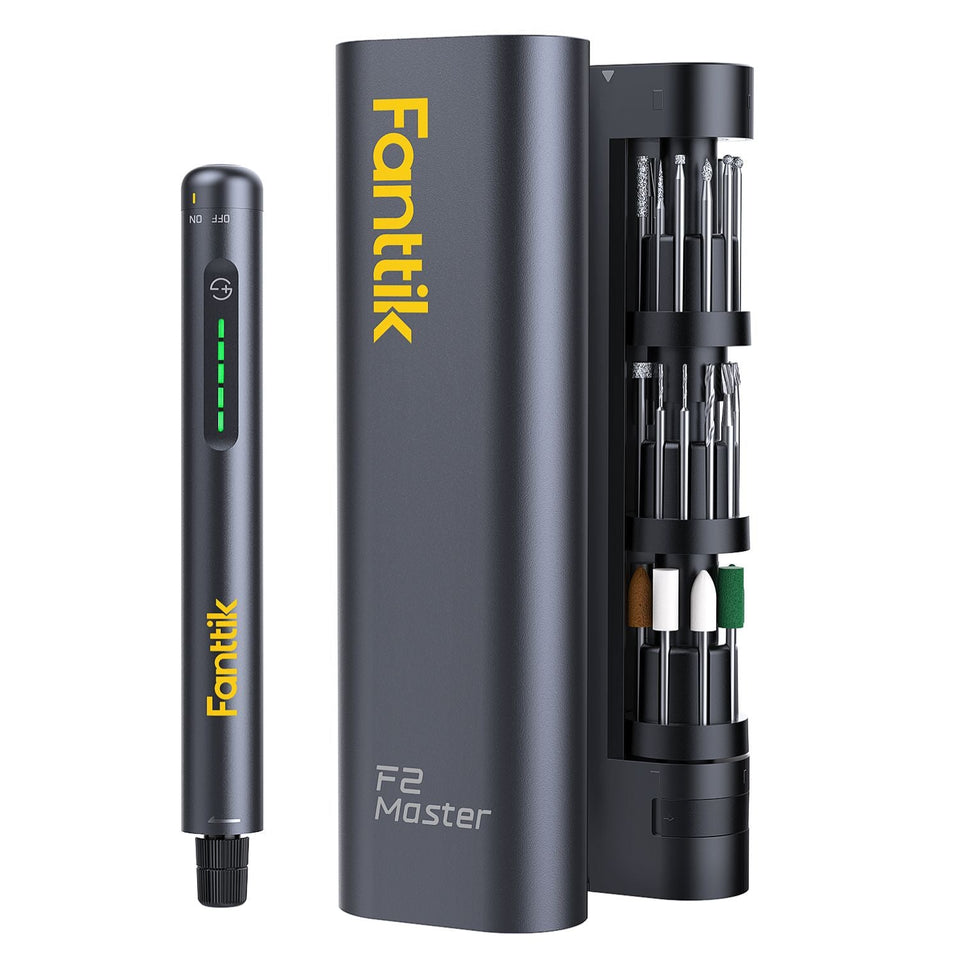
Because you cannot "feel" the difference between 0.05Nm and 0.15Nm reliably, you must rely on the tool’s internal clutch and digital readout. When we use a tool like the Fanttik E2 MAX Precision Electric Screwdriver, the value lies in the tool's ability to provide a consistent, repeatable cutoff that the human wrist cannot replicate.
The 0.15Nm "Strip Risk" Threshold
On our repair bench, we frequently observe that the most common failure isn't under-tightening; it's the stripping of brass inserts. In many modern laptops, the screws are driven into small brass threaded inserts molded directly into the plastic chassis.
Our scenario modeling shows that while 0.05Nm to 0.1Nm is the "safe zone" for M1.4 screws, exceeding 0.15Nm introduces a high probability of "spinning" the insert or stripping the threads. Once that insert is loose, the repair becomes significantly more complex, often requiring epoxy or a full chassis replacement.
Logic Summary: This torque fit analysis is based on a scenario model of M1.2–M2.0 fasteners in plastic/metal bosses. It assumes clean threads and proper bit engagement. These are heuristics for quick selection and do not replace specific manufacturer service manuals.
| Fastener Class | Min Required Torque | Max Safe Torque | Risk at >0.15Nm |
|---|---|---|---|
| M1.2 - M1.4 | ~0.02 Nm | 0.10 Nm | High (Strip Risk) |
| M1.6 - M2.0 | ~0.05 Nm | 0.15 Nm | Moderate |
| M2.5 - M3.0 | ~0.20 Nm | 0.40 Nm | Low |
Professional Scenario: Laptop Disassembly and Productivity
To understand the practical impact of precision gear, we modeled a professional electronics repair technician's workflow. Imagine a full laptop disassembly involving 60 individual screws of varying lengths and torque requirements.
In this model, the technician transitions from manual driving to a precision electric driver. The results demonstrate that the benefit isn't just about speed—it's about the mitigation of cumulative fatigue, which is the primary driver of over-torque errors.
Quantitative Gains from Precision Automation
- Time Efficiency: Manual driving for 60 screws typically takes ~12 minutes. Using a powered precision driver reduces this to ~2.5 minutes.
- Physical Strain: Manual disassembly requires roughly 690 wrist rotations per device. A powered driver reduces this to nearly zero, as the motor handles the rotation while the user maintains a static, ergonomic grip.
- Reclaimed Time: For a professional doing 8 repairs a day, this saves over an hour of active labor time, which can be redirected toward complex diagnostics.
Methodology Note: This productivity model uses industrial engineering time-motion principles. It assumes a "Persona A" technician (high-volume repair) and standard M1.4 thread pitches. Individual results may vary based on screw length and technician experience.

Mastering the 0.1Nm Adjustment: A Step-by-Step Guide
Using high-precision increments requires a methodical approach. You cannot simply set the tool to its maximum and hope for the best. We recommend the "Incremental Seat" method to ensure safety across all delicate projects.
1. Identify the Fastener Class
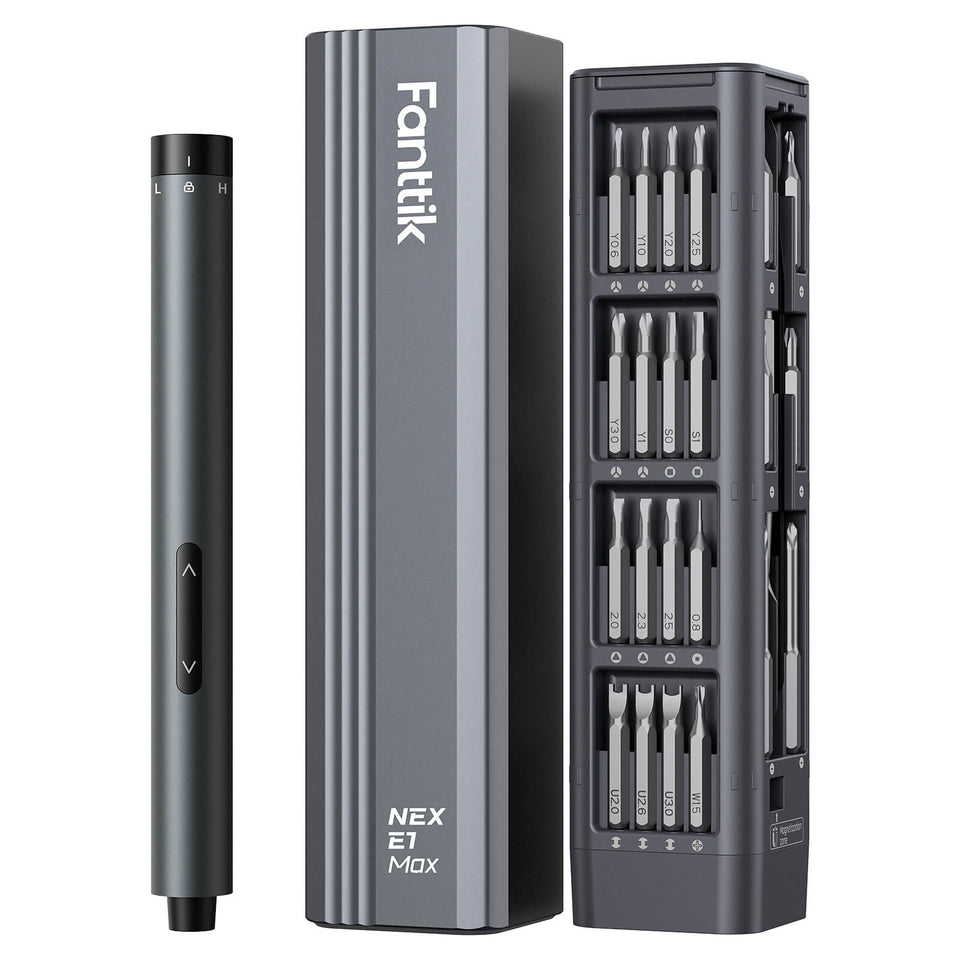
Before touching the tool, identify the screw size. If it is smaller than an M2.0 (the type found in eyewear, smartphones, or internal laptop components), you are in the "Ultra-Precision" zone. For these tasks, the Fanttik E1 MAX Precision Electric Screwdriver is often the preferred choice due to its optimized low-torque output.
2. Start at the Absolute Minimum
Always begin at the lowest possible torque setting (e.g., 0.05Nm). Place the bit into the screw head, ensuring it is perfectly vertical. Engage the motor until the clutch disengages.
3. Observe the "Seating"
If the screw has not fully reached the surface (the "seat"), increase the torque by a single 0.1Nm increment. Repeat this process until the screw is flush.
4. Listen for the "Crisp Click"
Quality precision tools use a mechanical or electronic clutch that provides a distinct tactile or audible "click" when the target torque is reached. This is your signal to stop immediately. For tasks requiring slightly higher force, such as furniture or gaming PC builds, moving to a tool like the Fanttik S1 Pro Cordless Electric Screwdriver provides the necessary 1.0Nm to 6.0Nm range while maintaining control.
The Reality of Calibration and Drift
A digital display showing "0.1Nm" is only as trustworthy as the tool's calibration. In the world of metrology, "calibration drift" is an inevitable reality. According to ToolsAdvisers, digital sensors and mechanical springs can degrade with use, potentially causing accuracy to drift beyond the acceptable 4% threshold.
For the serious hobbyist or professional, we recommend the following maintenance heuristics:
- The Drop Rule: If you drop a precision tool on a hard surface, its internal sensors may misalign. We recommend verifying the torque against a known standard or a dedicated torque tester after any significant impact.
- Periodic Verification: If you perform more than 500 cycles a month, consider a professional recalibration every six months.
- Storage Matters: High-precision tools should be stored in a temperature-controlled environment. Extreme heat or cold can affect the viscosity of internal lubricants and the tension of the clutch springs. You can learn more about this in our guide on Extending Precision Tool Life Through Proper Indoor Storage.
Bridging the Gap: Prosumer Features in DIY Gear
The line between professional-grade and consumer-grade gear is blurring. Modern "prosumer" tools now integrate features once reserved for aerospace assembly lines.
When selecting a tool for your workshop, look for these three critical enhancements:
- Digital Torque Displays: These provide real-time feedback, allowing you to see exactly where you are in the 0.1Nm to 0.5Nm range.
- Smart Torque Sensors: These sensors can detect the resistance of the fastener and automatically cut power before a strip event occurs.
- Magnetic Bit Management: In precision work, losing a screw inside a chassis can cause a short circuit. Tools with magnetized tips and storage, such as the Fanttik S2 Pro Cordless Electric Screwdriver, are essential for maintaining a clean and safe workspace.
For more on managing your workspace, see our technical walkthrough on Bit Management and Organization.
Appendix: How We Modeled These Insights
To provide accurate guidance, we utilized a deterministic parameterized model for torque fit and productivity. This allows us to move beyond generic advice and provide numbers grounded in mechanical reality.
Modeling Parameters & Assumptions
| Parameter | Value / Range | Unit | Rationale / Source |
|---|---|---|---|
| Screw Size | M1.2 - M2.0 | Metric | Common electronics fastener range |
| Manual Drive Time | 12 | Seconds/Screw | Includes positioning and careful manual rotation |
| Powered Drive Time | 2.5 | Seconds/Screw | Average speed of 200 RPM precision motors |
| Wrist Rotations | 12 | Rotations/Screw | Based on 3mm screw length and 0.25mm pitch |
| Safety Margin | 0.05 | Nm | Buffer between seating and stripping |
Boundary Conditions:
- These models assume "clean" fasteners without thread-locking compounds.
- Productivity gains assume the technician is proficient with electric tool operation.
- Torque thresholds are heuristics based on standard ISO 898 fastener properties and may vary depending on the specific plastic or alloy used in the device chassis.
Confidence Through Calculated Tension
The mastery of 0.1Nm increments is more than a technical skill; it is a mindset of respect for the materials you work with. Whether you are reviving a vintage camera or building a custom mechanical keyboard, the tools you choose act as the interface between your intent and the physical result.
By choosing gear that offers prosumer-grade precision—like the Fanttik E2 MAX—and adhering to methodical seating practices, you eliminate the anxiety of the "unexpected snap." You transition from hoping the screw is tight to knowing it is perfect.
Disclaimer: This article is for informational purposes only. Always consult the original manufacturer's service manual for specific torque specifications for your device. Improper tool use can result in permanent damage to electronics or personal injury. If you are unsure of a repair, consult a certified professional.
Sources
- The 2026 Modern Essential Gear Industry Report: Engineering Trust in a Cordless World
- Loram et al., 2003 - Mechanisms for human balancing of an inverted pendulum
- ToolsAdvisers - Are Digital Torque Wrenches Accurate?
- ISO 898-1: Mechanical properties of fasteners
- EngineerFix - How to Calibrate a Digital Torque Wrench
Continue reading
 The Zero-Gap Standard: Evaluating Build Quality in Shells
Covers shell seams, material transitions, internal chassis, and manufacturing defects aligned with ISO and MIL-STD standards.
The Zero-Gap Standard: Evaluating Build Quality in Shells
Covers shell seams, material transitions, internal chassis, and manufacturing defects aligned with ISO and MIL-STD standards.
 Micro-Adjustments: Navigating 0.1Nm Increments for DIY
Covers calibration drift, the 0.15Nm strip risk threshold, and quantifies time saved with electric precision drivers.
Micro-Adjustments: Navigating 0.1Nm Increments for DIY
Covers calibration drift, the 0.15Nm strip risk threshold, and quantifies time saved with electric precision drivers.

Leave a comment
This site is protected by hCaptcha and the hCaptcha Privacy Policy and Terms of Service apply.