
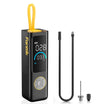
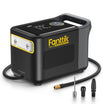
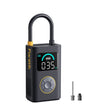
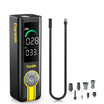
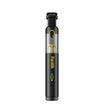
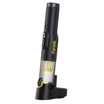
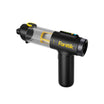
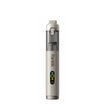
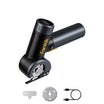
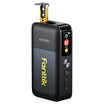
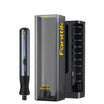
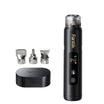

To choose a portable electric bike pump for a gravel or mountain bike, start with your bike. Write down the valve type, tire size and setup, and the pressure range printed on the tire. Then keep only pumps whose documented head fits that valve, whose pressure capability covers your target, and whose test data, carry method, and charging details suit the ride.

A small pump body or a big PSI number on the box doesn't tell you any of that. The checks below show what to confirm, in order, and when a pump simply isn't the right tool.
Start With the Bike, Not the Pump
Your bike sets the requirement. The pump only has to meet it. Pressure guidance from tire makers is tied to the tire and the rider, not to one standard number. Continental's MTB pressure guidance names rider weight and terrain as the main variables. It tells riders to use the recommended range printed on the tire sidewall and never go over the maximum. It also suggests running less pressure in wet, muddy conditions and slightly more on dry, dusty trails.
Gravel bikes need their own baseline. According to Continental's gravel-versus-road guidance, a gravel tire has more volume and runs lower pressure than a road tire, and the right pressure still depends on rider weight and tire type. That is a general category difference. It is not a gravel pressure target, and it says nothing about how fast any pump will fill the tire.
Before you compare pumps, record these details:
- Valve type. Check whether each wheel uses Presta (the narrow valve with a small lock nut at the tip) or Schrader (the wider car-style valve).
- Tire size and setup. Note the size printed on the sidewall and whether you run tubes or tubeless.
- Pressure range on the tire. Write down the recommended range and the maximum printed on the sidewall.
- Your working pressure. Pick a pressure inside that range for your weight, terrain, and usual conditions.
- The job on the trail. Decide whether you mainly need quick top-ups, a refill after a tube change, or both.

With this list in hand, every spec sheet becomes a quick yes, no, or unknown. For help deciding between a home pump, a carried pump, or both, see our broader bike-pump guide.
Verify the Connector and Pressure Capability
A pump passes this stage only if two things are true. Its documented connection method has to fit your valve, and its pressure capability has to cover your working pressure. If either one is unclear, treat the fit as unverified.
Does the Head Match the Bike's Valve?
Don't judge the connection by looks. In our Presta connection guide, we point out that each model's own instructions decide whether the head fits Presta directly, needs a setting change, or needs a specific adapter. A connector that looks close to the right size isn't proof that it will seal.
Find the exact model name, then read the part of its manual or product documentation that covers your valve type. If Presta or Schrader use isn't documented, the pump hasn't passed this check. That matters on the trail, because an adapter nobody documented is one more place for air to leak.
When you test a pump at home, watch for one stop sign. If the head won't seat or air keeps hissing out while it's locked on, stop. Don't force it or twist the valve. Recheck the head setting, the adapter, and the attachment steps in the manual, then try again from the start.
Can It Reach the Tire's Required Pressure?
Compare the pump's documented maximum pressure with the working pressure you picked from your tire's range. The maximum only has to sit comfortably above your target. It is the most the pump can produce, not the pressure your tire should run.
So a high maximum is not a reason to inflate harder. Your tire's printed range is still the limit. A pump that can produce far more pressure than your gravel or MTB tire needs is not automatically better for the job.
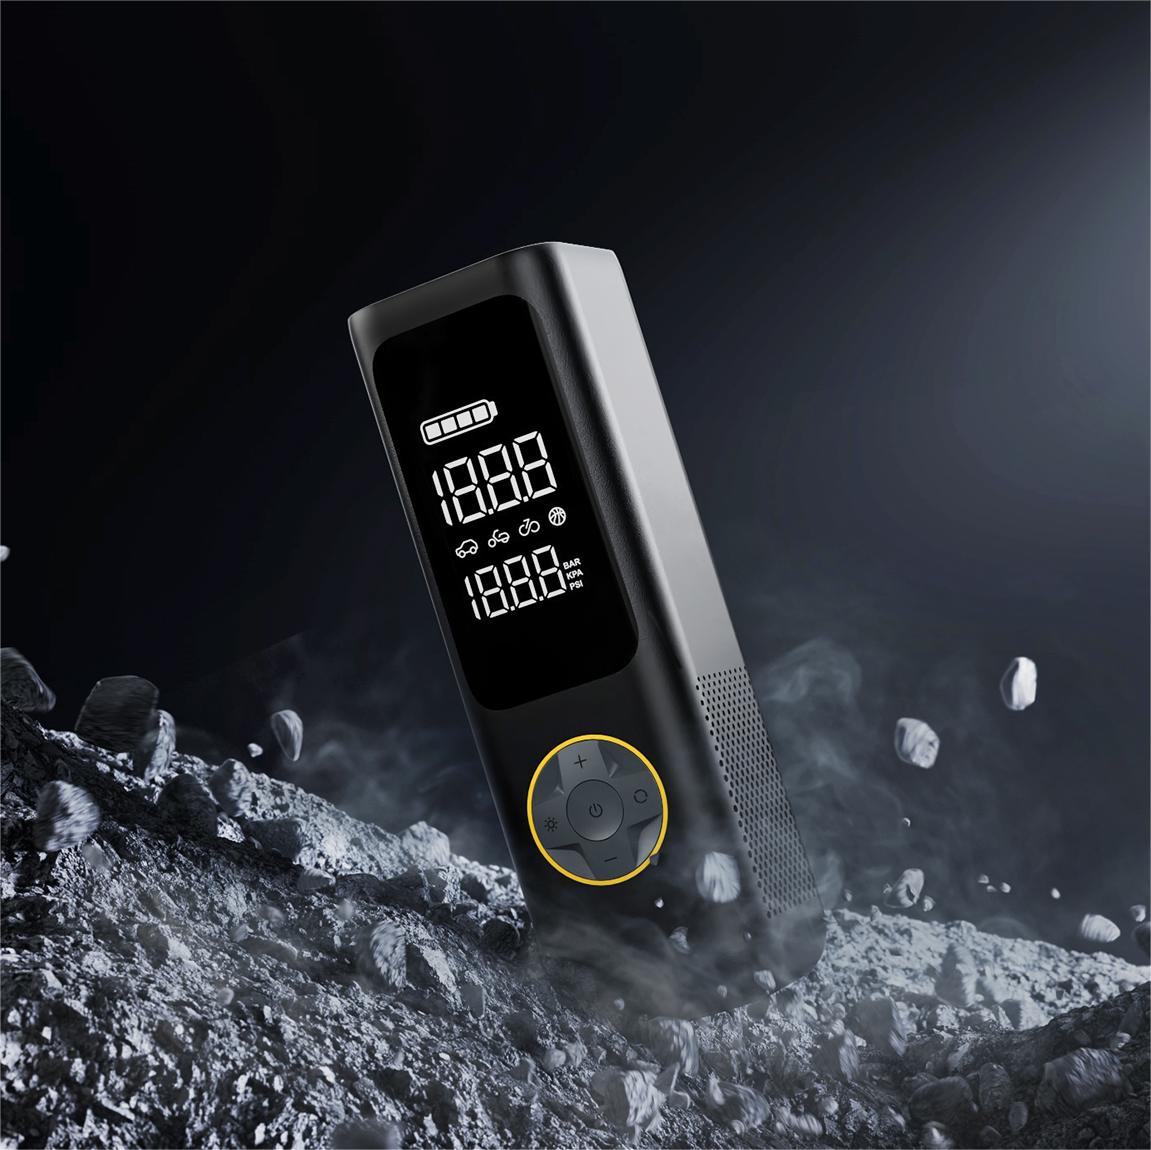
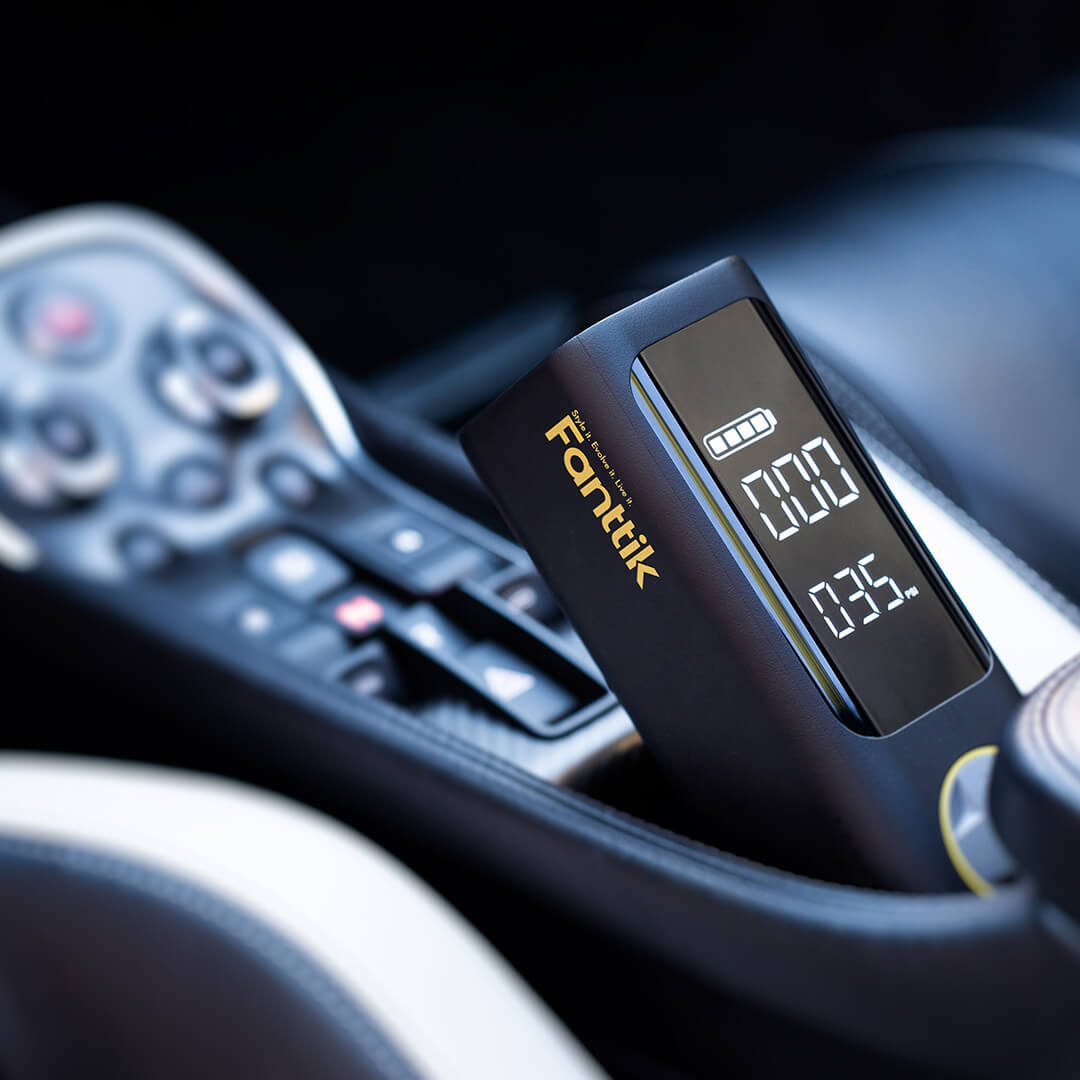
If the pump lets you set a target pressure, check how the documentation says to set and read it. Then confirm you can enter a value inside your tire's range.
Judge Inflation Performance With a Comparable Test
How quickly a pump fills your tire is a separate question from how much pressure it can reach. Trust only test results that look like your actual job. If no such result exists, treat speed as unknown. Unknown doesn't mean the pump can't do it.
Compare Like-for-Like Inflation Results
A useful inflation result tells you three things: the tire size or volume, the starting and ending pressure, and the time it took. Look for a test on a tire close to yours and a pressure change that matches what you'd actually do on a ride, like a top-up after a slow leak or a refill after swapping a tube.
Results from other tire types don't carry over. A time for topping up a compact car tire by a few PSI covers a different volume and a different pressure change from a high-volume mountain bike tire refilled from flat. It can't tell you how fast that pump will fill your bike tire. The same goes for tests that start or end at very different pressures from yours.
If two pumps were tested on similar tires with similar start and end pressures, you can compare their times. If not, write "unverified" next to speed and decide whether the other checks matter more for your ride.
Keep Pressure and Speed Separate
Maximum PSI doesn't measure speed. Airflow, meaning how much air the pump moves, affects how quickly a large-volume tire fills. Pressure capability decides whether the pump can reach your target at all. A pump can be strong on one and average on the other.
These two specs serve different purposes during inflation. That's why a comparable timed test beats either number alone. Don't combine the specs into your own score or guess one from the other.
Check Carry and Ride Readiness
A pump is only ready for the ride if it fits how you'll actually carry it and its power details cover the outing. Being "compact" and having a battery figure don't prove either one.
Choose a Carry Method That Works for the Ride
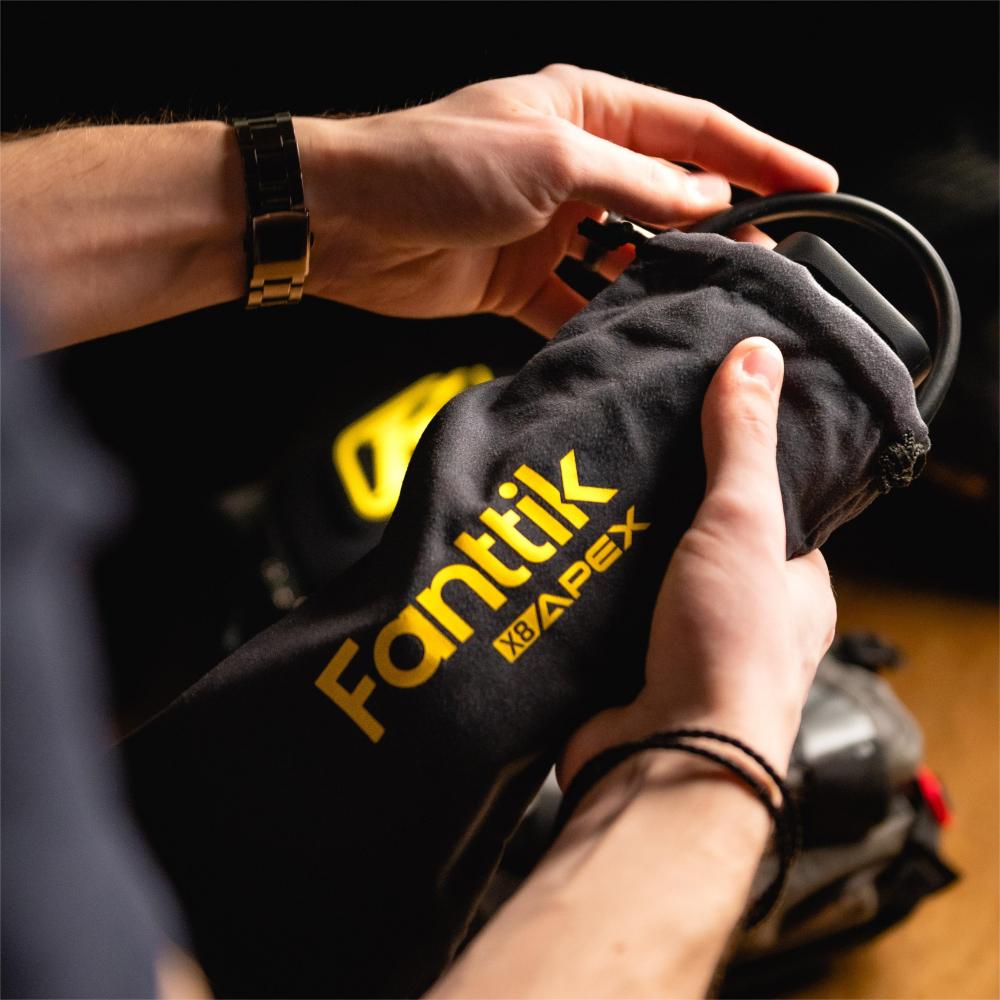
Decide where the pump will ride: a frame bag, saddle bag, hip pack, backpack, or a mount. Then compare the pump's listed dimensions and weight with that space. Include anything else that has to go along, like the hose, nozzle, or Presta adapter. If the pump fits the bag but the adapter you need has nowhere to go, it isn't really packed.
If you plan to use a mount, check that the pump's documentation describes that mount. Don't assume a bottle cage or strap will hold it securely over rough ground. Also think about protection. A pump that rattles loose in a bag on a descent is more likely to get damaged or lost.
Check Charging and Operating Information
Look for the exact model's charging method, such as the port type and cable, plus any stated charge time. Make sure you can top it up before rides with the gear you already have.
Next, look for runtime, continuous-operation limits, or cooling or rest guidance. Battery capacity, listed in mAh or Ah, measures electric charge capacity rather than total stored energy or run duration. It doesn't promise a runtime or a number of tires, because the actual draw depends on battery voltage, tire volume, and how much pressure you add. Use the runtime or task count only if the maker documents it. Otherwise, treat it as unknown.
Before each ride, confirm the pump is charged, the correct head or adapter is attached or packed, and the target pressure is set to a value inside your tire's range. If any of this information is missing for a model, its readiness is still an open question.
When an Electric Pump Is Not Enough
An electric pump adds air, and that's all it does. It doesn't fix a puncture. If a tube is cut or a tubeless tire won't hold air, putting more pressure in won't solve it. Plan separately for a flat with the repair gear your setup needs, such as a spare tube or a tubeless repair kit, and practice using it before you count on it.
Don't assume a pump can do anything its specs don't list, like seating a tubeless tire bead. If you ride far from help, the pump should be one part of your flat plan, not the whole plan. For more on why running too low can risk pinch flats on rough trails, see our guide to low-PSI puncture risk.
FAQs
What tire pressure should I set on the pump for my mountain bike?
Set a pressure inside the recommended range printed on your tire's sidewall, and never go above its maximum. Continental's MTB tire guidance says the right pressure depends on rider weight and terrain. Lighter riders generally need less, wet and muddy trails usually call for less, and dry trails may call for slightly more.
Do gravel tires need a different pump than road tires?
Not necessarily, but they change which specs matter most. Continental notes gravel tires have more volume and run lower pressure than road tires. That means filling a larger volume matters more than a very high maximum PSI. Look for an inflation test on a tire of similar size.
Is a higher maximum PSI better for a gravel or mountain bike?
No. Maximum PSI is a limit on the pump, not a target for the tire, and it doesn't tell you how fast the pump fills. It only needs to comfortably cover your working pressure. After that, a valve head that fits, comparable inflation test results, and a way to carry the pump matter more.
Will a Presta adapter work with any electric pump?
Only if that pump's documentation calls for it. Each model's instructions decide whether its head fits Presta directly, needs a setting change, or needs a named adapter. If the head won't seat or air keeps escaping, stop and recheck the setup instead of forcing it.
Does a bigger battery mean more tires per charge?
Not on its own. Capacity in mAh or Ah measures electric charge capacity rather than total energy. How many tires you can fill also depends on cell voltage, tire volume, how much pressure you add, and the pump's efficiency. Rely on a documented runtime or task count for the exact model, and treat it as unknown if none is listed.

Leave a comment
This site is protected by hCaptcha and the hCaptcha Privacy Policy and Terms of Service apply.