











































Pick heat gun settings from two documents: the instructions for your exact task and material, and the manual for your exact heat gun. Use a number only when the task names a setting or range and your tool's manual shows a control that matches it. If either piece is missing, or the two don't agree, don't guess. A higher setting is not a shortcut.

Task instructions and tool specifications show how to evaluate a documented heat-gun number. When guidance provides a specific range for a task, follow that procedure directly instead of treating it as a universal setting.
Start With the Task's Documented Heat Setting
The setting comes from the task first and the tool second. Keep the task, the material, and your heat gun model tied together the whole way through, because a value written for another job or another tool is not your setting.
- Name the job exactly. Write down the specific task and product, such as "removing 3M DI-NOC Architectural Finishes," not just "removing vinyl." The more exact the name, the easier it is to find instructions that actually apply.
- Find the heat setting in the task instructions. Look in the material maker's install guide, removal guide, or technical sheet. Record the number, the unit, and the exact label next to it. If the guide says something like "low heat" with no number, you have nothing numeric to match yet.
- Open the manual for your exact heat gun model. Find the settings it offers, its operating limits, and what each dial position or display number stands for. A number on the tool means only what its manual says it means.
- Match only when both documents line up. Use the setting when your manual shows a control that clearly corresponds to the task's range. If your tool's steps skip over the range, or the manual doesn't explain what its numbers represent, don't estimate a position in between.
- Follow the tool maker's operating instructions. The task guide tells you how much heat the job wants. The tool manual tells you how to run that specific gun safely.
The DI-NOC removal procedure illustrates how a task guide frames an optional setting. In that procedure, the 3M installation guide describes an optional 150°F to 200°F heat-gun setting to soften adhesive, noting that results vary and clean removal without substantial damage is unlikely. It also instructs you to follow the equipment manufacturer's operating instructions.
When the Instructions Do Not Match Your Workpiece
A documented setting only applies when the instructions describe the surface in front of you. Run through these checks before you turn the gun on:
- The material: The instructions name the exact material you're heating, not a similar-looking one.
- Finishes and layers: If there's paint, a clear coat, a film over a substrate, or several bonded layers, the instructions cover that build, not just the top layer.
- The task itself: The guidance is for the job you're doing. Removal steps don't carry over to installation, shaping, or drying.
- Nearby parts: Heat-sensitive parts next to the work area, such as plastic trim, wiring, seals, or other finishes, are covered by the instructions or by their own documentation.
- Your tool's limits: Nothing in the task guidance conflicts with what your heat gun manual allows.

If every item checks out, use the matched setting from the previous section. If any item is unknown, conflicting, or not covered, stop and get the right documentation before you apply heat. That might be the material maker's guide for that exact product, or the documentation for the nearby component. A setting borrowed from a different material or task doesn't fill that gap.
Stickers and general adhesive raise their own questions about residue, the surface finish, and nearby flammables. Our guide on heat gun sticker removal covers what to check first for that job.
Which Operating Variables Can Change the Choice?
Distance is one variable with documented advisory support. According to Princeton EHS guidance, holding a heat gun farther from a surface can reduce effective heat. This advisory does not provide a conversion between distance and temperature or define task-specific setting adjustments.
Other operating variables lack universal task-level conversion rules. Unless your task instructions or tool manual define specific distance, airflow, or exposure limits, do not alter settings based on assumptions. Holding a tool farther away does not substitute for a verified task setting.
FAQs
Is the number on my heat gun the temperature of the surface?
Not necessarily. A dial position or display reading means what your heat gun's manual says it means. Without that documentation, you can't assume it equals the temperature of the material you're heating. Distance from the surface can also change the effective heat the work receives.
What should I do if the instructions only say "low heat"?
Qualitative wording gives you no number to match against your tool's controls. Don't convert it into a temperature on your own. Look for a more detailed guide, technical sheet, or support answer from the material maker for that exact product and task.
Will using 3M's documented range guarantee clean DI-NOC removal?
No. 3M's installation guide calls the heat step optional, says results and effort will vary, and says clean removal without substantial damage is unlikely. The guide states the optional range is used to soften adhesive, but it does not guarantee substrate protection or clean removal.
Continue reading
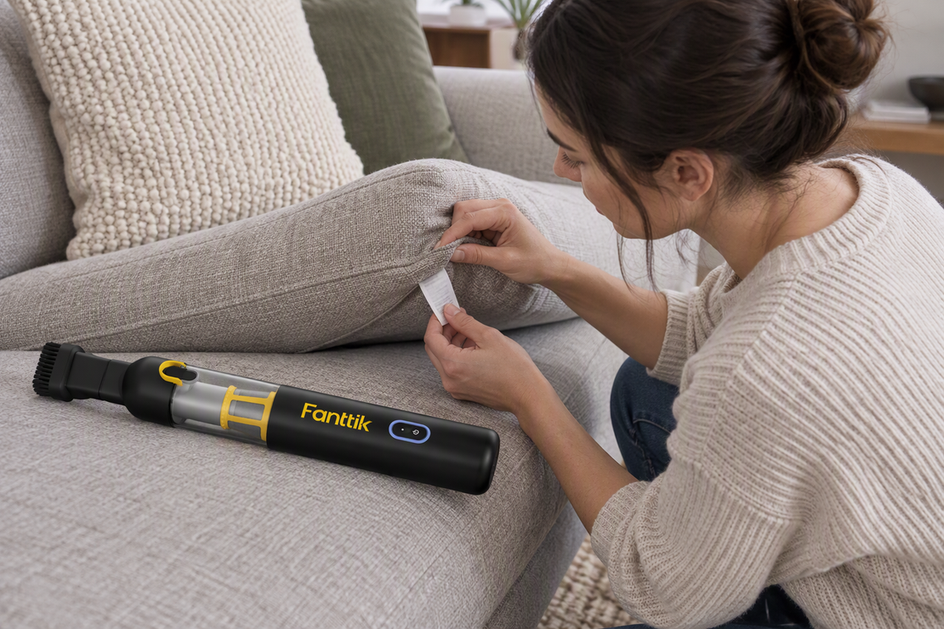 How to Vacuum Upholstery Without Damaging the Fabric
A step-by-step routine for dry vacuuming sofas and upholstered chairs, covering care-tag checks, attachment choice, loose and fixed...
How to Vacuum Upholstery Without Damaging the Fabric
A step-by-step routine for dry vacuuming sofas and upholstered chairs, covering care-tag checks, attachment choice, loose and fixed...
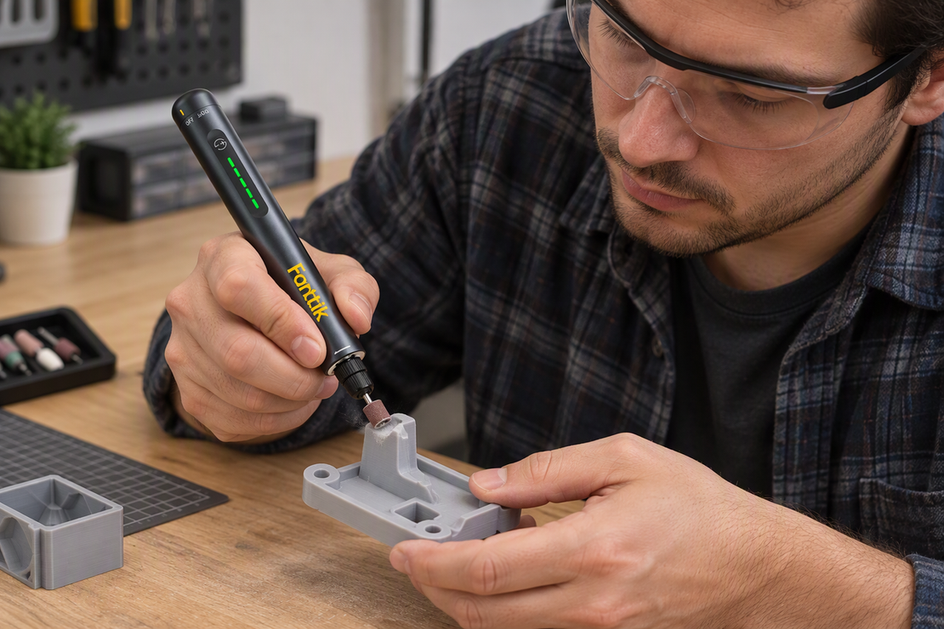 How to Remove 3D-Print Supports Without Damaging the Part
A staged guide to removing printed supports: hand tools first, solvent for soluble supports, gentle sanding for nubs,...
How to Remove 3D-Print Supports Without Damaging the Part
A staged guide to removing printed supports: hand tools first, solvent for soluble supports, gentle sanding for nubs,...


Leave a comment
This site is protected by hCaptcha and the hCaptcha Privacy Policy and Terms of Service apply.