












































The most useful apartment DIY tools are a tape measure, a pencil, a small level, and a hand screwdriver or multi-bit driver. That core covers measuring, marking, and screw fastening for small indoor jobs without filling a closet.

Everything else is an add-on. Pick finishing tools only for the project you actually plan, and treat a drill/driver as optional until you confirm your lease and building policy allow drilling.
This guide follows that order. It starts with the four core tools and the job each one does, then explains how to decide on a drill/driver, and ends with finishing tools tied to specific projects. The goal is a kit that matches the work you actually do in your unit.
Start With a Small Measuring and Hand-Fastening Core
Most small apartment projects follow the same pattern. You figure out where something goes, mark it, check that it sits straight, and then fasten it. Each step calls for a different tool, so a compact kit covers each one with a single item:
- Tape measure (measuring): Sets dimensions, such as how wide a shelf is or how far a hook sits from a door frame.
- Pencil (marking): Records the spot you measured so you are not guessing when it is time to fasten.
- Small level (alignment): Checks that a mark, shelf, or frame is straight before you commit to it.
- Hand screwdriver or multi-bit driver (screw fastening): Drives and removes screws for tasks like tightening hardware or assembling flat-pack furniture.

Treat this as a practical starting set, not a tested standard or a complete inventory. It works because it matches the tasks you are likely to repeat. If a measuring job grows beyond what a tape covers, such as long room dimensions, you can look at a laser distance meter as a separate measuring category. For lining up several items across a wall, a laser level projects a reference line instead of relying on a short bubble vial. Our guide on using a laser level covers self-leveling, line choice, and mounting.
The hand driver matters for a second reason. It lets you fasten screws without making drilling the default. Many furniture and hardware jobs only need screws turned into existing holes or parts. Keeping the fastening tool manual keeps your kit small and keeps the drilling decision separate. You can tighten a loose cabinet handle or put together a bookcase today, and leave the question of making new holes until you have checked whether that is allowed. A multi-bit driver also lets one handle work with different screw heads, which helps keep the kit compact.
If screws strip or the bit slips out of the head while you fasten, read our explanation of bit walk and stripped screws before blaming the screw.
Check Permission Before Adding a Drill/Driver
A project that calls for drilling does not give you permission to drill. In fact, HUD training material notes that property alterations are common lease rules, meaning your own agreement is the first place to check rather than assuming a nationwide standard.
Use this sequence before a drill/driver joins your kit:
- Confirm the task actually needs drilling. If the job only involves turning screws into existing holes or furniture parts, your hand driver already covers it.
- Read your lease and building policy. Look for wording about alterations, wall changes, or mounting items.
- Ask property management if the wording is unclear. Get an answer before you start, not after there are holes in the wall.
- Choose the approach that fits the answer. If drilling is allowed, a compact power drill can join the kit for that project. If it is not, use a non-drilling approach only when it is both permitted and suited to the job.
This order keeps the drill an add-on for a specific, approved task instead of a default purchase. It also keeps the decision tied to your own unit. What applies in one building may not apply in another, so the answer from your lease, building policy, or property manager matters more than general advice. If the answer is no, that does not change the rest of your kit. The measuring, marking, and hand-fastening core still covers the jobs that don't need new holes.
Add Finishing Tools for the Project, Not by Default
Finishing tools depend on what you are finishing, so no single set belongs in every starter kit. Buy them when a planned job calls for them:
- Small patch: A putty knife or a sanding block may suit the job.
- Painting: A small brush may suit the job, provided painting is permitted in your unit.
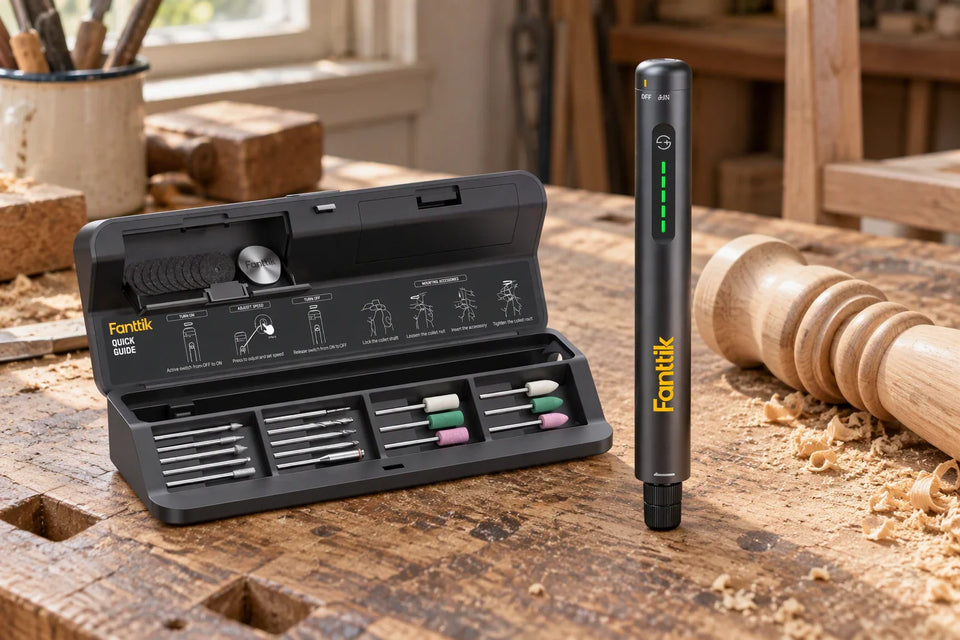
Waiting until a project is actually on your calendar keeps storage minimal and prevents unused supplies from cluttering limited apartment closets or cabinets. If your projects later expand beyond basic repairs into detailed craft shaping, hobby carving, or surface smoothing, our rotary tool buying guide explains how speed control, collet size, and accessories match different jobs.
FAQs
How can I keep an apartment DIY kit small if my projects vary?
Keep the measuring, marking, and hand-fastening core, and add tools one project at a time. Before you buy, name the next job and add only what that job needs, whether that is a finishing tool or, with permission, a drill/driver.
What if I am not sure whether drilling is allowed?
Treat it as unanswered until you check. Review your lease and building policy, and ask property management if the wording is unclear. Don't assume permission or a ban based on what another building or state does.
Which finishing tools should I add for a small patch or paint job?
For a small patch, a putty knife or sanding block may be enough. For painting, a small brush may suit the job if painting is permitted. Buy these for the specific job instead of keeping a full finishing set on hand.
Do I need a power tool to assemble furniture in an apartment?
Not necessarily. A hand screwdriver or multi-bit driver handles screw fastening, which covers many assembly tasks. Add power tools later only when a specific job calls for one.

Leave a comment
This site is protected by hCaptcha and the hCaptcha Privacy Policy and Terms of Service apply.