










































Choose your sander by the surface you're working on and by whether the pad can physically reach it. A detail sander is a targeted tool for tight corners and trim that its small pad fits into. Broad tabletops and panels call for a random-orbit sander, and any contours neither pad reaches get finished by hand.
If your piece has both flat panels and shaped details, plan on using more than one approach. Before you buy, confirm the pad shape, sandpaper, and dust-collection details for the exact model you're considering.

Which Sander Fits Each Furniture Surface?
Start with the surface, not the tool. Each area of a furniture piece points to a different sanding approach, and one pad shape rarely covers all of them.
| Surface and access | Tool to consider | Fit limit or next step |
|---|---|---|
| Tight inside corners and edges | Detail sander with a triangular pad | Only where the pad tip physically reaches |
| Trim, molding, and shaped profiles | Detail sander on reachable sections | Hand-sand curves the pad can't sit on |
| Tabletops, cabinet sides, doors | Random-orbit sander | Round pad can't reach closed corners |
The main reason to own a detail sander is access. A triangular detail-sander base can get into tight places and along trim where a larger pad won't fit. That access only helps if the pad shape matches the spot. A sharp inside corner on a drawer front may suit it well. A deeply curved chair spindle may not.
There's also a finish trade-off. According to Wood Magazine, detail sanders remove material well, but their scratch marks can be hard to blend with marks left by another sander. That makes a detail sander a spot tool for corners and trim, not the one you'd run across a whole dresser top.
For the big, open areas, a random-orbit sander suits broad flat surfaces like tabletops and cabinet sides. The same article also points out its limit: the round pad can't reach into closed corners. That gap is exactly where a detail sander or hand-sanding comes in.
How to Handle a Piece With Both Flat and Detailed Areas
Machine-sand the flats first, then finish the details by hand. This order works for pieces like a paneled cabinet door or a dresser with molded edges.
- Random-orbit sand every flat area the pad reaches. Work the top, sides, and door panels. Stop where the round pad runs into a closed corner or a shaped edge.
- Hand-sand the corners and contours the machine missed. Wood Magazine's finishing guide recommends hand-sanding contours the power sander misses and switching sandpaper backing pads to suit each surface. Use a flat backer on straight edges and one that follows the curve on rounded profiles.
- Finish the hand-sanded areas at the machine's final grit. The same guide advises hand-sanding all areas to the grit you used to machine-sand the flat surfaces. If you stopped the tabletop at a certain grit, take the molded edge to that grit too, so the sanded surfaces match going into the finish.

If you also own a detail sander, it slots in between steps 1 and 2 for corners its pad reaches cleanly. Keep it to those spots and leave the broad surfaces to the random-orbit sander.
Refinishing cabinets often ends with rehanging doors. If the hinges go back into particle board, use our guide on installing hinges without stripping screws so the screws hold.
What to Check Before Buying a Detail Sander
Check four things on the exact model's product page or manual before you commit. If a detail isn't listed there, don't assume it.
- Pad shape and size against your tightest spot. Compare the pad's shape and footprint with the smallest corner or profile you plan to sand. If the tip can't reach it or the pad can't sit flat on it, that area needs hand-sanding. That's fine if it's only a few spots. If it's most of the detail work on your piece, reconsider the purchase.
- Listed sandpaper and how it attaches. Find the sheet shape, the attachment method, and the replacement sheets the manufacturer lists for that model. If replacements aren't clearly listed or easy to buy, you may struggle to keep the tool running mid-project.
- Documented dust collection. Note whether the model has a dust bag, a vacuum port, or neither, and what connection or adapter it calls for. Don't assume your shop vac hose or another brand's accessory will fit.
- Where and how long you'll sand. A few corners on one nightstand is a very different workload from stripping a full set of kitchen cabinets. If you're working in a shared-wall apartment, our guide to reducing tool noise in apartments covers isolation and quieter setups.
The rule for buying is simple. Match the sander to the surface and the access it needs, and only buy a model whose documentation confirms the pad, sandpaper, and dust setup you'll rely on.
FAQs
How is random-orbit motion different from a detail sander's pad?
A random-orbit sander's round pad spins and moves in small orbits at the same time. That makes a less uniform scratch pattern across broad surfaces, as explained in this random-orbit vs. palm sander comparison. A detail sander trades that coverage for a small, pointed pad that reaches into corners, and its marks can be harder to blend with other sanding.
Should I pick a 5-inch or 6-inch random-orbit sander for furniture?
It depends on what matters more to you: speed or handling. In Wood Magazine's comparison, 6-inch models removed stock faster thanks to a pad about 30% larger, and it named broad surfaces like tabletops, cabinet sides, and doors as where bigger helps. Typical 5-inch models weighed 2 to 3 lbs less and were easier to control with one hand.
Is a detail sander worth buying if I already own a random-orbit sander?
Yes, if your furniture has several tight inside corners or reachable trim sections that the round pad can't get into. If the leftover areas are mostly curves and rounded profiles, hand-sanding with a shaped backer may cover them without a second machine.
Continue reading
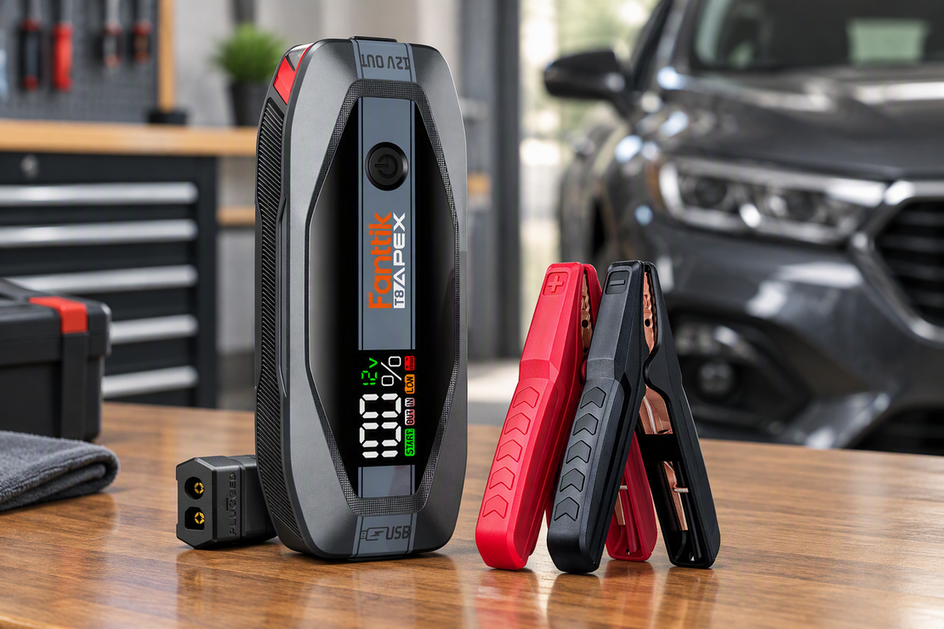 Portable Car Jump Starter Buyer Guide: Sizing, Amps, and Safety Features
Learn how to size portable car jump starters using documented engine limits, essential safety features, and temperature readiness...
Portable Car Jump Starter Buyer Guide: Sizing, Amps, and Safety Features
Learn how to size portable car jump starters using documented engine limits, essential safety features, and temperature readiness...
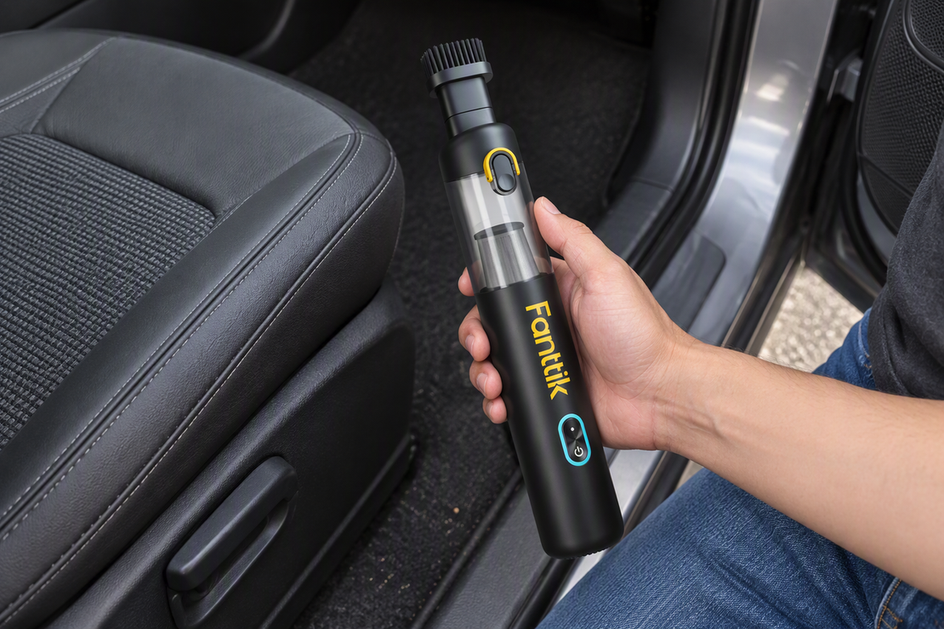 Handheld Vacuum Buying Guide: How to Pick One Cordless Vacuum for Home and Auto
A practical guide to deciding whether a single cordless handheld can cover routine spot cleaning at home and...
Handheld Vacuum Buying Guide: How to Pick One Cordless Vacuum for Home and Auto
A practical guide to deciding whether a single cordless handheld can cover routine spot cleaning at home and...
Leave a comment
This site is protected by hCaptcha and the hCaptcha Privacy Policy and Terms of Service apply.