











































Visible detail sander scratches don't prove the sander is faulty. Before you change tools, check two things. First, see whether your grit sequence left coarse marks that later passes never removed. Second, see whether the abrasive has lost its cutting action.
Start with the grit history, because it gives you a clear benchmark to compare against. Then check the abrasive by touch. Only turn to the sander itself after both checks come back clean on a test board.
Check the Grit History Before Blaming the Sander
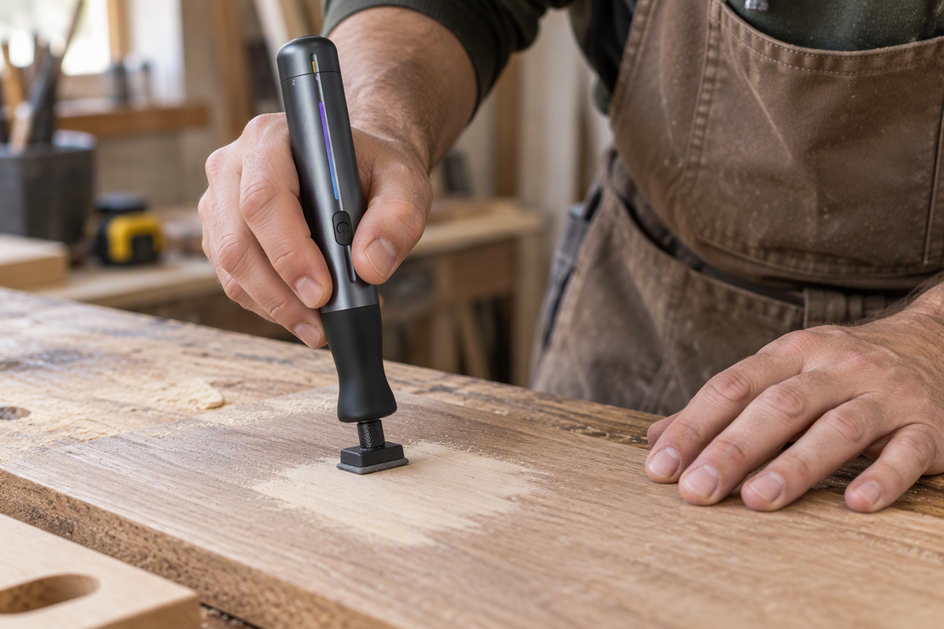
Write down every grit you used on this piece and the order you used it in. When working on intricate projects with tools like our electric detail sander, compare that record with a published progression across your DIY tools and wider workshop tools.
3M's wood-sanding grit guidance gives a simple benchmark: sand with the grain, work from coarse to fine, and skip no more than one grit between steps. That's general advice for sanding wood, not a rule written for one type of sander. It still works well as a yardstick for your own record, especially when organizing a compact workshop setup for consistent results.
The reason the order matters comes down to scratch depth. WOOD Magazine explains that coarse grits leave deeper, more visible scratches. Each finer grit that follows is there to remove the scratches left by the grit before it. WOOD gives 120, then 150, then 180 as one example progression. That's an illustration, not a set of numbers every project needs.
Now read your record against that benchmark. Did you jump more than one grit at any point, or go straight from a coarse sheet to a fine one? Then your process went past 3M's guidance. That mismatch doesn't confirm where the marks on your workpiece came from. It does give you a controlled next test:
- Grab a scrap of the same wood, or use a spot that won't show.
- Sand it with the grain, moving through the grits without skipping more than one between steps.
- Wipe the test area clean and compare it with the marked surface under the same light.

If the test patch comes out clean while the project still shows marks, the sequence is the variable to fix on the visible surface. If the test patch shows the same marks even with a full sequence, move on to the abrasive check below.
Can Loaded or Contaminated Abrasive Leave Scratches?
Worn or loaded abrasive is a fair suspect, but a visual check alone will not diagnose your scratches. Running a quick physical wear check takes that variable out of the picture, regardless of whether your grit progression was correct.
According to WOOD Magazine's abrasive check, the test is simple: rub your fingers over the sheet you have been using, then over a fresh sheet of the same grit. If the used one feels noticeably smoother, discard it.

Put on a fresh sheet of the right grit before you sand any more of the project. If you can see dust, dried finish, or debris caked onto the old sheet, a new one rules that out as well. Then repeat your scrap-board pass with the new sheet.
What you see next decides your next step. If the marks stop with fresh abrasive, keep changing sheets whenever the touch test says the old one has gone smooth. If the marks keep showing up with a fresh sheet and a correct sequence, the abrasive alone doesn't explain them.
When Should You Suspect the Sander Itself?
Suspect the tool only after a correct grit sequence and fresh abrasive still leave marks on a scrap test. Scratches alone don't tell you whether the sander has a fault. They don't point to any specific part, either.
To isolate the tool, keep everything else the same: the same wood species, the full grit sequence, fresh sheets at each step, and one change at a time. Clear the dust off the surface before you look at each test patch, so you're judging scratches and not residue. If dust settles on your work faster than you can inspect it, our guide to managing micro-dust in small studios covers source capture and air cleaning for compact spaces.
The scrap test leads to one of two results:
- Test patch comes out clean. The problem was in the process. Go back to the project and use the same sequence and sheet-change routine.
- Marks remain under controlled conditions. The sander and how you're running it are the variables left. The manual or manufacturer support for your exact model is the right source for pad, sheet-mounting, and operating guidance, because those details are specific to each model.
Before you replace equipment, stop sanding the project surface, sand a small test scrap with a fresh abrasive through your complete grit sequence, and inspect the scrap under direct light to decide whether to adjust your sanding routine or inspect the sander.
FAQs
Is 3M's one-grit rule written specifically for detail sanders?
No. It's general wood-sanding guidance: sand with the grain, go from coarse to fine, and skip no more than one grit between steps. Treat it as a benchmark for your grit order on wood, whatever sander you're using.
Does skipping a grit prove the scratches came from an earlier step?
No. A skipped grit shows your process went past the recommended sequence, but it doesn't prove where a particular scratch came from. A scrap-board pass with the full sequence is how you find out whether fixing the sequence clears the marks.
Which grit should I go back to on my project?
Neither source names an exact grit for your workpiece. Restart at a point where every step stays within one grit of the next, then confirm on scrap or a hidden spot before you sand the visible surface again.
Should I keep sanding the project while I troubleshoot?
Stop work on the visible surface and move to a scrap piece or a spot that won't show. Testing there lets you change one variable at a time, with no extra passes on the finished face before you know what's causing the marks.
Continue reading
 What Size Tent Do You Need for Camping With a Dog?
A practical way to size a tent for a dog: start from editorial examples, measure the dog's bed,...
What Size Tent Do You Need for Camping With a Dog?
A practical way to size a tent for a dog: start from editorial examples, measure the dog's bed,...
 Bike Pump or CO₂ Inflator: Which Is Better for a Roadside Flat?
A portable pump keeps working after a second puncture, while each CO₂ cartridge is one fill. See which...
Bike Pump or CO₂ Inflator: Which Is Better for a Roadside Flat?
A portable pump keeps working after a second puncture, while each CO₂ cartridge is one fill. See which...
Leave a comment
This site is protected by hCaptcha and the hCaptcha Privacy Policy and Terms of Service apply.