











































To use a detail sander on trim without rounding its edges, run the pad only where it can sit flat and fully supported on the face you mean to sand. Stop before any part of the pad rolls over an edge. The edge stays crisp because the pad never leaves the face.

When a section gets too narrow or too shaped for the pad to stay flat, put the sander down and finish that spot by hand. Detail sanding trim this way depends on where the pad goes. Mark what you want to keep, practice the path, and check the profile before you start each new pass.
How to Use the Detail Sander Without Crossing the Edge
Sand only the face you plan to change. Plan the pad's route so it never reaches an edge you want to keep. Work through these steps in order, and don't move to visible trim until step 2 goes cleanly.
- Name the face and the edges to protect. Look at the trim and pick out the broad face you actually need to sand. Then list what must stay unchanged: the outside corners, any bead or groove, and the shaped profile along the top or side. If it helps, draw a light pencil line along each protected edge so you can see it while you work.
- Practice the pad path on scrap or a hidden spot. Use an offcut of the same trim if you have one. If not, pick a section that will stay out of sight, like the back of a closet or a spot behind furniture. Watch where the edge of the pad sits compared to the protected edge, and notice how close you can get while the whole pad stays flat.
- Keep the pad flat and fully supported. The whole pad should rest on the face for the entire pass. Once part of it hangs past the edge, nothing holds it level. It can then tip or ride onto the edge you meant to save.
- Stop before the pad crosses the edge. End each pass while the pad is still fully on the face. You'll leave a thin strip next to the edge where the pad can't stay supported. That strip belongs to the hand method in the next section, not to another powered pass.
Step 2 often settles the method question before you touch visible trim. Maybe you can't keep the pad flat near the edge on scrap. In that case, plan to sand that part of the real trim by hand from the start. That's better than finding out on a finished surface.
When Should You Switch to Hand Sanding?
Switch when the pad can no longer stay flat and controlled on the section in front of you. Base the call on what the pad can do, not on what the trim is called.
- Keep using the detail sander when the whole pad rests on the face through the full pass and your planned path stays short of every protected edge.
- Stop and sand by hand when the face is narrower than the pad, or when curves, beads, or coves leave the pad touching only part of the surface. A pass there would cross the profile or ride on it.

That's why calling a piece "molding" doesn't settle anything. A wide, flat stretch of casing may suit the sander fine. A small bead along the top of a baseboard may not. Check each section and decide for that section alone.
For curved molding, a rubber pad that fits the molding helps keep the profile's edges sharp when you sand by hand. Match the backing to the exact contour you're sanding. One shape won't fit every profile on a piece of trim.
How to Check the Trim Before Another Pass
Before you sand the face again, compare the worked edge with a reference that hasn't been touched. That could be an unsanded length of the same trim, a matching offcut, or the section you haven't reached yet. Hold them side by side or look down the length of the board. Focus on the line where the face meets the edge and on the shape of any bead or curve beside it.
If the sanded edge looks as crisp as the reference and the profile still matches, you can keep going on the same path. If the edge looks softer or rounder than the reference, or the profile shape has changed, stop powered sanding in that area. Another pass will only take more material off the edge. Finish the strip by hand with a backing that fits the contour.
Sometimes the check turns up a different problem: scratch marks on the face itself. Our guide to detail sander scratches covers grit sequence and abrasive wear, so you can fix the surface without changing your edge plan. After the check, go back to the face only if the edge still matches. If it doesn't, put the sander down for that section.
FAQs
Why can a custom-shaped sanding block still round molding edges?
The sandpaper may not fit tightly into the block's sharp corners. Family Handyman notes that this loose fit can round over some molding profiles. Their fix is to slice the paper at the creases with a utility knife and press it tight to the block with a putty knife. Another option is to cut the block into sections and sand the tight spots separately, using a small square block or a folded piece of paper.
Can you make a sanding block that matches a trim profile?
Yes. One shop method from WOOD Magazine is to wrap a scrap of mating stock in self-adhesive sandpaper so it matches the profile you're sanding. "Mating stock" means a piece shaped as the reverse of the profile, so it nests into the curve. This gives you a hand-sanding backing shaped for that specific trim, not a general shape.
Does a plain sanding block help on flat sections of trim?
It can. The same WOOD Magazine hand-sanding guide explains that a sanding block keeps the paper in constant, even contact with the wood. That even contact helps prevent dishing a flat surface or accidentally rounding over its edges. A flat block is a good fit for the narrow, flat strips the detail sander couldn't reach safely.
Should one piece of trim be sanded with more than one method?
Often, yes. You can use the detail sander on the broad face where the pad stays flat. Then switch to a flat block or a profile-matched backing for the strip beside the edge and any shaped parts. Splitting the work this way keeps each method on the part of the trim where it stays in control.
Continue reading
 Should You Leave the Rainfly on a Tent on a Clear Night?
A clear sky at bedtime doesn't settle the rainfly question. Weigh the overnight forecast, dew risk, and your...
Should You Leave the Rainfly on a Tent on a Clear Night?
A clear sky at bedtime doesn't settle the rainfly question. Weigh the overnight forecast, dew risk, and your...
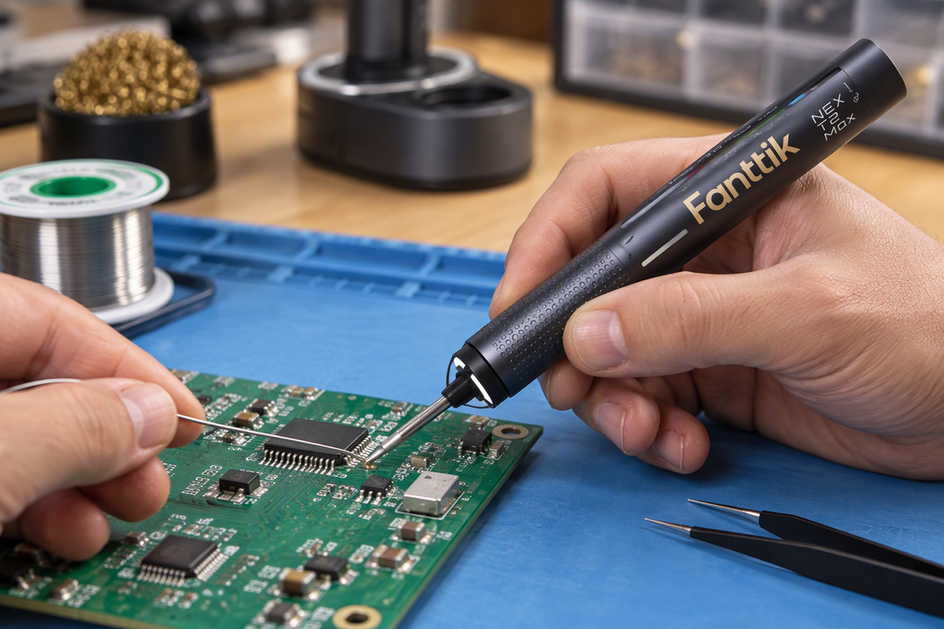 How to Prevent Solder Bridges Between Closely Spaced PCB Pins
A step-by-step hand-soldering approach for closely spaced pins, based on a 0.5 mm-pitch TQFP example, plus how to...
How to Prevent Solder Bridges Between Closely Spaced PCB Pins
A step-by-step hand-soldering approach for closely spaced pins, based on a 0.5 mm-pitch TQFP example, plus how to...


Leave a comment
This site is protected by hCaptcha and the hCaptcha Privacy Policy and Terms of Service apply.