

Set your loaded bike tire pressure for the bike as you actually ride it, with your usual panniers packed. Start with separate front and rear numbers from a calculator that accounts for luggage weight and where the bags sit. Keep both numbers under the lower of your tire and rim maximums, then make small changes and judge how the loaded bike handles.
No single PSI number fits every loaded commuter bike. Tire width, tire construction, rider weight, cargo weight and bag placement all change the answer. A loaded bike may need a different setup than the same bike unloaded, so treat your unloaded pressure as a separate setting and don't reuse it.
How to Choose a Starting Pressure for Your Loaded Bike
Use a pressure calculator that takes your cargo into account. Generic charts usually assume a rider on an empty bike. Rene Herse's Pro calculator considers bag weight and location when it works out how weight is spread across the bike. It treats front panniers, a frame bag and a rear rack differently, and its pressure recommendations change to match.
That matters because the two tires rarely carry the same load. The same Rene Herse page notes that on most bikes the front wheel carries less weight than the rear, and that frame size and riding position also shift the balance. A rider sitting upright puts more weight toward the back. Bags on a rear rack push even more load onto the rear tire, while front panniers move some of it forward. So you should expect different front and rear numbers, but there's no fixed split to apply.
The Pro calculator also accounts for tire casing stiffness, which is how much support the tire's own structure gives before the air does its part. Because of this, a number that works on a friend's tire may not carry over to yours, even at the same width.
Here's a simple way to get your starting numbers:
- Pack the bike the way you commute. Load your usual panniers with your normal cargo, such as a laptop, lunch, a lock and spare clothes. Weigh the bags if you can.
- Enter the real setup. In the Pro calculator, enter your rider and bike weight, your actual tire widths (front and rear can differ), and the bag weight and location.
- Record front and rear separately. Write down both outputs. Treat them as starting estimates for that exact setup, not as a universal standard.
- Recalculate when the load changes a lot. A grocery run with full rear panniers is a different setup from a light day with one bag.
A calculator gives you a starting point. It doesn't confirm that your tires, rims, bike or rack can handle the load, so check those limits next.
What Limits Apply to Your Tire and Rim?
Your working pressure has to stay inside your equipment's limits, and those limits aren't recommendations. The maximum PSI printed on a tire sidewall is a ceiling. It isn't the pressure you should ride at, and you shouldn't inflate to it just because it's printed there. The Rene Herse page puts it plainly: riders know not to pump tires to the sidewall maximum.
Check two pressure ceilings before you ride the loaded bike. The first is the maximum pressure on the tire sidewall or its packaging. The second is the rim maker's guidance for that tire size, which matters most with hookless rims. Tire maker Continental advises checking both, and if they disagree, following the lower one.
Load limits are a separate check. Your bike frame and your rack may each have their own stated weight rating, and each rating covers something different. One might apply to total rider plus cargo weight, and another only to what the rack carries. Look up the documentation for your exact bike and rack, and verify the relevant load against each rating as written. Don't count a higher tire pressure as extra carrying capacity. If the load exceeds either specific limit, carry less. Pumping the tires up harder won't fix it.
How to Fine-Tune Pressure on Your Loaded Commute
After you have starting numbers and know your limits, refine them on the road with the bike loaded. Change small amounts, change one thing at a time, and pay attention to how the bike feels.
- Keep conditions steady. Ride with your usual pannier load on your usual route so that any change you notice comes from the pressure.
- Log your numbers. Use the same gauge every time and write down the front and rear PSI before each ride.
- Adjust one tire at a time. Make a small change you can read clearly on your gauge to either the front or the rear, never both at once.
- Check handling. Notice steering feel, stability in turns, comfort over rough pavement and any harsh hits from potholes or curb cuts.
- Back up if it gets worse. If handling feels worse, go back to the last setting that felt controlled and comfortable.
This is a practical routine, not a lab-tested protocol for loaded commuting. You may see a 5 PSI step suggested elsewhere. SILCA's pressure-testing method uses that step for timed repeat runs to find the fastest pressure under controlled conditions. That's a speed test, so don't borrow its step size as a rule for judging handling on a loaded bike.
Know what too little pressure looks like. Rene Herse describes how low pressure can collapse a sidewall during hard cornering. The same page explains that on rough terrain, pressure has to be high enough to stop the tire bottoming out, which can damage the rim. The page also warns about hard braking. When you brake hard, almost all of the weight shifts onto the front tire, so a front tire set very soft can become overloaded. Stop lowering pressure if the loaded tire feels squirmy or vague in turns, or if you feel the rim hit through the tire. Raise it again without going over your tire and rim limits.
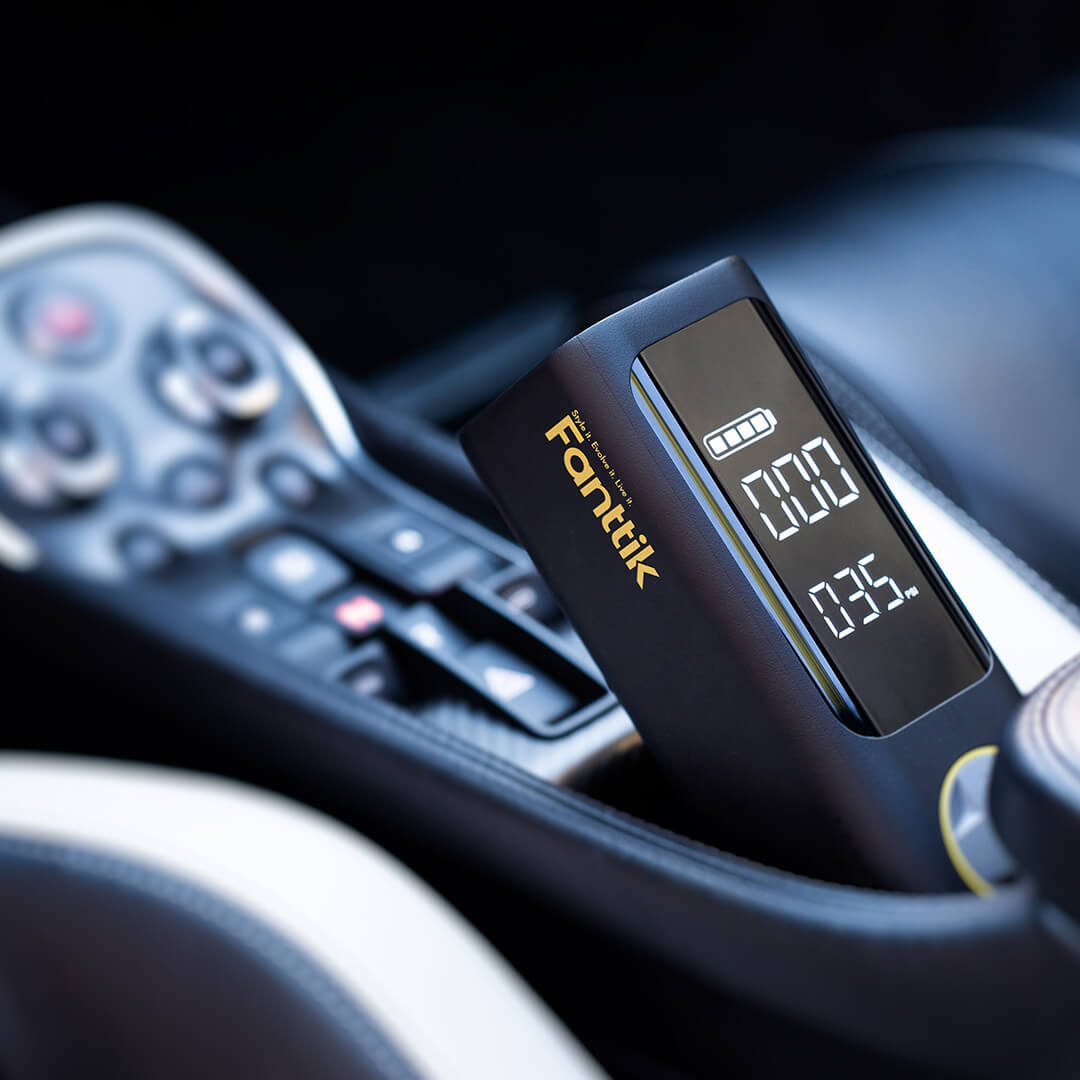
Pressure drifts between rides, so a gauge you can trust makes this routine much easier. For help choosing one, see our guide on how to choose a bike pump. It covers gauges, valve heads and pressure range.

FAQs
Should the rear tire be higher than the front with panniers?
Often it is, because most bikes already put more weight on the rear and rear panniers add more. There's no fixed difference to apply, though. Front panniers, frame size and how upright you sit all change the balance, so use separate front and rear estimates for your actual setup.
Can I just inflate to the maximum PSI on the sidewall when loaded?
No. The sidewall number is a ceiling. It isn't a working pressure. Riding at the maximum gives up comfort and grip, and heat can push the pressure above the limit. Stay below the lower of the tire and rim maximums.
How often should I check pressure on a loaded commuter?
Check it before every ride. Continental advises this as standard practice, and it matters more when the bike carries extra weight. Use the same gauge each time so your logged numbers stay comparable.
Do I need to change pressure when I take the panniers off?
Yes, if the load changes a lot. Run the calculator again for the unloaded setup, or keep a separate set of logged numbers for loaded and unloaded days.
Leave a comment
This site is protected by hCaptcha and the hCaptcha Privacy Policy and Terms of Service apply.