












































To measure the height under a sloped ceiling, pick specific spots on the floor and measure straight up from each one. Use the same reference point on the meter every time, and write down each reading with the spot it came from. One reading can't give you "the room's height," because the height changes as the ceiling slopes.

The method works when you have a clear ceiling target and a vertical beam. If the beam tilts, you get a diagonal distance, not the height.
How to Measure Height Beneath a Sloped Ceiling
A laser meter reports the distance from the meter to the intended target by timing a beam reflected back to its receiver. For that measurement to represent the true vertical ceiling height, the beam must start at your floor reference point and shoot straight up.
- Choose and label floor stations. Pick the spots your project depends on, such as where a cabinet, bed, or shelf will go. Give each one a name, like "A: low wall side" or "C: under ridge." If the ceiling has more than one plane or the slope changes, measure each section separately.
- Set one reference point. Check your meter's manual to see where it measures from, and whether that's the front or back edge. Then put that same edge on the floor at every station. If you switch reference settings partway through, the readings won't match.
- Point the beam straight up. Aim at the ceiling spot right above the station, as long as your meter's instructions allow it to be used in that position. A level, plumb line, or an integrated digital bubble like the one on the Fanttik A10 Apex 3-in-1 Laser Distance Meter can help you keep the meter vertical. A tilted beam measures a slanted line of sight. On a slope, it also hits a different part of the ceiling, so the result isn't the height above your station.
- Aim at a clear target. Laser meters need careful aim at the intended ceiling point, and a narrow target takes more care. The same report notes that a more reflective target is more likely to return the beam. If the meter has trouble getting a reading, the ceiling surface may be part of the reason.
- Record each reading separately. Write down the station label, the ceiling section, and the unit shown, such as feet and inches. Keep every result tied to its spot. Don't average them into one number for the room.
- Reject bad readings. If the reading is missing, keeps jumping, or you can't tell where the beam landed, aim again at the same point. If it still won't settle, count that attempt as a failed reading, not a height.

If your meter's documentation doesn't cover the reference point or vertical use you need, don't count that setup as a true vertical height. Use another method the manual describes, or switch to a different measuring approach for that spot.
FAQs
How many points should I measure along a sloped ceiling?
There's no set number or spacing. Measure where your project needs answers, such as where furniture or fixtures will go. Add separate points wherever the ceiling plane or slope changes. Each point describes only that spot.
Does a laser meter measure from its front or back?
It depends on the model, so don't guess. Find the measurement reference in your meter's manual and use it the same way at every station. Only add an offset if the manual says to.
What if the meter won't give a stable reading from the ceiling?
Aim again, slowly, at the same ceiling point. Small or narrow targets need more careful aim. If you still can't get a reliable reading, mark that station as failed and don't record a height for it. Then try another method the manual describes, or measure that spot a different way.
Continue reading
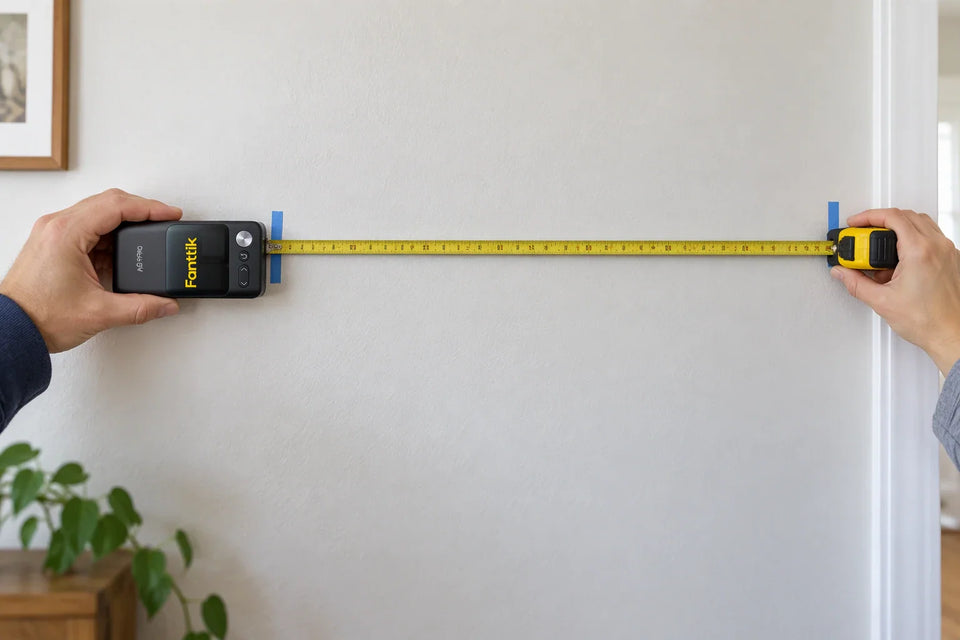 Laser Measure vs. Tape: Why the Readings Differ and What to Check
Two tools, two numbers? Mismatched start points, aim, or target surface can explain it. Use a like-for-like check,...
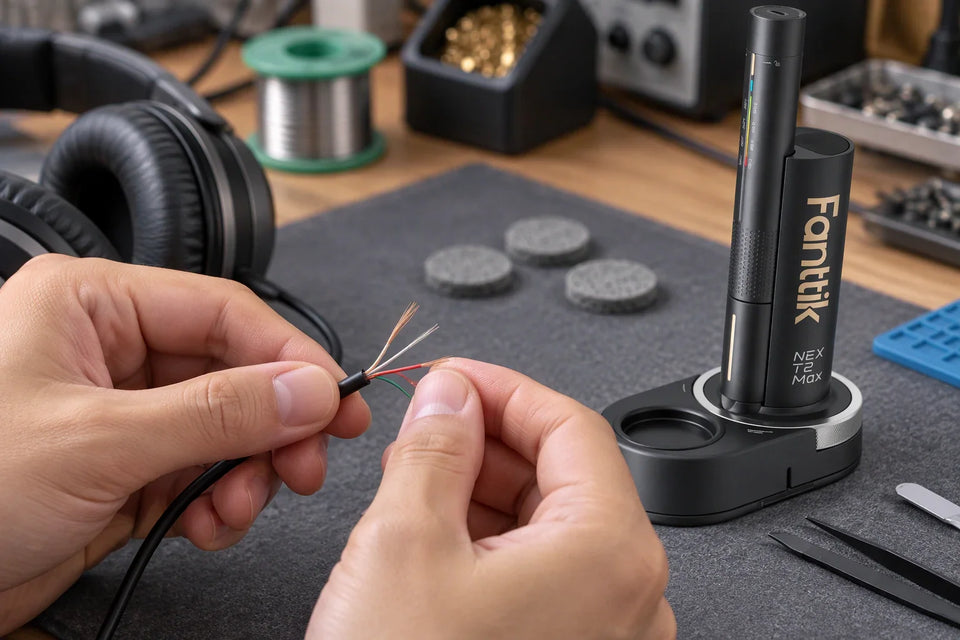 Soldering a Broken Headphone Wire: Check the Cable Before You Heat It
How to tell if a broken headphone cable is worth soldering: look at the conductors and coatings, then...
Leave a comment
This site is protected by hCaptcha and the hCaptcha Privacy Policy and Terms of Service apply.