










































To reduce plywood tear-out on the back of a through-hole, press a piece of scrap wood flat against the exit face, clamp the work, and drill through the plywood into that scrap. As the bit exits, ease off the feed pressure rather than relying on drill speed alone.
If you can't get a backer behind the panel, a different two-sided approach applies. It's covered below, along with where its advice stops.
Support the Exit Face Before You Drill
Start with a sacrificial backer, a scrap block that sits directly under the spot where the bit will come out. When organizing your bench for general DIY tools and drilling setups, the Northeastern University makerspace drill press guide recommends placing a wood block beneath thin work and drilling through both to limit splintering on the back face.
- Find the exit face. Mark the hole center on the side you'll drill into. The opposite side, the one that faces the table, is where tear-out shows up.
- Position the backer. Slide a flat scrap block under the plywood so it fully covers the planned exit point, with the panel sitting flat on it.
- Secure the work. Clamp the plywood or hold it in a vise so it can't shift or spin while you drill.
- Drill through both layers. Feed the bit all the way through the plywood and into the scrap block. The bit should end up cutting into the backer, not into open air.
- Inspect before the next hole. Unclamp and look at the exit edge. If you see splinters, check that the block was flat against the panel and centered under the hole, then reset it before drilling again.

Why does a plain scrap block help? According to WOOD Magazine, a backing board traps the wood fibers around the exit point, so the bit can't push out the last splinters. That's the job a backer does that nothing else in this setup does.

Keep two jobs separate in your head. The backer supports the exit face. The clamps or vise hold the workpiece still. The Northeastern guide calls for both, so a well-clamped panel with nothing underneath the exit still leaves those last fibers unsupported. A backer that isn't held in place can slide out of position. Expect less tear-out, not a perfect edge every time.
Ease the Feed at Breakthrough
The last fraction of an inch matters most, so lighten your pressure as the bit starts to exit. The same drill press guide advises easing pressure further as the bit breaks through the material.
Feed and speed are two different controls. Feed is how hard and how fast you pull the drill press handle to push the bit into the wood. Speed is how fast the bit spins, measured in RPM. The breakthrough advice in this guide is about feed. It doesn't give a numeric RPM for plywood, and it doesn't present a speed change by itself as the fix. Don't treat any single RPM number as the answer to plywood tear-out.
In practice, feed at a steady pace through most of the panel. As you sense the bit nearing the far side, back off the handle pressure and let the bit cut its own way out into the backer. The guide advises easing feed pressure at breakthrough rather than maintaining a heavy push. This advice comes from a drill press procedure, so use it with that setup in mind.
When the Backer Cannot Fit
Your choice of method comes down to whether a scrap block can sit tight against the exit face. If backing fits, use that primary setup. If clamps cannot reach, WOOD Magazine recommends drilling from both directions using a starter hole as a guide for large cabinet access holes.
That two-direction approach creates clean entries on both sides instead of an unsupported exit face.
That answer was written for a large access hole in an assembled cabinet, where the clamps wouldn't reach. It doesn't name a starter-hole size or a particular bit, so choose those for your own job rather than assuming a standard. Treat it as the option for a backer you truly can't place, not a replacement for backing when backing is possible.
Changing the bit, the hole size, or the panel thickness doesn't change that first question. Settle whether a backer fits first, then plan the rest of the hole around that answer.
FAQs
Should the drill bit go into the scrap block?
Yes. The sacrificial block receives the tip as it clears the workpiece. Plan on the scrap taking a hole so the plywood's rear surface stays supported.
Is clamping the plywood the same as using a backer board?
No. Clamping secures the panel against shifting on the table, while a backer maintains physical contact across the exit fibers. Both functions are necessary.
Is there a drill speed that stops plywood from splintering?
The referenced guidance does not define an RPM threshold for stopping tear-out. It focuses on easing feed pressure during breakthrough rather than adjusting spindle speed.
Does the two-direction drilling method work for any hole?
No. That recommendation is documented specifically for large access holes where clamps cannot reach behind the panel. It is not presented as a universal replacement when backing is possible.
Continue reading
 How to Drill Repeated Holes to a Consistent Depth
A practical walkthrough of stop collars, block stops, and tape marks for repeated holes, plus how to read...
How to Drill Repeated Holes to a Consistent Depth
A practical walkthrough of stop collars, block stops, and tape marks for repeated holes, plus how to read...
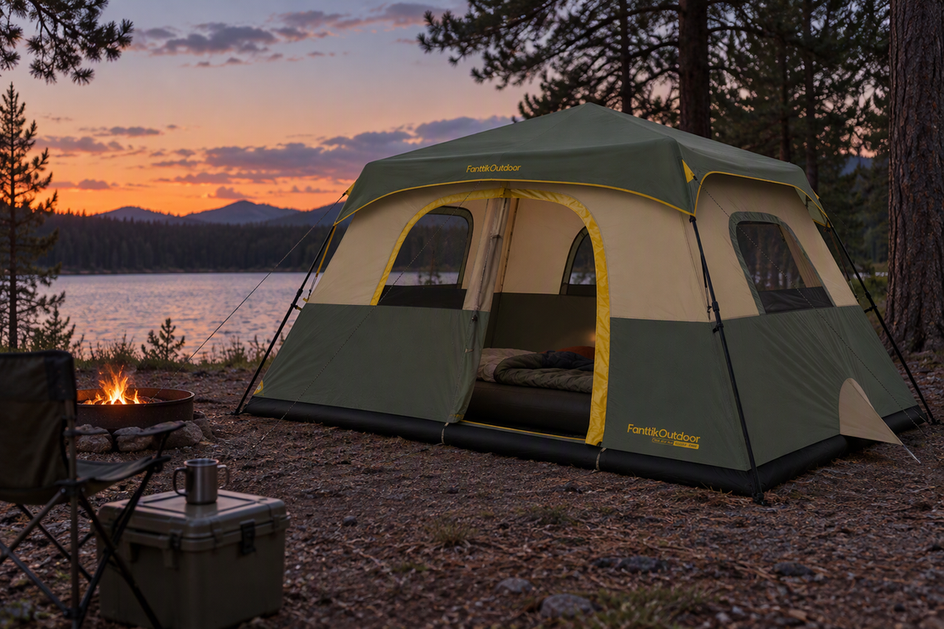 Car Camping Tent Condensation Prevention: Double-Wall Ventilation vs Single-Wall Simplicity
How vents, mesh panels, and rainfly separation affect morning moisture, plus what double-wall and single-wall tents trade off...
Car Camping Tent Condensation Prevention: Double-Wall Ventilation vs Single-Wall Simplicity
How vents, mesh panels, and rainfly separation affect morning moisture, plus what double-wall and single-wall tents trade off...
Leave a comment
This site is protected by hCaptcha and the hCaptcha Privacy Policy and Terms of Service apply.