












































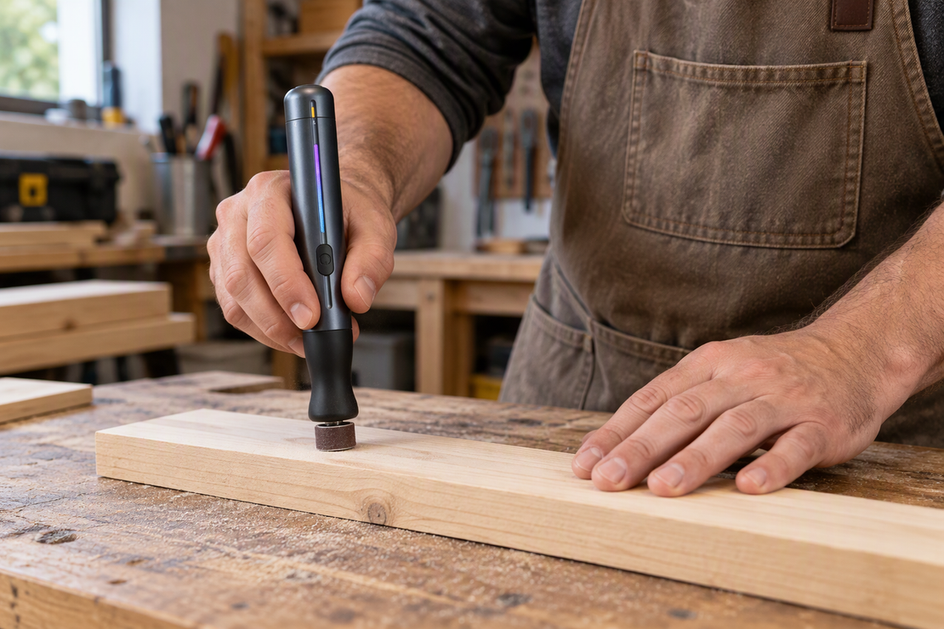
Switch from a rotary tool to hand sanding once a raised support remnant is nearly flush with the surface around it. You should also switch before any abrasion reaches a feature that has to fit another part. Until then, the rotary tool's job is small and local: knock down one raised bump without touching the face around it.
This is a practical rule of thumb. It is not a fixed time, speed, or grit cutoff. It comes from a documented PLA finishing workflow and from FDM accuracy guidance, so it fits filament prints best.
When to Switch From a Rotary Tool to Hand Sanding
Change methods when the next rotary pass would touch the surrounding surface instead of only the remnant. At that point the job is no longer removing a lump. It has become blending a face, and that is sanding work.
A documented PLA example shows how the two tools split the work. In Fictiv's guide, MakerBot supports are clipped off with flush cutters or pliers and brushed with a rotary multi-tool. That is the rotary cleanup before sanding step. Sandpaper then handles the bumpy layer lines and any leftover raft or support material.

Use these cues at the bench:
- Keep the rotary tool while a remnant clearly sticks up and you can work it without the bit touching the face around it.
- Switch to hand sanding once the remnant is close to flush and what's left is scuffing, stubble, or layer marks across the surface.
- Switch early when the next pass would brush the visible face or land near a mating edge.

This split doesn't mean hand sanding always holds dimensions better. It is still abrasive. What it gives you is slower, more even material removal at the stage where one stray pass would show. The example also comes from PLA and one support style, so treat it as a guide, not a rule for every material.
How to Protect Visible and Fit-Critical Areas
The switch point shows up a little differently on a cosmetic face than on a part that has to mate with something else. In both cases, stop rotary contact before it reaches the area you care about.
- Visible face: Stop the rotary tool as soon as its contact would spread past the raised remnant onto the face around it. Blend the rest by hand so the surface wears down evenly instead of picking up local dips.
- Fit-critical feature: Stop rotary abrasion before it reaches the mating surface, such as a peg, slot, snap edge, or bore. Finish by hand, and test the actual fit with the mating part as you go so you can stop before it goes loose.
Checking the fit matters even when you're hand sanding. Protolabs Network's FDM post-processing guide warns that sanding can affect FDM accuracy when it's done too aggressively and removes too much material. That guide also places sanding after support removal, to smooth out blobs and support marks. It gives no numeric tolerance, so the mating part itself is your most direct check.
PLA Heat and Thin-Wall Limits
On PLA, thin walls or signs of heat damage are reasons to leave powered abrasion even earlier. Both cautions here come from Polymaker, a filament maker, and apply to its stated scope.
- Melting or gouging: Polymaker's sanding guide says Dremel-style rotary tools are useful for intricate areas but need careful handling to avoid melting or gouging the print. If you see smeared or softened plastic, or the bit digs a groove, stop the rotary tool on that area and finish by hand.
- Thin PLA walls: The same guide advises avoiding high-speed tools on thin PLA walls and recommends working through grits step by step. It gives no RPM figure, so on a thin PLA wall, move to hand sanding sooner rather than looking for a "safe" speed.
These cautions are written for PLA. Polymaker describes ABS as tolerating aggressive sanding, so don't apply the PLA limits to other filaments or resin without guidance for that material.
FAQs
What grit should I start with when hand sanding after rotary cleanup?
That depends on the print. Protolabs Network suggests starting at 150 grit for layer heights of 200 microns or lower, or for prints without blemishes. For obvious blemishes or layer heights of 300 microns or more, start at 100 grit. Fictiv's PLA example starts at 100 to 200 grit and moves to 400 to 600 once striations fade.
Does wet sanding help with heat on 3D prints?
Yes. Protolabs Network recommends wet sanding FDM prints from start to finish to prevent friction and heat buildup from damaging the part. It also keeps the sandpaper clean. Polymaker notes that wet sanding reduces dust and heat and pairs it with 400+ grit for fine finishes.
Are some prints too thin to sand at all?
Some may be. Protolabs Network doesn't recommend sanding prints with two or fewer perimeter shells, because sanding can damage them. It also says sanding is difficult on intricate surfaces and small details, so plan gentler work in those areas.
How do I keep sanding dust from caking on the part?
Clean between grits. Protolabs Network suggests washing the print with a toothbrush and soapy water, then wiping it with a tack cloth before moving to the next grade.
Continue reading
 How to Position an SUV Tent Around the Vehicle at Camp
A practical layout method for car campers: match the tent's documented hookup, keep doors and hatch usable, walk...
 How to Store a Cordless Pressure Washer After a Cleaning Job
A step-by-step put-away routine for cordless washers: handle trapped water and pressure, look after hose fittings, and keep...

Leave a comment
This site is protected by hCaptcha and the hCaptcha Privacy Policy and Terms of Service apply.