












































Use a rotary tool only to rough off larger, easy-to-reach excess plastic that sits away from fine detail. Sprue nubs, attachment remnants, thin flash, and anything near visible detail should go to cutters, sanding sticks, and a sharp hobby blade.
If you do bring in a rotary tool, confirm first that the instructions for your exact tool and accessory allow that use. Then hold the part steady, test on scrap, and take light, short passes. Check the part after each pass and switch to hand tools as soon as you near the final surface.
How to Trim Plastic Model Kit Parts With a Rotary Tool
Choose the Job Before Choosing the Tool
Good model kit trimming starts with matching the tool to the size of the job. No universal rotary accessory or speed is established for kit plastic, and an accessory that physically fits your collet is not proof that it suits the material. Most routine cleanup already has well-documented hand methods. FineScale cleanup guidance describes cutting parts off the sprue with cutters and then smoothing what remains of the attachment point with a few gentle sanding-stick strokes.
The rotary tool fits a different job: bulk removal during a conversion or a major modification. In one hobbyist roughing example, a FineScale forum member says they use a rotary tool only for the "stone axe" stage of a big modification. It gets large pieces of plastic close to the target line, and then they finish with a hobby knife or a jeweler's saw. That is one person's workflow for big cuts, not proof that the method works for small trims. Still, it marks a sensible split: power for rough bulk, hands for the final shape.

Secure, Check, and Test the Setup
- Read the instructions for your exact tool and accessory. Continue only if they allow that accessory on plastic for this kind of cutting or sanding. OSHA tool and PPE guidance says to run tools and attachments according to the manufacturer's instructions and to wear PPE that suits the task. Its examples include safety glasses, goggles, and respiratory protection. Wear eye protection, and pick dust protection based on what your tool and accessory instructions specify. OSHA's examples are general; they do not prescribe a respirator or dust-extraction setup for model plastic.
- Hold the part so it cannot move. Clamp it or rest it firmly on the bench, and keep your fingers and the support out of the accessory's path.
- Test on scrap first. Spare sprue or an out-of-sight area works well. If the test is hard to control or marks the plastic in a way you don't want, stop there and switch to hand tools. Don't keep adjusting until something seems to work.

To understand your tool's speed range and which accessory shanks it accepts, the guide to RPM control and collet sizes covers the basics. It gives general background and does not set a speed for plastic. Knowing that an accessory fits your collet tells you only that it can be mounted; it does not tell you the accessory is meant for kit plastic or for this kind of trim. Treat the guide as orientation, and let your exact tool and accessory instructions decide what is permitted.
Remove Only a Little at a Time
Once the test stays controlled, keep each touch brief and light. Lift away often and stop well short of your final line. This is a careful working habit, not a tested method with set numbers. No speed, contact time, or depth per pass is established for an unspecified tool, accessory, and plastic. Short passes keep each change small enough to catch before it reaches detail you want to keep.
Stop right away if the part shifts in its support, the accessory grabs or skips, or the surface starts to look different. Each of those signs means control is slipping. The next step is hand tools, not more pressure. Movement is a practical reason to stop, not evidence that vibration always harms fine detail; nothing here establishes a general vibration effect. Treat it as a signal that your support or approach needs to change, and continue by hand.
Inspect and Finish by Hand
After each pass, check both the part and the accessory. Look for smeared or softened plastic, buildup on the accessory, rough tracks, or detail that has started to fade. Heat is the reason to watch closely. In the same thread, the contributor gives the contributor's warning about their own setup: it can melt or burn plastic. That is one report about one setup, not a rule for every tool. It does explain why you should stop at the first sign of a surface change.
Do the final work by hand. Sand leftover attachment points flush with a few gentle sanding-stick strokes. Shave thin flash with a sharp blade, following FineScale's careful hand-blade advice. For larger rough cuts, a hobby knife or a jeweler's saw can bring the edge to its final line, as in the forum example.
FAQs
Should I use a rotary tool to cut a part off its sprue?
No. Cutters do this job well. FineScale Modeler suggests placing the flat side of the cutter against the part you're keeping and gently closing the jaws through the attachment point. Remove parts only as you need them so they don't get lost.
How should I remove thin flash from a plastic model part?
Flash is a thin film of plastic that leaked between the mold halves during manufacturing. FineScale Modeler recommends slicing it off with a sharp No. 11 blade. Work slowly and carefully so you don't cut too deep into the part or slip and cut yourself.
What RPM should I use on plastic model parts?
There is no supported universal RPM for every combination of rotary tool, accessory, and kit plastic. Don't borrow a number from drilling or another task. Start with the limits in your tool and accessory instructions, prove the setting on scrap, and stop if the plastic begins to soften or smear.
Is a finer sanding stick worth using after cleanup?
Yes, if scratches are still visible. FineScale Modeler notes that a finer-grit sanding stick takes care of scratches left after you smooth an attachment point.
Continue reading
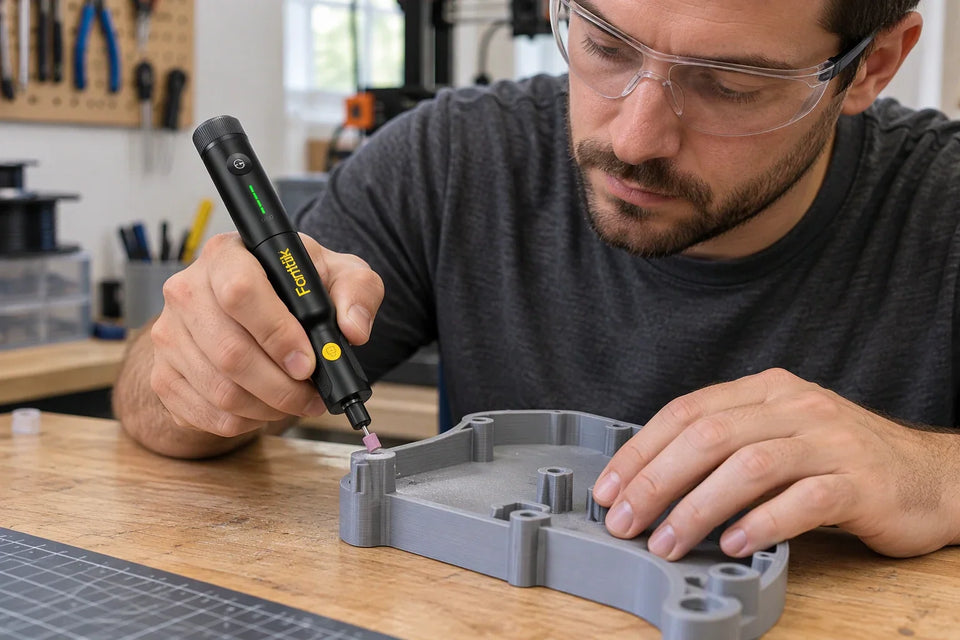 Smoothing 3D-Print Support Marks With a Rotary Tool
A step-by-step method for reducing leftover support scars on printed parts, with cues for when to stop the...
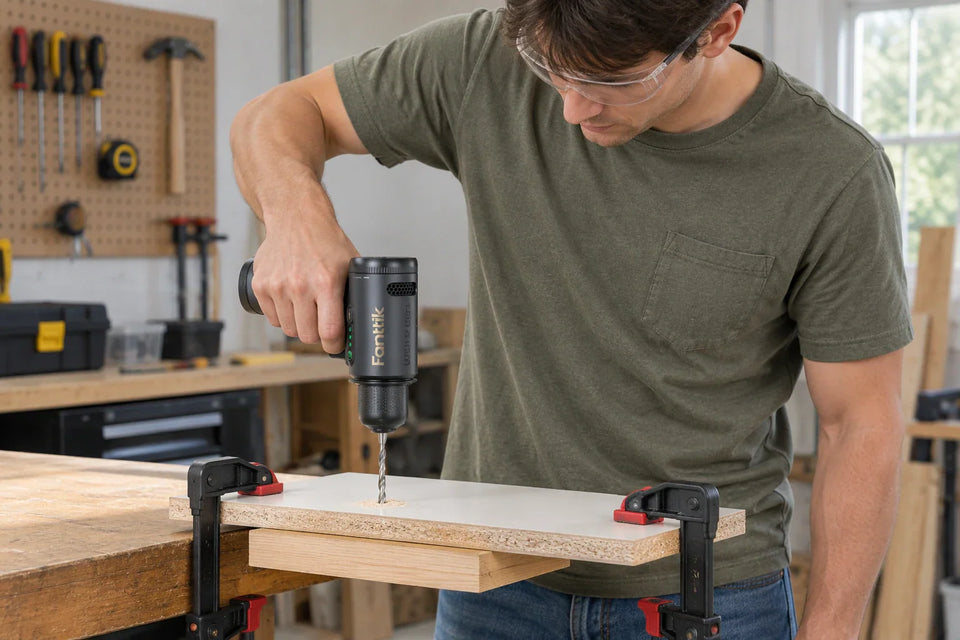 How to Drill Melamine Without Chipping the Surface
A step-by-step method for holes in melamine-faced panels: confirm the panel, match the bit to blind or through...

Leave a comment
This site is protected by hCaptcha and the hCaptcha Privacy Policy and Terms of Service apply.