









































No single tubeless bike tire pressure is safe for every bike. How low you can go depends on your exact tire and rim, not on one universal number. The practical route is a calculator built for your setup. On compatible Zipp wheels, SRAM's guide gives you separate front and rear starting pressures based on your rider, tire, and wheel details.
Treat that number as a starting point, not a floor. Next, confirm that your tire and rim work together tubeless and stay within both makers' published limits. Then fine-tune in small steps.

What Starting Pressure Should You Use?
Start with the number a manufacturer calculator gives for your actual setup. On compatible Zipp wheels, SRAM's AXS Tire Pressure Guide enters your rider, tire, and wheel details to calculate separate front and rear starting pressures. On other wheels, use the pressure guidance from your own tire or wheel maker.
A real example helps with scale. BikeLab Studio's calculator comparison table lists 35 PSI front and 38 PSI rear for its 85 kg setup on 40 mm tubeless gravel tires and 24 mm rims. Other calculators in the same row gave slightly different numbers. That row is one calculator result for one gravel setup. It is not a road or mountain-bike figure, and it is not a safe minimum.
Your own number has to come from your own inputs. If your weight, tire width, or rim is different from that example, run the calculation for your bike instead of borrowing someone else's result. Accurate delivery to your calculated target then relies on dedicated tire inflators equipped with clear pressure gauges.
Which Setup Details Change the Starting Pressure?
Your starting point shifts whenever your tire, rim, load, or type of riding changes. SRAM's calculation guide lists the tire and wheel details to enter. Maxxis goes further and treats its bicycle tire recommendations as starting points that change with the rider and the trail.
- Tire and rim: tire width, tire casing, wheel diameter, rim type, and inner rim width (the distance between the rim walls where the tire bead sits).
- Rider and load: rider weight, plus anything else the bike has to carry.
- Bike and riding style: whether it is a road, gravel, or mountain bike, and how hard you ride it.
- Surface: the terrain and the trail conditions on the day.
Neither source gives a fixed PSI change for any one of these factors. So after you swap a tire or rim, add load, or move to different terrain, run the calculation again instead of adding or subtracting a guessed amount. Mountain bikers can use this list alongside our mountain bike tubeless pressures guide when building a trail-ready inflation kit.
How to Check Your Tire-and-Rim Limits
The documents for your exact tire and rim set your limits. A calculator does not. Do not ride a tire and rim combination until you have confirmed it is compatible, whatever the pressure.
- Identify both parts. Write down the exact tire model and size and the exact rim model. Pressure limits are listed per model, so a close match is not good enough.
- Confirm tubeless compatibility. Continental says to check tubeless compatibility for the tire and rim together. It also says to compare the tire's pressure and inner-rim-width limits against the rim maker's guidance. On Zipp hookless wheels, SRAM lists tire compatibility conditions, and its TSS wheels require compatible tires.
- Find your upper ceiling. The Zipp road wheel manual says not to exceed the lower of the tire and rim maximums. That lower number is the most you can pump in. It is not a pressure to ride at, and it tells you nothing about how low you can go.
- Respect any published lower limit. If the tire or rim documents list an operating range or a minimum pressure, stay at or above it. If they list no minimum, do not make one up from the maximum rating or a calculator result.

This is the honest answer to "how low can you go." Your floor is the lowest limit documented for your own tire and rim. No single low-PSI number applies to every tubeless setup.
How to Refine a Starting Pressure
Start fine-tuning from the calculator or manufacturer number, not from a random low pressure. Keep every change inside the limits you confirmed above, and follow Maxxis advice to adjust recommendations in small increments.
Because the manufacturer does not specify an exact step size, change one tire at a time. Record the pressure you rode and evaluate it on familiar terrain before making another adjustment.
Mountain bikers get extra clues from Continental. Continental's MTB tire guidance says pressure that is too low can feel bouncy or unstable. Pressure that is too high rides less comfortably and has less traction. These cues come from mountain-bike guidance, so road and gravel riders should not treat them as rules for their own bikes.
Ride feel tells you about comfort and handling. It does not prove that a tubeless tire pressure will stop burping (air escaping at the bead), rim strikes, or punctures. Even a pressure that feels right has to stay within your documented tire and rim limits.
FAQs
Should front and rear tubeless pressures be different?
They can be. SRAM's Zipp guide gives separate front and rear numbers, and the BikeLab gravel example lists a lower front pressure than rear. That shows calculators often split the two, but it does not make a rule for every bike. Use whatever front and rear values the guide for your setup gives you.
How often should I check tubeless tire pressure?
Before every ride. Continental notes that tubeless-ready systems can lose air faster than tires with inner tubes, and it recommends checking pressure before every ride. A tire that read correctly last weekend may be well below your starting pressure today.
Is the maximum PSI on my tire or rim a good riding pressure?
No. A maximum rating only tells you how high you may inflate. When the tire and rim ratings differ, the lower one is your ceiling. Your riding pressure should come from a setup-specific recommendation that sits below that ceiling.
Can I use a Zipp calculator result on another brand's wheels?
It is not a good idea. SRAM's guide is built for Zipp wheel setups, so its result belongs to those wheels. On another brand, start from that tire or wheel maker's own pressure guidance, and check it against the limits for your exact tire and rim.
Continue reading
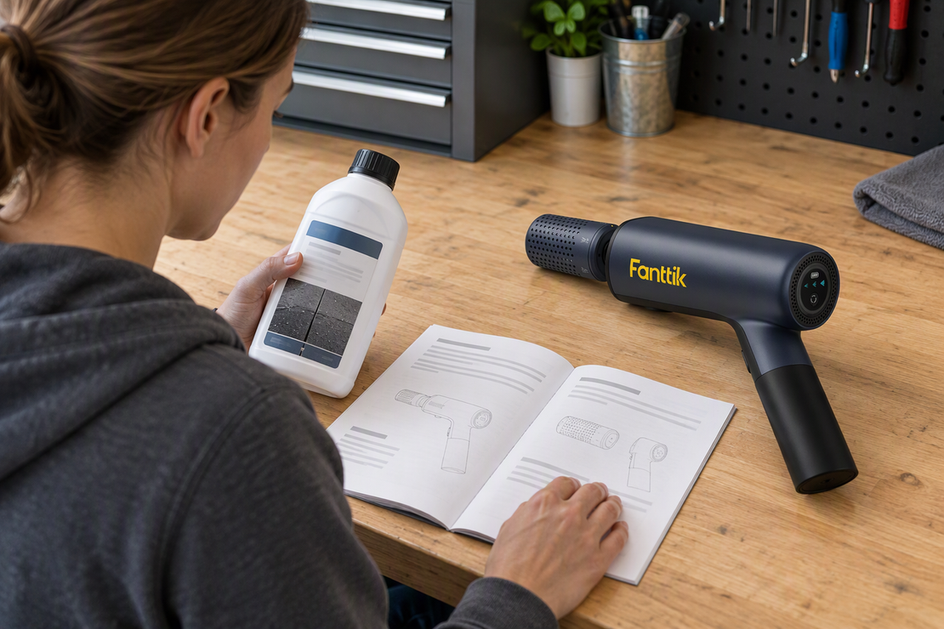 What Detergent Can You Use in an Electric Pressure Washer?
A check path for electric pressure washer soap: read your model's detergent instructions, compare the cleaner label, and...
What Detergent Can You Use in an Electric Pressure Washer?
A check path for electric pressure washer soap: read your model's detergent instructions, compare the cleaner label, and...
 How to Use the Pythagorean Function on a Laser Distance Meter for Indirect Heights
A practical walkthrough of indirect height measurement with a laser measure, how prompted readings become a height, and...
How to Use the Pythagorean Function on a Laser Distance Meter for Indirect Heights
A practical walkthrough of indirect height measurement with a laser measure, how prompted readings become a height, and...
Leave a comment
This site is protected by hCaptcha and the hCaptcha Privacy Policy and Terms of Service apply.