


The Science of Tension: Balancing Analog and Digital Torque Standards
The Bottom Line: Choosing between analog and digital torque tools depends on your tolerance for "silent drift" versus "electronic failure." For most modern precision tasks, a digital tool or adapter is recommended to prevent over-tightening, while analog wrenches remain the gold standard for high-torque structural work due to their mechanical feedback.
Quick Decision Card: Which Standard Do You Need?
| Project Sensitivity | Recommended Tool | Primary Reason |
|---|---|---|
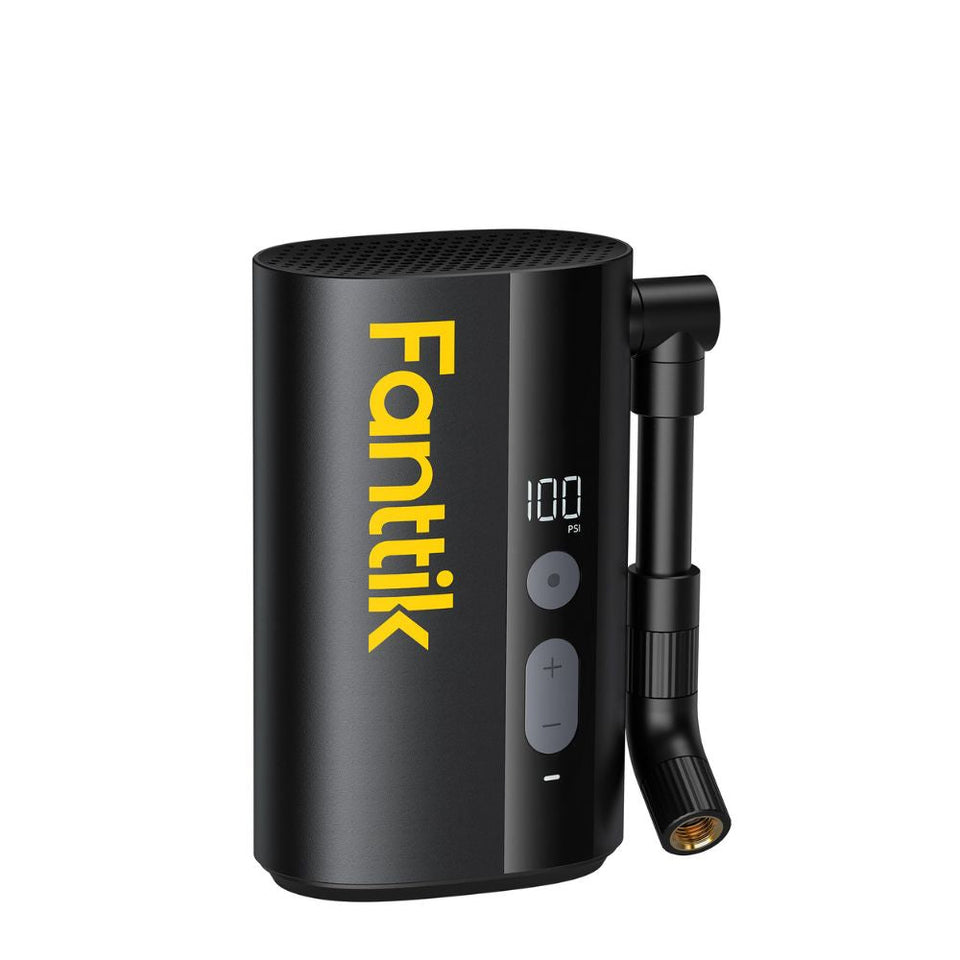
| High (Electronics, Carbon Fiber) | Digital (e.g., Fanttik E2 MAX) | Prevents "over-shoot" with real-time tracking and sub-1 N.m resolution. |
| Moderate (Furniture, General DIY) | Hybrid / Digital Screwdriver | Balances speed with repeatable accuracy for varied materials. |
| Critical (Automotive, Structural) | Analog + Digital Adapter | Combines mechanical leverage with digital verification for safety-critical bolts. |
Summary Recommendation: If your budget allows for only one precision instrument, start with a high-quality digital adapter. Based on our workshop experience, it is the most versatile way to verify existing analog wrenches while providing the high-resolution data needed for sensitive electronics.
Selecting the right measurement standard is not merely about picking the most expensive tool; it is about understanding the technical trade-offs. On our repair bench, we have observed that the perceived "indestructibility" of analog tools can be a double-edged sword. While they withstand physical drops better than digital screens, their calibration can be knocked out of alignment without visible damage—a phenomenon we call "silent errors."
Conversely, digital tools offer unparalleled precision but introduce dependencies like battery life and circuit vulnerability. This guide explores the engineering realities of torque measurement, helping you build a toolkit based on "credibility math"—the systematic alignment of tool capability with project risk. As noted in the Fanttik 2026 Modern Essential Gear Industry Report (a manufacturer-led industry analysis), building a reliable workshop requires visible compliance and a deep understanding of tool limits.

The Mechanical Soul: Understanding Analog Torque Standards
Analog torque tools, particularly click-type and beam-type wrenches, have been the industry standard for decades. Their primary appeal lies in their simplicity and lack of electronic failure points.
Standard Context: The ISO 6789:2017 standard defines the requirements for hand torque tools. It categorizes "Type II" (indicating) and "Type I" (setting) tools, providing the framework for how mechanical feedback—like the tactile "click"—must be documented.
The Myth of Indestructibility
Many DIYers believe a mechanical wrench is "forever accurate" because it is made of steel. This is a dangerous misconception. In our experience handling tool maintenance and returns, a dropped mechanical wrench may still "click," but its internal spring tension may have shifted.
Heuristic Note on "Silent Drift": Based on common patterns observed in our workshop (not a controlled laboratory study), we estimate that a drop from a 1-meter workbench onto concrete can induce a calibration shift of ±3% to ±10%. This is a practical rule of thumb for spring-and-pawl mechanisms; heavier tools often suffer greater drift due to higher kinetic energy upon impact.
Furthermore, environmental factors play a role. In humid environments, analog tools with metal internals can suffer from internal oxidation. This causes the mechanism to "stick," leading to over-torquing because the tool fails to click at the correct threshold.
Pros and Cons of Analog Systems
- Reliability: No batteries required; always ready for use in emergencies.
- Tactile Feedback: The physical "click" is unmistakable even in loud environments.
- Longevity: With proper storage (unloading the spring), these tools can last decades.
- The "Gotcha": If you forget to dial the wrench back to its lowest setting, the spring can take a "set," permanently ruining the calibration.
The Digital Frontier: Precision and Data Integration
Digital torque tools utilize strain gauges—small sensors that change electrical resistance when deformed. Tools like the Fanttik E2 MAX Precision Electric Screwdriver represent this shift, offering digital control for delicate electronics where over-tightening can crack a PCB.
The Accuracy Advantage
Digital tools typically offer higher precision, often rated at ±2% or better at room temperature (20°C/68°F). These figures are based on manufacturer technical specifications (e.g., Fanttik, Sealey) and represent a significant improvement over the ±4% to ±6% common in consumer-grade analog wrenches.
More importantly, digital units offer "Peak Hold" and "Track" modes. This allows you to see exactly how much torque was applied, rather than just knowing you hit a threshold. However, the major point of failure for digital units is rarely the sensor itself. Instead, it is the connection between the sensor and the display. Vibrations or moisture can degrade these connections.
Additionally, as noted by Sealey's technical specifications (brand-provided data), digital adapters typically have a battery life of roughly 50 hours. For a hobbyist, this is sufficient, but it requires a proactive maintenance mindset.
Hybrid Solutions
One of the most cost-effective strategies for a modern workshop is the use of a digital torque adapter. These units can be used to retrospectively verify the calibration of a primary mechanical wrench. By placing the digital adapter in series with your analog tool, you can "check the checker," ensuring your legacy tools are still within spec.
Technical Comparison: Analog vs. Digital
To help you decide which standard fits your workflow, we have modeled performance across several parameters.
| Feature | Analog (Click-Type) | Digital (Strain Gauge) | Rationale |
|---|---|---|---|
| Accuracy Range | ±4% to ±6% | ±1% to ±2% | Digital sensors offer finer resolution; data based on typical manufacturer specs. |
| Calibration Persistence | High (if stored correctly) | Moderate (sensor drift) | Electronics are sensitive to thermal cycles and battery voltage. |
| Environment Resistance | High (but prone to rust) | Moderate (sealed but condensation-prone) | IEC 60529 (IP Codes) defines moisture protection standards. |
| User Feedback | Tactile/Audible | Visual/Audible/Vibration | Digital provides granular, real-time data tracking. |
| Power Dependency | None | Battery (typically ~50h) | Based on standard digital adapter specs from Sealey and Fanttik. |
Methodology Note: This comparison is a heuristic model based on typical consumer-grade tools under $200. Accuracy claims assume standard workshop temperatures (15°C–25°C). Performance may vary in extreme temperatures due to material contraction.
Calibration and Verification Protocols
Regardless of your choice, a tool is only as good as its last calibration. For critical work, the common industry recommendation is to calibrate your device after every 5,000 cycles or once a year. This aligns with general metrology principles found in the NIST Handbook 44, which outlines technical requirements for measuring devices.
The DIY Verification Method
You don't always need a professional lab to check your tools. For hobbyists, a practical, low-cost verification involves a known weight and a known lever arm:
- Secure the tool: Clamp the drive head of your wrench in a vise.
- Measure the distance: Mark exactly 1 foot (or 1 meter) from the center of the drive head along the handle.
- Apply weight: Hang a certified weight (e.g., 10 lbs) at that mark.
- Calculate: Torque = Force x Distance (e.g., 10 ft-lb).
- Compare: Check if your tool's reading or click matches the calculated value.
This "First Movement" test is a valid proxy for ensuring your tool hasn't drifted significantly. For more advanced techniques, our guide on Practical Methods for Verifying Screwdriver Calibration at Home offers additional steps.

Selecting the Right Tool for the Task
We categorize workshop tasks into three levels of torque sensitivity:
1. High-Sensitivity: Electronics and Micro-Mechanics
For smartphones or drones, the Fanttik E2 MAX is the preferred standard. In these applications, the primary risk is over-tightening, which can strip plastic threads. Digital control allows for sub-1 N.m precision that most mechanical tools cannot match.
2. Moderate-Sensitivity: Household and Furniture
Assembling furniture requires a balance of speed and control. The Fanttik S2 Pro, with its adjustable torque settings, provides a versatile middle ground. For these tasks, a tool with ±5% accuracy is sufficient to prevent "spin-out" in soft materials like particleboard.
3. Critical-Sensitivity: Automotive and Structural
When working on vehicle brakes, the consequence of failure is severe. High-torque analog wrenches are often favored for their robustness and tactile feedback. However, we recommend supplementing them with a digital adapter to ensure that your "heavy-duty" tools haven't succumbed to silent errors.
Maintenance Checklist & Quick Reference
- [ ] Thermal Acclimation: Allow digital tools 20 minutes to reach room temperature before use to prevent "ghost" readings.
- [ ] The 5000-Cycle Rule: Keep a log of heavy use. Calibrate annually if used weekly.
- [ ] Storage Position: Always "zero out" analog click-wrenches (return to lowest setting) to prevent spring fatigue.
- [ ] Impact Check: If a tool is dropped from >0.5 meters, perform a DIY verification before your next critical fastener.
- [ ] Cleanliness: Keep the drive head free of grease, which can interfere with the "breakaway" mechanism.
Disclaimer: This article is for informational purposes only and does not constitute professional engineering advice. Always consult the manufacturer’s service manual for specific torque values and safety protocols.
Sources
- ISO 6789: International standard for hand torque tool requirements and test methods.
- NIST Handbook 44: Metrological standards for measuring devices, supporting calibration recommendations.
- EU Regulation (EU) 2023/988: General Product Safety Regulation regarding consumer product reliability.
- Sealey Technical Data: Brand-specific benchmarks for digital adapter battery life and performance.
- Fanttik 2026 Industry Report: Manufacturer-led insights into digital standards for cordless tools.
Continue reading
 Identifying Causes of Torque Variance in Electric Drivers
A guide to the technical causes of torque variance in electric drivers, including bit wear, motor differences, and...
Identifying Causes of Torque Variance in Electric Drivers
A guide to the technical causes of torque variance in electric drivers, including bit wear, motor differences, and...
 Implementing Quality Control Stations in Home Garages
A guide for setting up a professional-grade quality control station in a home garage for precision DIY and...
Implementing Quality Control Stations in Home Garages
A guide for setting up a professional-grade quality control station in a home garage for precision DIY and...


Leave a comment
This site is protected by hCaptcha and the hCaptcha Privacy Policy and Terms of Service apply.