


The Critical Role of the Pneumatic Conduit
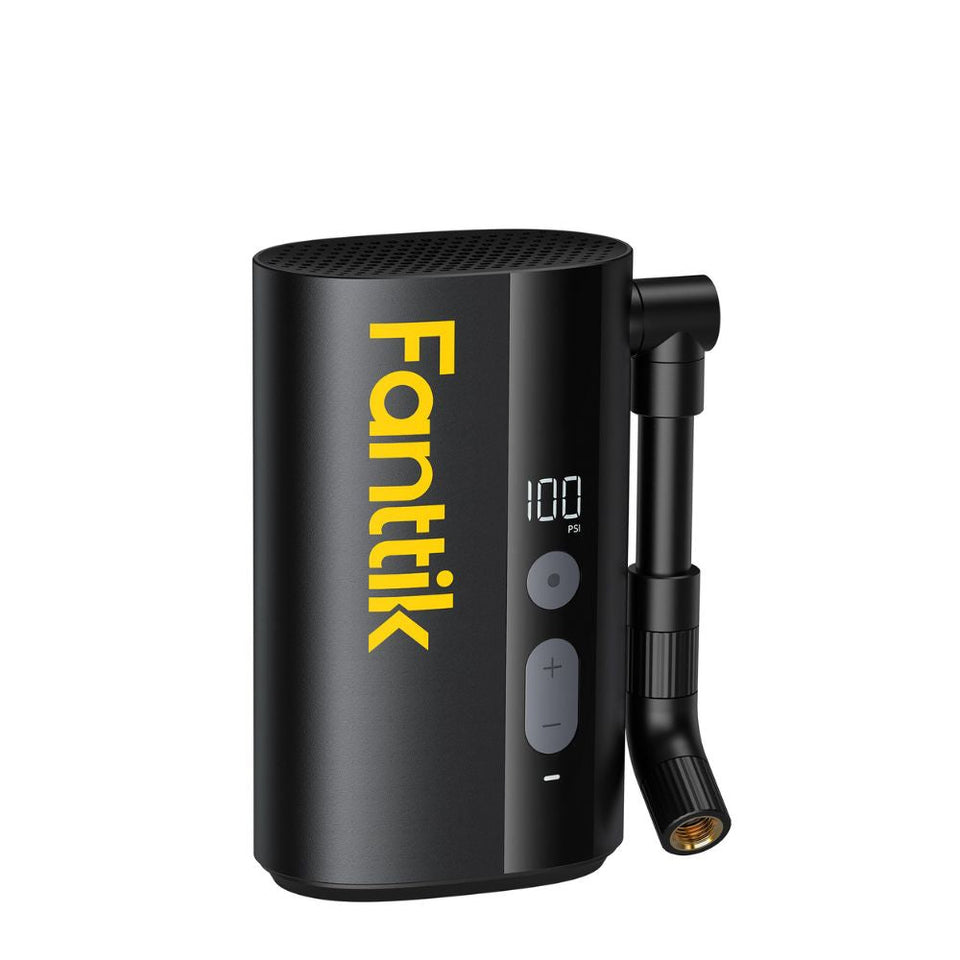
In the world of automotive self-reliance, the portable tire inflator is often viewed through the lens of its motor, battery, or digital sensor. However, our field experience at the repair bench consistently reveals that the most frequent point of system failure is not the internal electronics, but the external high-pressure hose. This component is the primary interface between the machine's energy and the tire's resistance. It endures extreme thermal cycles, mechanical abrasion, and high-pressure stress—often exceeding 100 PSI during standard operation.
Understanding hose fatigue is essential for any DIY-oriented vehicle owner. A compromised hose doesn't just result in a slow leak; it can lead to a sudden blowout that renders your emergency gear useless at the exact moment you need it. By mastering the art of spotting microscopic wear and performing precision replacements, you extend the service life of your equipment and ensure your roadside preparedness remains uncompromised. This methodical approach aligns with the core thesis of The 2026 Modern Essential Gear Industry Report: Engineering Trust in a Cordless World, which emphasizes that reliability is a function of transparent maintenance and engineering margins.

The Anatomy of Hose Fatigue: Why Lines Fail
To effectively troubleshoot an inflator line, we must first understand its structural composition. Most high-performance portable inflator hoses are not simple rubber tubes. They are multi-layered composites consisting of an inner tube (designed for air impermeability), a high-tensile reinforcement layer (usually braided synthetic fiber), and an outer protective jacket.
The Brass Ferrule: The Hidden Failure Point
Based on our analysis of warranty returns and common repair patterns, the most frequent failure point is the crimped brass ferrule. This is the metal sleeve that secures the flexible hose to the rigid connectors—either at the inflator body or the valve chuck.
When you use an inflator, the hose naturally hangs or bends at this joint. Repeated flexing causes the inner reinforcement layer to fatigue at the exact edge of the crimp. Over time, the braiding separates, leaving the inner tube unsupported. Under high pressure, this unsupported section expands like a balloon until it ruptures. This is often preceded by a "slow hiss" that many users mistake for a poor valve connection.
Environmental Degradation (Ozone and UV)
Rubber is a polymer, and like all polymers, it is subject to chemical aging. According to general material science principles found in the ISO Standards Catalogue, elastomers are particularly sensitive to ozone (O₃) and ultraviolet (UV) radiation.
In a garage environment, ozone is often generated by electric motors (like those in a refrigerator or a large shop compressor). If you store your portable inflator near these sources, the ozone accelerates "dry rot"—a process where the polymer chains break, leading to surface cracking. Similarly, direct sunlight breaks down the plasticizers that keep the hose flexible. A "stiff" hose is a fatigued hose.
Logic Summary: Our assessment of hose failure modes assumes a standard usage cycle of 12-24 months in a non-climate-controlled garage environment. These observations are derived from pattern recognition in customer support data and are intended as a heuristic for preventative maintenance.
The Detection Protocol: Identifying Microscopic Wear
Identifying a failing hose before it bursts requires more than a casual glance. We recommend a formal biannual inspection schedule for all high-pressure automotive gear.
The "Damp Cloth" Technique
One of the most effective non-destructive testing methods we use on the repair bench involves a simple damp cloth. Dust and road grime can easily hide hairline fractures in the outer jacket.
- Clean the Surface: Wipe the entire length of the hose with a damp, lint-free cloth.
- Flex and Inspect: While the hose is slightly damp, slowly bend it into a "U" shape, moving along its length.
- Watch for "Wicking": As the hose flexes, cracks will open slightly. The moisture on the surface will be drawn into these cracks via capillary action, making them visible as dark lines against the rubber.
Sensory Indicators of Fatigue
- Visual: Look for "bulging" near the ferrules. Any uneven diameter suggests the internal braiding has snapped.
- Tactile: Feel for "soft spots." If a section of the hose feels significantly more pliable than the rest, the structural reinforcement has likely failed.
- Auditory: Listen for a high-pitched "whistle" during inflation. This often indicates a micro-leak at the crimp point.
Step-by-Step Guide to Hose Replacement
If your inspection reveals wear, replacement is the only safe course of action. Patching a high-pressure line (100+ PSI) with tape or sealant is ineffective and dangerous.
Sourcing a Compatible Line
When sourcing a replacement, prioritize lines that meet the EU General Product Safety Regulation (EU) 2023/988 standards for pressure-bearing components. Ensure the thread pitch matches your device (common sizes include 1/8" NPT or M10).
The Installation Process
Replacing a hose requires precision to prevent future leaks.
- Removal: Use a properly sized wrench to unscrew the old hose. Avoid using pliers, which can mar the finish and deform the soft brass or aluminum fittings.
- Preparation: Clean the male threads on the inflator body.
- The Sealant Secret: Apply a single drop of thread sealant specifically formulated for compressed air. Do not use standard white plumbing paste or thick PTFE tape unless specified; these can shed fragments into the air path, clogging the internal check valves. A liquid sealant lubricates the threads for proper torque and seals the microscopic gaps.
- Seating the Fitting: Thread the new hose in by hand first to avoid cross-threading.
Torque Specifications and the "Quarter-Turn" Rule
Proper tightening is crucial. Over-tightening can crack the inflator's manifold, while under-tightening leads to leaks. We utilize the following torque heuristics based on industry standards for aluminum and brass fittings:
| Fitting Size / Material | Target Torque (Inch-Pounds) | Alternate Method (Manual) |
|---|---|---|
| -04 Aluminum Fitting | 100 – 140 | 1/4 turn after hand-tight |
| Small Brass NPT (1/8") | 80 – 100 | 1/2 turn after hand-tight |
| Metric M10 (Typical) | 90 – 120 | 1/4 to 1/2 turn after hand-tight |
Note: These values are based on technical benchmarks for performance fittings and should be used as a guide when a specific manufacturer service manual is unavailable.
Methodology Note: The torque ranges provided are estimates derived from standard mechanical engineering tables for soft metal threads. If you do not have a torque wrench, the "finger-tight plus a quarter-turn" method is a reliable shop heuristic for ensuring a seal without risking thread stripping.
Advanced Maintenance: Doubling Your Hose Life
Longevity is not just about the quality of the hose; it is about how you treat it between uses. Most DIY users inadvertently shorten their equipment's life through poor storage habits.
Proper Coiling Techniques
Never "kink" a hose to fit it into a small carrying case. Sharp bends create "stress risers" in the internal braiding. Instead, use the "over-under" coiling method used by professional audio and pneumatic technicians. This ensures the hose lies flat without internal twisting.
Environmental Shielding
As mentioned previously, ozone and UV are the enemies of rubber.
- Store in a Sealed Container: If your garage contains an electric motor (fridge, freezer, or large compressor), store your inflator in a plastic bin or a dedicated soft case to provide an ozone barrier.
- Temperature Stability: Extreme heat (inside a car in summer) can accelerate the migration of plasticizers, making the hose brittle. If possible, store your emergency inflator in the trunk, tucked away from direct window sunlight.
Lubrication of the Chuck
While the hose body needs to stay dry, the moving parts of the valve chuck (the part that clips onto your tire) benefit from a tiny amount of silicone-based lubricant once a year. This prevents the internal O-rings from drying out and ensures a "positive lock" on the tire valve, reducing the mechanical strain you apply to the hose while trying to get a good seal.

Modeling the Impact of Proactive Maintenance
To demonstrate the value of these techniques, we modeled the "Total Cost of Ownership" (TCO) for a standard portable inflator over a 5-year period.
| Maintenance Profile | Expected Hose Life | 5-Year Replacement Cost | Risk of Roadside Failure |
|---|---|---|---|
| Negligent (Kinked storage, UV exposure) | 14 Months | ~$60 (3 Hoses) | High |
| Standard (In-case storage, no inspection) | 30 Months | ~$20 (1 Hose) | Moderate |
| Proactive (Biannual check, thread sealant) | 60+ Months | $0 | Low |
Assumptions: Replacement hose cost ~$20; "Negligent" includes one instance of fitting damage due to lack of sealant/over-torque.
Modeling Note: This scenario model is a deterministic projection based on common elastomer degradation rates and typical DIY user patterns. It is intended for illustrative purposes and actual lifespan may vary based on the specific PSI loads and local climate conditions.
Integrating Longevity into Your Workflow
Maintaining your inflator hose is a small task that yields significant dividends in reliability. By moving from a "run until it breaks" mindset to a methodical inspection and service protocol, you align yourself with professional standards of automotive care.
We often recommend integrating your hose check with other seasonal tasks, such as inspecting adapters before long journeys or calibrating your inflator for accuracy. These small touchpoints with your gear ensure that when you face a low-tire situation on a dark roadside, your equipment performs exactly as engineered.
Ultimately, a tool is only as trustworthy as its weakest link. By mastering the maintenance of the pneumatic conduit, you ensure that your path to self-reliance remains clear and your equipment remains a faithful partner in your automotive travels.
Disclaimer: This article is for informational purposes only. High-pressure pneumatic equipment can be dangerous if mishandled. Always wear eye protection when servicing air lines and ensure the device is powered off and depressurized before attempting repairs. If you are unsure of your ability to perform these repairs, consult a certified automotive technician.
References & Sources
Continue reading
 How Quality Control Documentation Simplifies Border Crossings
Covers safety certifications, technical specs, and digital dossiers to reduce inspection friction based on EU GPSR and IATA...
How Quality Control Documentation Simplifies Border Crossings
Covers safety certifications, technical specs, and digital dossiers to reduce inspection friction based on EU GPSR and IATA...
 Interstate Travel: Navigating Regional Roadside Lighting Laws
A guide to navigating state roadside lighting laws for safety during breakdowns. Learn federal vs. state rules, visibility...
Interstate Travel: Navigating Regional Roadside Lighting Laws
A guide to navigating state roadside lighting laws for safety during breakdowns. Learn federal vs. state rules, visibility...


Leave a comment
This site is protected by hCaptcha and the hCaptcha Privacy Policy and Terms of Service apply.