










































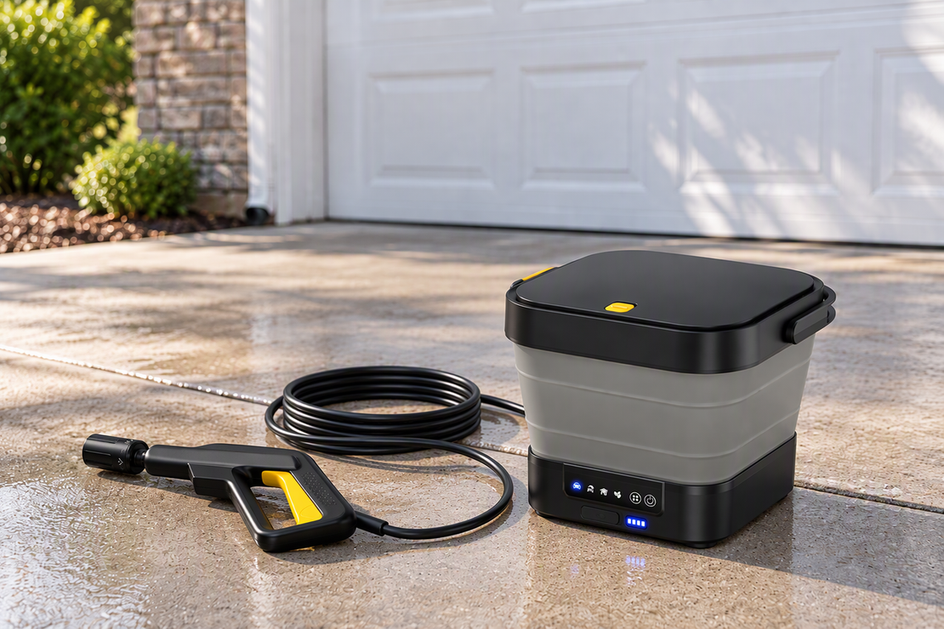
When a pressure washer has weak spray, start with the water going into the machine. Then check the nozzle or spray tip.
After that, use the spray pattern to choose your next step, and contact support for your exact model if the spray is still weak.
This order starts with the simplest outside checks. You can do them without opening the washer, and they help you rule out the water supply and tip before anyone looks at internal parts.
Check the Water Supply Path First
A pressure washer can only push the water it gets. One general troubleshooting guide says to check the supply hose before the nozzle. The inlet hose should be fully open, free of kinks, and connected to a water source that can deliver steady flow. The same guide explains that a restricted water supply keeps the pump from building proper pressure.
Work through the supply side in this order:
- Check the water supply valve. Make sure the spigot or supply valve is fully open so water flows freely to the washer, then check the spray again.
- Walk the full length of the supply hose. Look for kinks, tight bends, and spots where the hose is pinched under a wheel, a door, or a heavy object. Straighten them and run the washer again.
- Check the hose where it is stored. If you pull from a reel, a kink at the drum or outlet can restrict flow. Our guide to hose reel setup covers how to unwind and route a reel without kinks or pressure loss.
- Watch the flow from the source. Verify that the water supply provides a steady, uninterrupted flow before moving on to other checks.
- Retest the spray. If it is back to normal, you found the problem. If it is still weak with good supply flow, move on to the nozzle.
Your washer's manual lists any water-supply requirements and inlet parts the manufacturer lets you check yourself. Those details differ from model to model.
Inspect the Nozzle or Spray Tip
The nozzle comes next, since the same guide notes that dirt, mineral deposits, or wear can disrupt the spray pattern and significantly reduce pressure. Always consult your model's manual for the required shutdown and handling instructions before inspecting the tip, and contact the manufacturer or authorized service if you need support.
- Note the spray before you shut down. Is the stream ragged, split, or lopsided? Write it down so you can compare after the check.
- Inspect the tip opening. After your manual's shutdown and pressure-release steps, look for visible debris, mineral buildup, or damage at the opening.
- Clean only with the method your manual approves. Use the tool and steps listed for your model, not a method borrowed from another brand.
- Use compatible spray tips. Check your model's manual to ensure any tip in use is approved and listed as compatible with your machine.
- Retest the spray. If the pattern and force come back, the tip was a factor. If nothing changes, move on to the symptom checks below.

What the Spray Pattern and Timing Can Tell You
How the spray behaves changes what you check next. Notice two things: whether the weakness is steady or comes in pulses, and whether it shows up with one tip or with every tip.

- Pulsing or surging spray: According to the troubleshooting guide, pulsing may accompany inconsistent water flow. It can happen when the inlet hose is partly blocked, when air is trapped in the system, or when the water source can't keep up. Go back to the supply path and recheck flow.
- Steady weak spray: If the spray is weak but even after good supply and tip checks, that is the symptom to take to model-specific support.
- Weak with one tip only: Write down which tip it is and what its spray looks like. That detail narrows the conversation with support.
- Weak with every tip: Record that too. Weakness that doesn't change when you switch tips is useful information for whoever services the washer.
None of these patterns proves what is wrong on its own. Each one is a lead for your next step.
When to Stop and Contact Model-Specific Support
Stop troubleshooting on your own when the supply path is clear, the tip has been checked according to your manual, and weak spray persists. The general guide notes that when basic checks do not resolve the issue, professional service may be needed to inspect internal components. Refer to your model's manual or contact authorized support rather than attempting internal disassembly.
Promptly address any hose, fitting, or component leaks according to the manufacturer's manual or authorized service guidance.
Start with the troubleshooting section of your washer's manual, then reach the manufacturer's support for that model. If your washer is one of ours, contact our support team by email or phone with your model name and what you've already checked.
FAQs
Does weak spray always mean the pump is worn?
No. The troubleshooting guide points to a restricted water supply and to dirt, mineral deposits, or wear at the nozzle as possible reasons for low pressure. It raises worn internal pump parts only after basic checks fail. Clear the supply and tip first.
What should I tell support about a pressure washer with weak spray?
Give the exact model name and number. Say whether the spray is steady or pulsing, and whether it's weak with one tip or all of them. List what you already did, such as opening the faucet fully, clearing hose kinks, and checking the tip with the manual's method. That helps support skip steps you've covered.
Can a spray tip wear out?
Yes. The general troubleshooting guide notes that wear, along with dirt and mineral deposits, can disrupt the spray pattern and reduce pressure. Consult your model's manual for inspection steps and compatible replacement tips if wear is suspected.
Can the faucet alone cause weak pressure washer spray?
It can contribute. A faucet that isn't fully open, or a source that can't supply steady flow, limits the water the pump gets. Opening the faucet fully and watching the source flow is a quick way to rule this out.

Leave a comment
This site is protected by hCaptcha and the hCaptcha Privacy Policy and Terms of Service apply.