


Maximizing Your Investment: The Technical Necessity of Winterization
For the modern homeowner, a robotic pool cleaner represents more than just a convenience; it is a high-performance investment in home automation. As we transition into the colder months, the shift from active maintenance to strategic decommissioning becomes critical. Improper storage is not merely a matter of clutter; it is the leading cause of premature mechanical failure and battery degradation in cordless pool technology.
At Fanttik, we view home maintenance through the lens of "modern self-reliance"—the idea that with the right tools and methodical processes, homeowners can protect their high-consequence investments without relying solely on expensive third-party services. This philosophy is detailed in our industry analysis, The 2026 Modern Essential Gear Industry Report: Engineering Trust in a Cordless World, which emphasizes that long-term reliability is engineered through proper post-purchase care.
In this guide, we provide a methodical, technician-level walkthrough for winterizing your pool robot. By following these steps, you mitigate the risks of seized bearings, "bricked" lithium-ion batteries, and housing corrosion, ensuring your device is ready to perform the moment the sun returns.
Phase 1: Deep Cleaning and Mechanical Assessment
The first step in decommissioning is removing the biological and chemical residues accumulated over the season. Chlorine, salt, and biofilms can become highly abrasive or corrosive when left to dry and sit for months.
The Biofilm Purge
Begin by thoroughly rinsing the unit with fresh, low-pressure water. High-pressure washers should be avoided as they can compromise the watertight seals around the motor housing, potentially violating safety standards aligned with IEC 60529 (IP Codes) for water resistance. Pay close attention to the filter canisters and the "waterline" brushes, where calcium deposits often hide.
The Professional "Gear Spin Test"
Based on common patterns we observe from customer support and repair bench feedback (not a controlled lab study), the most frequent winter failure is not a battery issue, but a mechanical seizure. Moisture trapped inside the internal drive mechanisms can lead to corrosion and seized bearings.
We recommend the Gear Spin Test, a practical heuristic for verifying dryness:
- After the unit has air-dried for 24 hours in a well-ventilated area, manually spin the main brush axle.
- Rotate the drive tracks by hand.
- The Metric: If the components do not turn freely and silently, moisture or debris is still present in the bearing races.
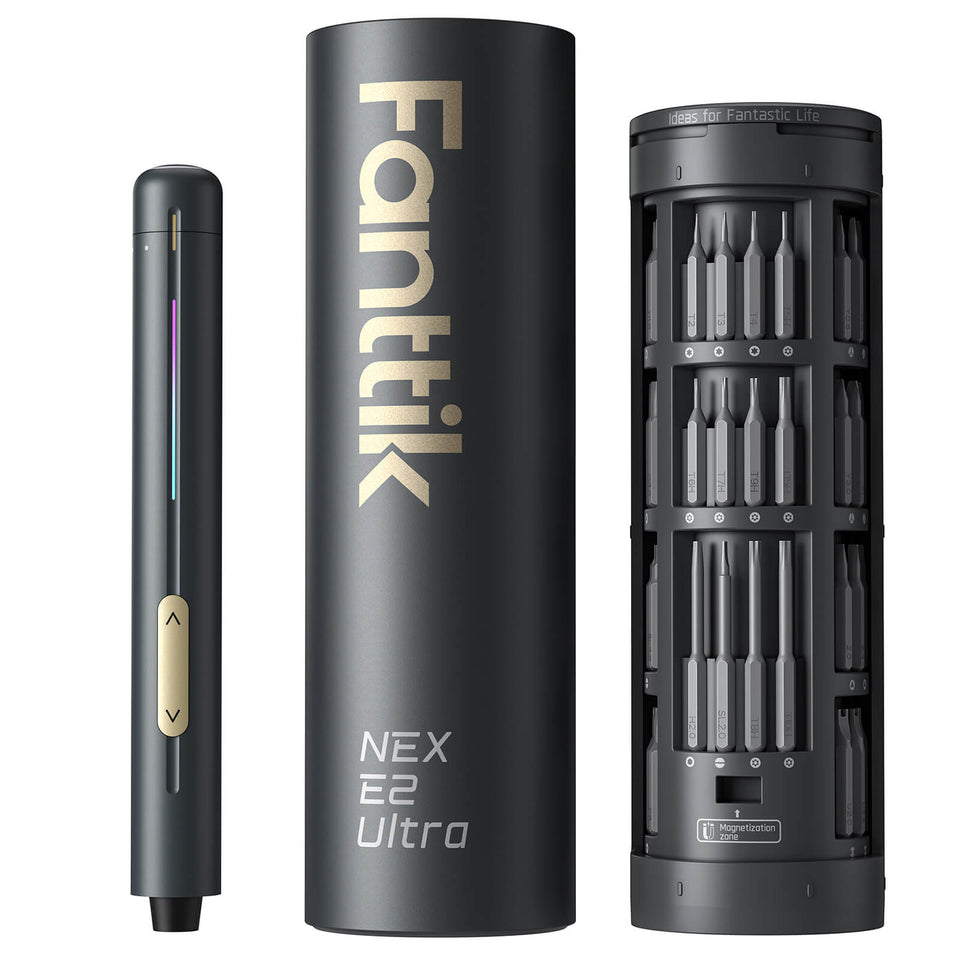
If you encounter resistance, it may be necessary to remove the side panels for deeper cleaning. Using a precision tool like the one shown below can significantly reduce the risk of stripping screws during this process.

Modeling Note: In our scenario modeling for maintenance efficiency, we found that using an electric precision driver for the 24+ screws typical in a pool robot can save approximately 6.4 minutes of active labor compared to manual tools, while virtually eliminating the repetitive wrist strain associated with corroded fasteners (see the Methodology section for full parameters).
Phase 2: Advanced Battery Management
The lithium-ion battery is the heart of your cordless cleaner, and it is also the most sensitive component to storage conditions. Following IATA Lithium Battery Guidance and general chemical safety principles, we must manage the State of Charge (SoC) with precision.
The 40-60% Rule
A common misconception is that storing a battery at 100% charge is "safer." In reality, storing lithium-ion cells at full voltage accelerates chemical degradation. Conversely, storing them at 0% risks a "deep discharge" event. Over months of inactivity, batteries naturally lose a small amount of charge. If a battery drops below its critical voltage threshold, the protection circuit may trigger a permanent lockout to prevent fire risks, effectively "bricking" the unit.
- Optimal SoC: 40% to 60%.
- Why: This range minimizes the stress on the battery's chemistry while providing a sufficient "buffer" against natural self-discharge.
- Action: Discharge or charge your unit to approximately half-capacity before turning it off for the season. For more details on this mechanism, see our guide on Off-Season Battery Care.
The 90-Day Voltage Check
We recommend setting a calendar reminder to check the battery status every 60 to 90 days. If the charge has dropped significantly, a brief "top-up" to return it to the 50% mark is advisable. This is particularly important if you are Managing Tool Battery Health in Unheated Winter Garages, where temperature fluctuations can impact self-discharge rates.
Phase 3: Environmental Shielding and Seal Maintenance
Where you store your robot is just as important as how you clean it. The goal is to maintain a stable, "Goldilocks" environment: not too hot, not too cold, and never damp.
Temperature and Humidity Constraints
According to research into battery longevity, the ideal storage temperature is between 0°C and 20°C (32°F to 68°F).
- Cold Risks: While lithium-ion batteries can be stored in cold weather, charging them in sub-freezing temperatures can cause permanent "lithium plating," destroying the battery.
- Heat Risks: Temperatures above 25°C (77°F) accelerate the "calendar aging" of the cells.
- Humidity: A damp garage or shed can undo all your drying efforts. We have observed that many users mistakenly believe a storage bag is sufficient protection. However, if the unit isn't bone-dry, the bag actually traps humidity, creating a localized greenhouse effect that accelerates Corrosion of the electronic terminals.
Seal Care and Lubrication
For models like the Fanttik Aero X Cordless Robotic Pool Cleaner, maintaining the integrity of the watertight seals is paramount.
- Heuristic: Apply a very light coating of silicone-based grease to any exposed rubber seals or gaskets.
- Why: This prevents the rubber from drying out and cracking during months of non-submerged storage.
- Warning: Never use petroleum-based lubricants (like WD-40) on rubber seals, as they can cause the material to swell and fail.

Phase 4: Professional vs. DIY Winterization
For most DIY enthusiasts, the steps outlined above are sufficient to ensure a long product lifespan. However, there are scenarios where professional service is a logical choice.
| Feature | DIY Approach | Professional Service |
|---|---|---|
| Cleaning | Visual inspection & rinse | Ultrasonic cleaning / Biofilm removal |
| Battery | SoC monitoring (Voltage check) | State of Health (SoC vs SoH) Capacity Test |
| Mechanical | Gear Spin Test (Heuristic) | Torque testing & bearing lubrication |
| Cost | $0 + 1 hour of time | $150 - $300 |
| Best For | Routine annual maintenance | High-end units ($1200+) every 2-3 years |
As noted in the Battery State of Charge vs State of Health Guide, professional diagnostic tools can measure the actual vs. original mAh capacity. This "State of Health" (SoH) metric is the only way to know if your battery is nearing the end of its life before it fails mid-season. For homeowners with premium equipment, a professional check-up every few years is a sound strategy for Dormancy Defense.
Ensuring a Seamless Spring Startup
Winterization is an exercise in discipline and foresight. By treating your robotic pool cleaner with the same methodical care you would a vehicle or a high-end power tool, you transition from being a reactive consumer to a proactive steward of your home technology.
When the spring thaw arrives, your robot will require a simple "wake up" charge and a quick inspection of the drive tracks. Because you performed the Gear Spin Test and managed the battery SoC, you avoid the common "spring surprise" of a dead battery or a seized motor.
For further reading on protecting your seasonal gear, explore our insights on Managing Condensation Traps in Battery Compartments and Off-Season Care for Longevity.
Methodology & Modeling Transparency
To provide actionable insights, we utilized scenario modeling to estimate the impact of specific maintenance choices. These are deterministic models based on industry heuristics and typical user behavior, not controlled laboratory studies.
Run 1: Maintenance Tool Efficiency Model
Goal: Estimate labor and ergonomic savings using electric vs. manual tools for robot disassembly.
| Parameter | Value | Unit | Rationale |
|---|---|---|---|
| Fastener Count | 24 | count | Average screws for full access to tracks/brushes |
| Manual Drive Time | 20 | s/screw | Includes alignment and torque against corrosion |
| Electric Drive Time | 4 | s/screw | Based on constant RPM of precision drivers |
| Wrist Rotations (Manual) | 12 | rot/screw | Standard thread pitch for M3/M4 fasteners |
| Wrist Rotations (Electric) | 0.5 | rot/screw | Positioning only; tool handles the drive |
Model Output: Total time saved is approximately 6.4 minutes per session. More importantly, the reduction in repetitive wrist rotations (from 288 down to 12) significantly lowers the risk of strain during intensive seasonal maintenance.
Run 2: Battery Degradation Risk (Winter Storage)
Assumptions: Storage duration of 150 days; unheated garage at 2°C (35.6°F); self-discharge rate of 2-3% per month.
- Scenario A (100% SoC): High voltage stress leads to estimated 2-4% permanent capacity loss over winter.
- Scenario B (50% SoC): Minimal chemical stress; self-discharge leaves unit at ~35-40% SoC by spring—safely above the protection lockout threshold.
- Scenario C (10% SoC): High risk of dropping below 2.5V/cell, potentially triggering a permanent electronic lockout.
Disclaimer: This article is for informational purposes only. Always refer to your specific product manual for manufacturer-approved maintenance procedures. Battery handling involves inherent risks; if a battery shows signs of swelling or damage, consult a certified technician immediately. This guide does not constitute professional legal or engineering advice.
Sources
Continue reading
 Hibernation Mode: Managing Pool Robot Battery Health in Winter
Covers lithium-ion calendar aging, debunks 100% SOC myth, explains BMS current draw, and provides a full hibernation protocol...
Hibernation Mode: Managing Pool Robot Battery Health in Winter
Covers lithium-ion calendar aging, debunks 100% SOC myth, explains BMS current draw, and provides a full hibernation protocol...
 Supportability: Finding Surface-Specific Parts for DIY Repair
A guide for DIY pool owners on verifying and sourcing custom surface parts, covering durometer, axle bore, and...
Supportability: Finding Surface-Specific Parts for DIY Repair
A guide for DIY pool owners on verifying and sourcing custom surface parts, covering durometer, axle bore, and...
Leave a comment
This site is protected by hCaptcha and the hCaptcha Privacy Policy and Terms of Service apply.