










































Rough or unstable idle, high idle, hesitation, stalling, or a lean-running trouble code can point to a vacuum leak, but none of them confirm one on their own. The most defensible path is to work in order: an engine-off visual inspection of accessible hoses and connections first, then a soapy-water pressure check or an engine-off smoke test only when the setup calls for it.
A positive finding from any of these checks gives you a repair target you can act on right away. If nothing turns up, that usually means the leak is outside the area you tested, not that the vehicle is problem-free, so it is worth resisting the urge to start swapping parts based on the symptom alone.
What Makes a Vacuum Leak Plausible?
A vacuum leak becomes a reasonable suspect when the engine shows a specific cluster of symptoms, not just one odd noise. These symptoms overlap with several other engine problems, so they justify investigating rather than confirming a diagnosis.
- Rough or unstable idle that changes speed on its own
- Idle speed that sits noticeably higher than normal
- Hesitation or a stumble when you press the accelerator
- Stalling, especially at idle or during cold starts
- A faint hissing or whistling sound from the engine bay
- A lean-running or misfire-related trouble code on a scan tool
If several of these show up together, start with the least invasive check available: an engine-off visual inspection of the hoses and connections you can actually reach. When tackling a suspected vacuum leak car repair, keeping proper car companion accessories or work lights on hand can make inspecting deep engine-bay crevices easier. Move to a soapy-water or smoke test only if that inspection does not turn up an obvious answer, since your vehicle's actual hose and fitting layout will determine which of those methods even applies.
How Low Manifold Vacuum Can Mimic Lean Running
A vacuum leak lets in air that the engine's fuel-control system never accounted for, and that unmetered air is what pushes the mixture lean and can make idle unstable. That is the mechanical link between a leak and a lean-running symptom, but it is not a one-way street.
Manifold vacuum itself is just a measurement of how hard the engine is pulling air past a restriction; it does not point at a leak by itself. A vacuum-leak analysis from Hot Rod notes that below-normal intake-manifold-vacuum readings can also come from improper camshaft timing, carburetor misadjustment, or retarded ignition timing, none of which involve an external leak at all.

That is why a low or steady-but-low vacuum reading is supporting evidence at best. It can point you toward checking hoses, fittings, and gasket areas for cracks, cuts, or loose fit, but it does not replace an actual inspection, and treating it as proof of a leak can send you chasing the wrong repair.
How to Inspect Vacuum Hoses, Elbows, and Intake Connections
The fastest way to confirm an obvious leak is a careful, engine-off visual check before you touch any test equipment. Work through accessible components in order and note anything that looks disconnected, cracked, or hardened.
- Let the engine cool if it has been running, and work with it off.
- Trace every accessible vacuum hose, rubber elbow, tee, and reservoir from the intake manifold outward.
- Look closely at each connection point for cracks, splits, hardened or brittle rubber, and hoses that have slipped loose or disconnected.
- Check gasket edges and fitting connections you can see without disassembling anything, since a loose or shifted gasket can leak the same way a cracked hose does.
- Note the exact location and appearance of anything suspicious before moving on.
A visible crack, a hose hanging loose, or a fitting that is clearly not seated gives you a real repair lead: replace or reseat that component and retest. Rubber that looks fine to the eye does not rule out a leak, though, especially if it is hidden behind other components or only leaks under certain conditions. Treat a clean-looking inspection as inconclusive rather than as proof the system is tight, and move on to a more targeted test.
When a Soapy-Water Check Helps
Soapy water is useful for one specific job: finding leaks in a system that is being held under pressure during a dedicated pressure-leak test, not for checking a normally running engine's intake. Applied correctly, it turns an invisible leak into visible bubbles.
- Confirm the vehicle-specific procedure calls for an external pressure-leak test on the induction or exhaust system you are checking.
- Follow that procedure to isolate and pressurize the correct system section.
- Apply soapy water to the outside of hoses, joints, and suspect fittings within that pressurized area.
- Watch for bubbles forming at cracks, seams, or loose connections, and mark each spot you find.
An OEM diagnostic bulletin describes this as a pressure leak test distinct from a smoke test, and notes that bubbles form easily over a small leak but rarely form a useful soap film over a large one. In practice, that means bubbles are strong evidence of a leak at that spot, but no bubbles do not clear a large opening, and this method only applies to the pressurized setup it was designed for.
How to Use a Smoke Test to Localize a Leak
A smoke test fills the system under test with pressurized smoke and relies on watching for smoke escaping at a leak point, which makes it better suited to small or hard-to-see openings than soapy water alone. It still depends entirely on running the tester according to its own instructions.
- Confirm the engine is off and there are no nearby ignition sources before connecting anything.
- Connect the smoke tester using the fluid, adapter, and pressure settings specified for that equipment and your vehicle.
- Introduce smoke into the system and watch for it escaping at hoses, fittings, and gasket edges.
- Mark the exact point where smoke appears, then shut down the tester before making any repair.
The same bulletin on smoke and soapy-water testing points out that smoke is hard to see leaving a small leak because it is moving fast, which is the opposite weakness soapy water has with large leaks. A clear smoke trail at one spot is a solid repair lead. No visible smoke does not clear the system, since a small leak may simply be moving too fast to spot; repeat the check or switch to a soapy-water test on the same area if you suspect that is happening. Never run the engine while the tester hose is still connected.
What to Do After a Positive or Negative Test
Once you have localized a leak with a visual check, bubbles, or smoke, repair that specific component using the procedure for your vehicle, then retest the same spot to confirm it is sealed. A positive result tells you where to work, not necessarily every step required to fix it correctly.
A negative or inconclusive result means something different: it usually reflects what the test actually covered, not that the vehicle has no leak. Before assuming the system is clean, check whether you tested the right section, whether smoke or bubbles could have been missed, and whether the suspected area was even accessible during the test.
If the lean symptom or trouble code is still there after a clean-looking test, that is a sign to broaden the diagnosis rather than start replacing hoses or sensors based on the original symptom. At that point, vehicle-specific diagnostic steps, or a shop with access to more thorough testing, are a more productive next move than guessing.

Safety Boundaries for Engine-Bay Leak Testing
Keep every visual inspection engine-off and, where possible, cool, and keep hands, tools, and loose clothing away from any hot or moving components nearby. A smoke tester should stay clear of sparks and open flame, and the engine should never run while the tester hose is connected.
Stop and arrange qualified automotive service if you cannot get safe access to the suspected leak point, if the smoke tester's instructions cannot be followed exactly for your setup, or if confirming the leak would require working near hot or moving parts while the engine runs. None of these checks are worth a burn, a caught sleeve, or a guess at a setup you cannot verify. If any test step compromises safety or leaves the cause uncertain, schedule a professional inspection instead of guessing.
FAQs
What if the suspected leak is at an intake gasket rather than a hose?
Finding bubbles, smoke, or a visible gap near an intake gasket tells you where the leak is, not the full repair procedure for your specific engine. Confirm the exact removal, gasket, and torque steps for your vehicle before disassembling anything, since gasket surfaces and fastener sequences vary by engine. After the repair, retest the same area to confirm the leak is gone, and if access to that gasket requires working near hot or moving components, have a qualified shop handle it instead.
Can a vacuum leak be confirmed using a vacuum gauge alone?
No, a low or fluctuating manifold vacuum reading on a gauge shows only that vacuum is below normal, not what caused it. Mechanical timing issues, ignition misadjustment, or valve problems can also lower manifold vacuum without any external leak. Use gauge readings as supporting clues, and verify the physical leak source with visual, bubble, or smoke testing before replacing parts.
What should you do if both visual inspection and smoke testing show no leaks?
When both visual checks and smoke tests return negative results, recheck your test isolation to ensure all suspect branches and intake passages were pressurized. If test coverage was complete and symptoms persist, avoid swapping parts at random. Broaden diagnosis to check fuel delivery, ignition timing, and sensor performance, or consult a qualified technician with vehicle-specific scan diagnostics.
Continue reading
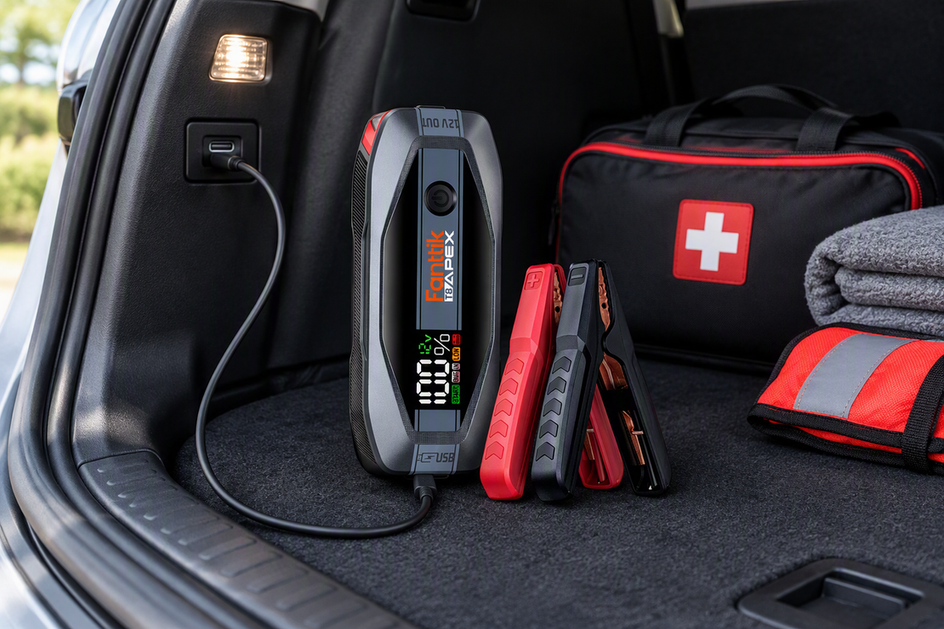 USB-C Rechargeable Tools: Why Power Delivery (PD) Fast Charging Matters for Road Kits
Compare 5V legacy charging with USB-C PD for emergency road tools, and determine whether high-wattage power sources actually...
Cleaning Keyboard Crumb Crevices and Car AC Vents with 2-in-1 Blower Vacuum Tools
A practical guide to clearing keyboard crevices and car AC vents using the blow-then-suck sequence, narrow attachments, and...
USB-C Rechargeable Tools: Why Power Delivery (PD) Fast Charging Matters for Road Kits
Compare 5V legacy charging with USB-C PD for emergency road tools, and determine whether high-wattage power sources actually...
Cleaning Keyboard Crumb Crevices and Car AC Vents with 2-in-1 Blower Vacuum Tools
A practical guide to clearing keyboard crevices and car AC vents using the blow-then-suck sequence, narrow attachments, and...

Leave a comment
This site is protected by hCaptcha and the hCaptcha Privacy Policy and Terms of Service apply.