









































Mix a few drops of dish soap into water, then spray or brush it around the tread, bead seat, valve stem, and sidewall while the tire holds pressure. Watch for a cluster of bubbles that keeps growing in one exact spot; that location tells you where air is escaping.
Finding that spot is a separate step from deciding whether the tire should be plugged, resealed, or replaced.
Key Takeaways
- A soapy water bubble test locates the exact point where air is escaping from the tread, bead seat, valve, or sidewall.
- Growing bubble clusters confirm a real leak; foam, runoff, or a single trapped bubble need a repeat check before you trust the result.
- The test only finds the leak. Repair or replacement depends on a qualified inspection, especially for bead, sidewall, or structural damage.
- Sidewall leaks, bulges, flats, and severe underinflation are stop-and-service conditions, not DIY repair jobs.
- If nothing shows up on the first pass but the tire keeps losing air, clean the surface and repeat the test before assuming the tire is fine.
How to Find a Slow Tire Leak With Soapy Water
The shortest reliable method is a fixed sequence: check the pressure, mix the solution, apply it in order around the tire, and wait for bubbles to develop. Doing the steps out of order is a frequent reason people miss a slow leak.
Gather the Materials and Prepare the Tire
You need a few basic items before you start:
- Dish soap and water, mixed strong enough to foam when sprayed or brushed on
- A spray bottle, brush, or sponge to apply the solution evenly
- An accurate tire pressure gauge, or a portable tire inflator with built-in pressure monitoring
- A universal tire repair tool kit for work gloves, a marking chalk or crayon, and basic handling supplies during the walk-around
Inflate the tire to the vehicle manufacturer's recommended cold pressure and stay within the tire's documented pressure limit; don't invent a target number for the test. If the tire is already flat, visibly bulging, or clearly damaged, stop here. That is a service call, not a soapy water test.

Apply the Solution and Confirm the Bubble Source
- Wet the tread first, working around the full circumference and paying close attention to any visible nail, screw, or embedded object.
- Move to the bead seat, the narrow edge where the tire meets the rim, and apply enough solution to see the seal clearly without flooding it.
- Spray the valve stem, the valve core, and the point where the stem meets the wheel separately so you can tell which part is leaking.
- Check both visible sidewalls last.
- Watch each area for at least 15 to 20 seconds. A single trapped bubble or a patch of foam isn't proof of a leak; wipe the area clean, reapply the solution, and watch again.
- When bubbles form and keep multiplying at one exact point, mark that spot before wiping the tire down, so it's easy to find again for a technician or a repeat check.
What the Bubble Location Means
A persistent, growing bubble cluster confirms escaping air at that exact spot; the location then tells you which part of the tire and wheel needs attention next. Foam, a single stray bubble, or a runoff trail is not enough evidence on its own and should be retested after cleaning the area.
| Location | What it confirms | Next step |
|---|---|---|
| Tread or visible object | A puncture through the tread rubber | Document it for a repairability inspection |
| Bead seat | Leakage at the tire-to-rim sealing edge | Wheel and tire service inspection |
| Valve stem or core | A leak in the valve assembly | Valve-specific service |
| Sidewall | Leak or damage outside the repairable tread area | Stop and arrange qualified service |
A tread puncture points to a possible repair, but the object sitting in the rubber doesn't tell you whether the injury is inside the repairable size or angle limits. A bead-seat leak usually means the sealing surface, the wheel rim, or debris between them needs attention rather than a simple patch. Retest the valve stem and core separately, since one can leak while the other holds fine. Checking the tire with an accurate gauge or a dedicated inflator makes it easy to confirm the exact pressure loss before you move on to the next spot. Any bubble at the sidewall shifts this from a routine tread question to a stop-and-service decision, covered next.
What to Do After You Find the Leak
Where the bubbles show up decides what happens next, not whether you can fix it yourself. Match the location to the right service conversation, then let a qualified inspection determine if repair is realistic.
Match the Location to the Service Conversation
- Tread puncture: Note the object and location, then ask a tire shop to evaluate whether the injury falls within repairable limits.
- Bead area: Request an inspection of the tire-to-rim seal and wheel condition; this is a wheel-and-tire service job, not a home fix.
- Valve area: Tell the shop whether the leak traced to the core, the stem, or the stem-to-wheel interface, since that narrows the repair.
- No confirmed source: Clean the tire fully and repeat the walk-around once. If pressure loss continues with no bubbles found, schedule an inspection anyway.
For routine pressure checks while scheduling an inspection, our car care gear offers portable inflators and monitors suited for ongoing tire upkeep.
Do Not Treat the Bubble Test as the Repair
A confirmed bubble location is a starting point for service, not a green light to plug or patch on your own. A full repairability check often means demounting the tire to inspect it inside and out, which isn't something the bubble test can substitute for. Whether the tire gets repaired or replaced depends on the exact injury, its location, and the tire's overall condition, not on the fact that you found where it's leaking.
When to Stop and Get Tire Service
Stop the DIY inspection and arrange qualified tire service if the tire is flat, severely underinflated, bulging, visibly damaged, or leaking from the sidewall. None of those conditions should be treated as safe to drive on while you wait, and none of them are appropriate for a home plug or patch.
The same stop-and-call rule applies if the bead area, rim, or internal structure looks damaged or uncertain in any way; a shop can inspect the wheel and tire together in a way a bubble test can't. Replacement instead of repair becomes more likely when the damage location, tread condition, tire age, or a history of prior repairs pushes the injury outside what a technician considers repairable. There's no single universal cutoff for that decision. It depends on the specific tire and the inspecting shop's own limits, so let the inspection settle it rather than guessing from the outside.

FAQs
Can I use any soap for a tire leak test?
The solution just needs to wet the surface enough to make growing bubbles visible, so most dish soaps mixed with water work for this purpose. Not every soap foams the same way, and there's no single ratio that works best for every bottle, so mix it strong enough to bubble clearly and repeat the test on any area that only shows foam or runoff.
What if I find a leak in the sidewall?
Stop treating it as a routine repair question. A sidewall leak is a stop-and-service condition, not something to plug or patch at home, and it should be inspected by a tire shop before the vehicle is driven again on that tire.
When should I replace the tire instead of repairing it?
Replacement becomes more likely when the damage location, tread condition, tire age, prior repairs, or internal condition push the injury outside a shop's repair limits. There's no universal size, age, or pressure cutoff that applies to every tire, so a qualified inspection is what actually settles repair versus replacement.
Continue reading
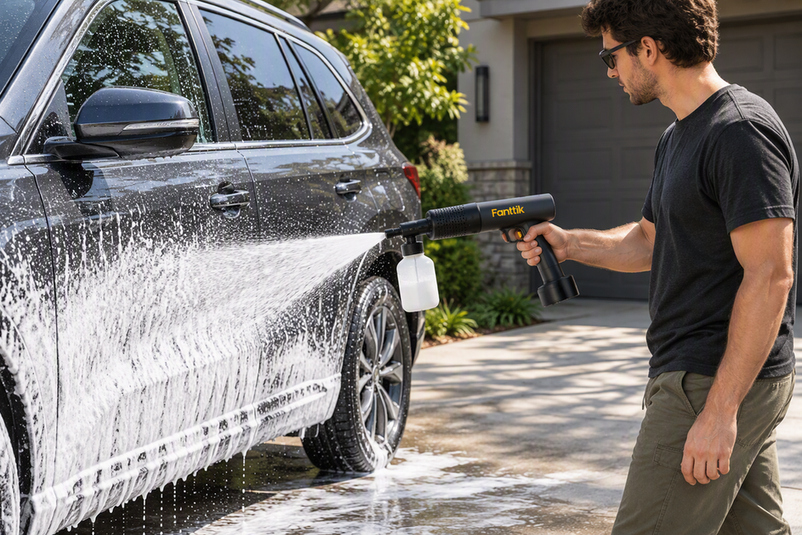 How to Use a Foam Cannon with a Pressure Washer: Soap Dilution and Technique
A practical walkthrough for mixing foam cannon soap correctly, matching orifice size to your pressure washer, and applying...
How to Use a Foam Cannon with a Pressure Washer: Soap Dilution and Technique
A practical walkthrough for mixing foam cannon soap correctly, matching orifice size to your pressure washer, and applying...
Leave a comment
This site is protected by hCaptcha and the hCaptcha Privacy Policy and Terms of Service apply.