


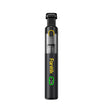
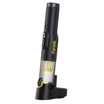
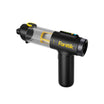
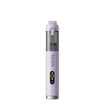
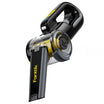
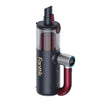


A car vacuum can lift loose, dry pet hair and crumbs from a hard-sided travel carrier. First empty the carrier, take it out of the car, and pull out any bedding. Then vacuum the shell, the vents, and any liner one at a time, because each part needs a different kind of contact.
This guide covers dry, loose debris only. Pet carrier vacuuming does not wash or disinfect the carrier. If the mess is wet, sticky, or stuck in place, use a different method.
How to Vacuum a Hard-Sided Pet Carrier
Prepare the Empty Carrier and Check Both Manuals
Good prep keeps the nozzle on the hair and off the parts that can scratch or snag.
- Move your pet somewhere safe and take the carrier out of the vehicle. You'll have room to turn it, tip out loose debris, and see into corners. That's harder to do on a back seat. A housework guide on carrier cleaning also suggests removing food and bowls first. That clears the carrier floor so the nozzle can reach every corner without bumping into dishes or scattering kibble.
- Remove the bedding and any loose hair you can grab. For hard cat or dog carriers, Katziela's guide recommends removing bedding and loose debris first, then taking the carrier apart if possible. On many hard carriers, separating the top and bottom halves opens up the seams where fur collects. Katziela also suggests washing that bedding with a pet laundry detergent, so set it aside for the laundry instead of vacuuming it. Handling bedding separately also keeps the small vacuum bin from filling up before you reach the carrier itself.
- Pull out a detachable liner only if its care instructions allow it. If the liner is sewn or fixed in place, leave it there and handle it in the next step.
- Read the carrier's care guidance before you choose an attachment. One housework guide suggests checking shell and vent-mesh instructions and treating liners according to their care labels. If the carrier maker warns against abrasion or pressure on the vents, adjust how much the nozzle touches them. The same guide lists the door latch next to the shell and vent mesh, so look for any care notes about the latch too, and keep the nozzle from prying at it.
- Check your vacuum manual for the attachment you plan to use. Every vacuum is different, so don't assume one tool is safe on every plastic or mesh. If you need a refresher on filters and quick-cleanup habits, our car vacuum guide for parents covers the basics.

Vacuum the Shell, Vents, and Liner Separately
These are practical, careful habits, not manufacturer-tested rules. Use them only where your carrier and vacuum instructions allow.
- Use light passes on the broad shell. Pick a wide attachment your vacuum manual approves, and avoid a motorized brush head on hard plastic. Glide it over the floor and walls without pressing down. Work from the top of the carrier toward the door so loose fur falls where you'll vacuum next.
- Treat vent openings gently. Hold the nozzle near the slots or mesh and let the suction pull up the loose fur it can reach. Don't push the tip into the openings or scrape it along their edges. That kind of contact can scratch plastic or stretch mesh. If hair stays wedged in a vent after a light pass, leave it rather than forcing the nozzle in.
- Do the liner last, and only if it's allowed. Vacuum a removable liner flat on a table, away from the shell. Do this only if its care label permits it and the fabric won't catch on the nozzle. If the fabric pulls toward the tip or starts to bunch, stop vacuuming it and follow the label instead.
- Empty the vacuum when you're done. Fur builds up fast in a small bin and filter. If suction drops partway through, empty the bin before you finish. If you use a Fanttik Slim V8 or Fold V10, our HEPA filter care steps explain how to wash and reinstall the filter.

Stop When the Debris Is Not Loose and Dry
Use this method only for fur and crumbs that lift off easily. If you find wet spots, sticky residue, dried-on grime, or hair matted into a fixed liner, stop vacuuming that area. More suction or more pressure won't make this dry method work on those messes. Instead, follow the carrier's care instructions for washing or spot cleaning. The housework guide notes that fixed boards, handles, and electronic accessories should not be submerged, so check which parts can get wet before you start washing. Katziela's routine ends with a rinse, then lets the carrier air dry. Before your pet uses the carrier again, look over the vents, latches, and liner for anything that came loose while you cleaned.
FAQs
Does vacuuming wash or disinfect a pet carrier?
No. Vacuuming only removes loose, dry debris such as fur and crumbs. If the carrier needs washing or sanitizing, follow its care instructions for that job. Katziela's guide, for example, follows the loose-debris step with a scrub using mild soap and warm water, then a rinse.
Can I vacuum a liner that is still attached?
Only if both the carrier instructions and your vacuum manual allow it and the material lies flat without catching. Use light passes. Never pull or tug the fabric with the nozzle. If the liner shifts, puckers, or catches, stop and clean it the way its care label says.
What should I do if the debris is wet, sticky, or embedded?
Stop dry vacuuming that area. This method is meant for loose, dry fur and crumbs only. Treat any other mess with the cleaning method in the carrier's care guidance, and make sure every part is fully dry before you put the carrier back together.
Should I clean the carrier inside the car?
It's easier to work outside the vehicle. You can turn the carrier, take it apart, and reach the corners, and loose fur won't land on your seats.
Continue reading
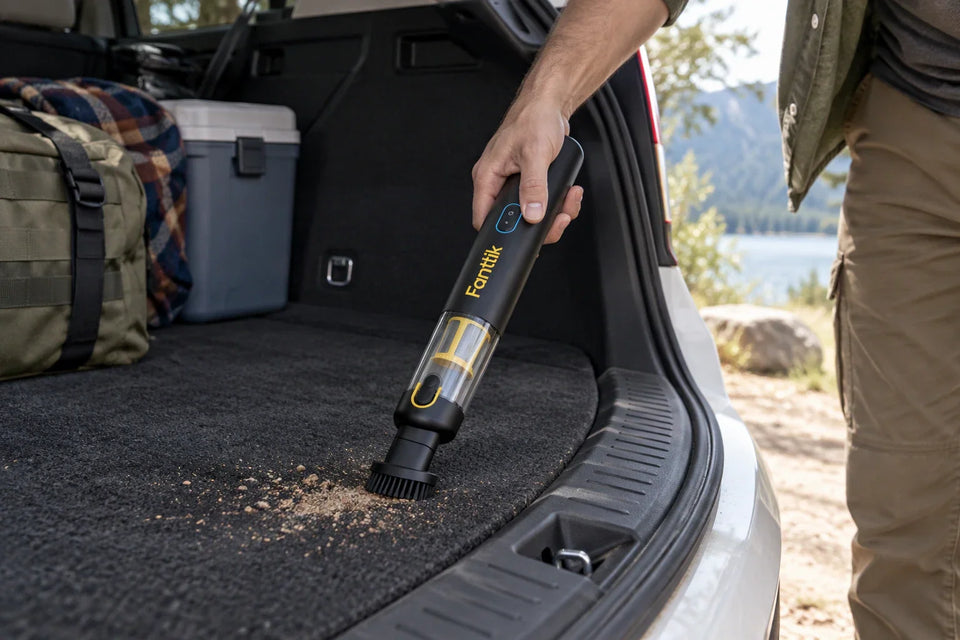 Cleaning Dry Camping Debris From a Car Trunk With a Handheld Vacuum
A step-by-step guide to clearing sand, crumbs, and dry dirt from trunk carpet with a handheld vacuum, plus...
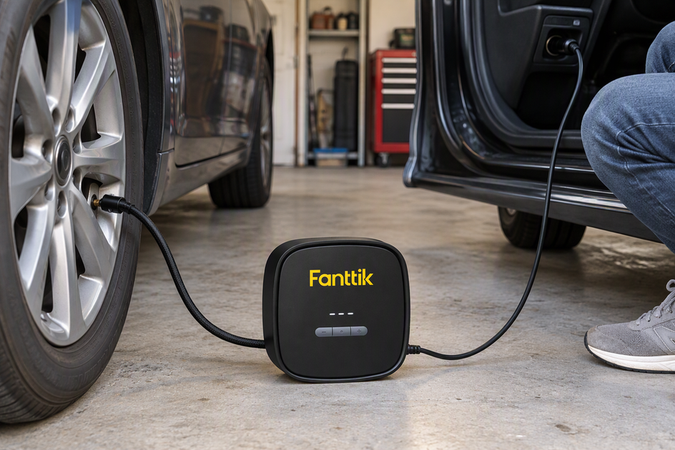 Digital Tire Inflator With a Pressure Gauge: Is an All-in-One Tool Enough?
Built-in inflator gauges make top-ups simpler, while a separate gauge adds a second reading. Neither type is proven...
Leave a comment
This site is protected by hCaptcha and the hCaptcha Privacy Policy and Terms of Service apply.