










































Start with a compatible electric pressure washer, a supply hose, a spray gun and lance, a wide-angle nozzle, and an automotive detergent, then work through water connection, air purging, accessory attachment, and a paint-safe starting pressure before you spray a single panel. For intact factory paint, a practical starting point is 1,200 to 1,900 PSI with a wide spray pattern. Surface condition and your exact model's documentation decide whether that normal workflow applies as-is or needs a lower-force approach.
Setting up a pressure washer for washing cars requires confirming that your pressure level, nozzle spray pattern, and cleaning accessories match vehicle paint safety requirements before triggering water flow.
Start With a Compatible Car-Detailing Setup
A home car-detailing setup only works when every piece is confirmed compatible with the others, not just theoretically able to spray water.
- A water source with enough flow and pressure for the washer's inlet requirements
- A compatible supply hose connecting the tap to the washer
- An electric pressure washer with a wide-angle nozzle option
- A high-pressure hose, spray gun, and lance rated for the washer's output
- A foamer or foam cannon, only if its connector, pressure rating, and detergent path are documented for your exact washer model
- An automotive detergent labeled for pressure-washer or foam-cannon use
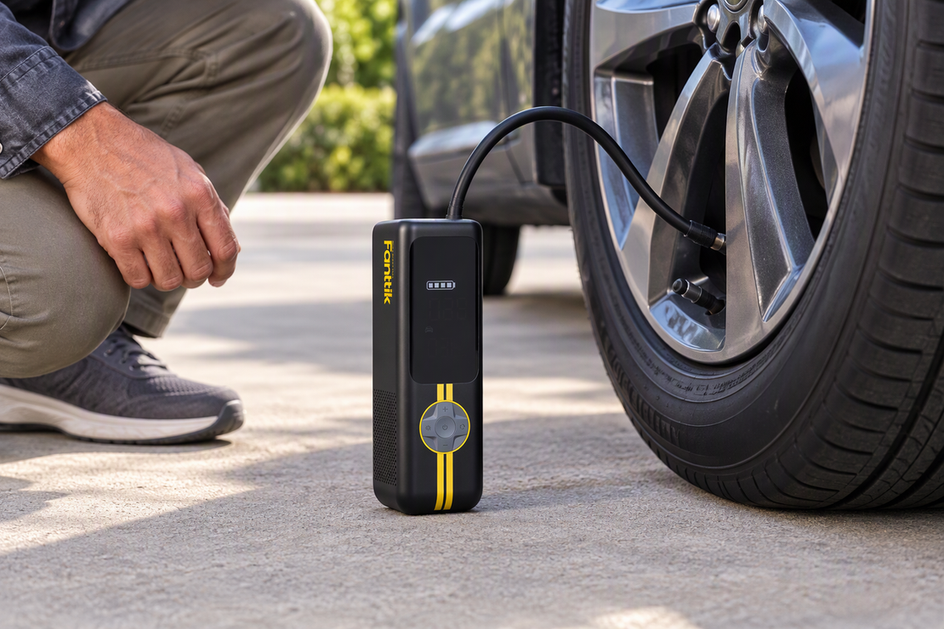
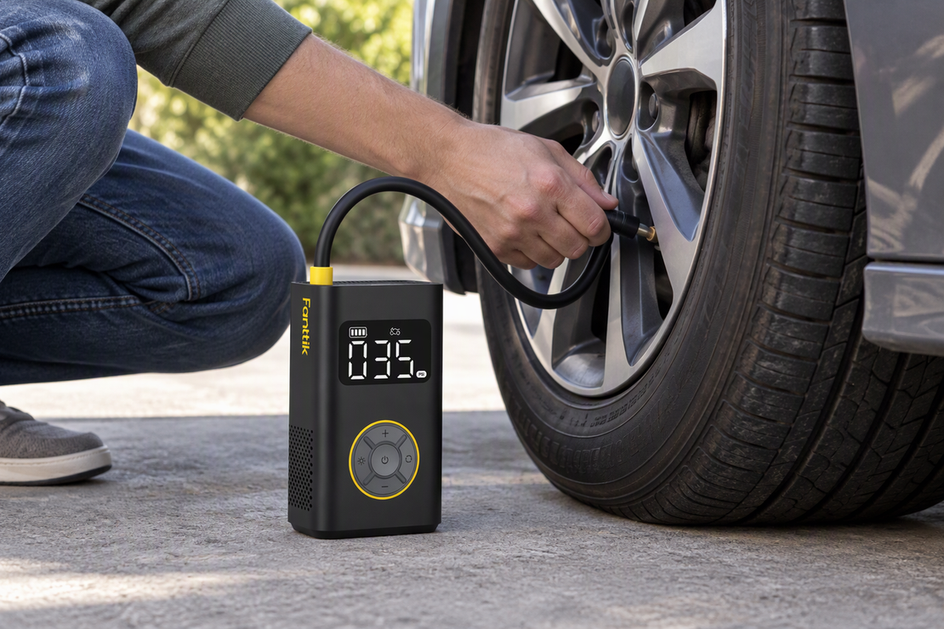
The practical order is: inspect the equipment, connect the water side, purge trapped air, attach the gun and lance with a wide nozzle, add the foamer only if it's a confirmed match, wash and rinse, then depressurize and store everything. If you're comparing your own equipment against a documented cordless option, the cordless pressure washer gun product page lists its own PSI modes and nozzle setup for reference; treat that as a separate model with its own connector and pressure specs, not an accessory that fits a different washer.
Protect Paint Before You Connect the Washer
The normal wide-spray method is built for intact exterior paint and securely attached trim, not for every surface on every vehicle. Confirm which category your car falls into before you connect anything.
When the Normal Method Fits
Intact factory paint with no visible chips, cracking, or lifting clear coat is a normal fit for the wide-spray workflow described below. Start with the wider nozzle angle and keep the spray moving across the panel rather than holding it in one spot.
When to Stop or Change Methods
Skip the normal pressure-washing method on loose or peeling paint, cracked clear coat, fragile trim, delicate badges, and aftermarket decals; these areas call for a lower-force or non-pressure approach backed by the vehicle or coating maker's own instructions. Family Handyman also recommends angling spray away from grilles at roughly 45 degrees instead of spraying straight in, since a direct blast can force water into the radiator or other sensitive components. Because pressure and flow specs vary widely across model lines, check your washer's documented settings against similar pressure washer models before assuming the wide-spray default applies to a surface you're unsure about.

Connect and Prime the Pressure Washer
Connection order and priming steps depend on your exact washer and accessory manuals, so treat the sequence below as the general shape rather than a substitute for the documentation that came with your unit.
Connect and Purge the Water Side
- Confirm the inlet fitting, supply hose, water availability, and electrical requirements listed in your washer's manual.
- Connect the water side, then run the trigger following the documented purge procedure until air stops sputtering from the nozzle.
- Stop and recheck the connection if the unit leaks, pulses unevenly, or can't establish steady flow; that's a sign the fitting or water supply doesn't match what the manual specifies.
Because water is running near live electrical components, it's worth confirming your unit's water-resistance rating against its documented limits rather than assuming any electric washer tolerates the same splash exposure; our IP ratings guide explains how those ratings work and where their protection stops.
Add the Spray and Foam Accessories
Attach the spray gun, lance, and chosen nozzle only after confirming the fitting type and pressure rating match your washer's output. Add a foamer to the setup only when the washer, connector, and detergent path are explicitly documented as compatible; if that documentation doesn't exist for your combination, leave the foamer off and use the wide nozzle with detergent applied a different way instead of forcing an adapter.
Choose Pressure, Nozzle, and Distance
A practical starting point when setting up a pressure washer for washing cars with intact paint is 1,200 to 1,900 PSI with a wide spray pattern, and that figure is a source-specific starting range rather than a universal safety limit. Pressure alone doesn't determine surface impact: nozzle angle, flow rate, spray distance, movement speed, and the paint's own condition all change how hard the water actually hits.
Use the Wide Spray for Painted Panels
Family Handyman's car-washing guide points to two nozzle examples worth knowing before you start.
| Nozzle Example | Best Task | Limitation |
|---|---|---|
| 40-degree (white) | Vehicle body panels | Default wide spray for painted surfaces per the cited guide |
| 25-degree (green) | Wheels or caked-on mud | Narrower spray; not intended as the default choice for paint |
The wide 40-degree tip is the one to start with on any painted panel. The narrower 25-degree tip stays reserved for wheels and heavy mud, since its tighter spray concentrates more force in a smaller area.
Adjust the Force Before You Move Closer
If a panel looks more sensitive, or you're working near trim, keep the wider angle, hold a longer distance from the surface, and keep the wand moving instead of dwelling in one spot. Reducing force this way protects the surface without requiring you to guess at an exact stand-off distance the source doesn't specify.
Apply Foam and Rinse Without Grinding Dirt In
A paint-conscious foam-and-rinse sequence starts with a plain water pre-rinse and ends with drying, not with detergent straight out of the gate.
Pre-Rinse and Apply Detergent
- Set the washer to plain water output and spray from the roof downward, removing loose debris from the roof, hood, and trunk first.
- Mix an automotive-specific soap to its labeled ratio in a foam cannon or a separate wash bucket, not in the washer's water tank, since many cordless washers are built to run on clean water only; skip anything not formulated for automotive use.
- Apply the foam and let it sit for a few minutes so it can loosen grime before rinsing.
Rinse Before the Soap Dries
Keep the detergent wet, since letting it dry on the panel, especially in direct sun, makes residue harder to remove and can leave an uneven finish; Family Handyman recommends washing one side at a time in sunlight so the soap never sits long enough to dry. Once the panel is soaped, switch the washer back to water output and rinse from the roof down through the hood, trunk, and sides before drying the vehicle with a soft towel or cloth.
Shut Down and Store the System
Ending the session safely means releasing pressure before disconnecting anything, and the exact sequence for your washer comes from its own manual rather than a universal rule.

End the Session in the Documented Order
- Stop spraying and follow your washer's documented order for powering down and shutting off the water supply.
- Trigger the gun as instructed to release residual pressure before loosening any fitting.
- Wait for the pressure to fully release before disconnecting the hose, gun, or foamer; disconnecting a pressurized fitting early can cause a sudden spray or fitting failure.
Clean and Store What the Manual Allows
Drain or rinse the detergent path and foamer only according to their own instructions, since not every unit handles leftover soap the same way. Store the hose, gun, lance, nozzle, and foamer somewhere protected from impact and, where the manual calls for it, from freezing temperatures; if you're storing gear through a cold season, our guide to pressure loss troubleshooting covers dry-start and battery-management issues that show up after cold storage.
FAQs
Can I use a pressure washer rated above 1,900 PSI on a car?
Yes, but 1,200 to 1,900 PSI is a practical starting range from a car-washing source, not a universal ceiling. If your washer's documented settings run higher, start with its lowest wide-spray setting and the widest nozzle angle available, then judge from the result rather than defaulting to the unit's maximum rating.
Which pressure-washer nozzle should I use for car paint?
Use the wider nozzle example, cited as a 40-degree tip, as the default for painted body panels. The narrower 25-degree tip is reserved for wheels or caked-on mud in the same source; don't move it to painted panels without separately confirming it won't concentrate too much force in one spot.
Will any foam cannon fit my pressure washer?
Not automatically. A foamer only belongs in the setup when its connector, pressure and flow requirements, and detergent path are explicitly documented as compatible with your exact washer model. Without that match, skip the foamer rather than forcing an adapter onto an unconfirmed fitting.
How can I avoid damaging chipped paint, decals, or trim?
Skip the normal wide-spray workflow on loose or peeling paint, cracked clear coat, fragile trim, delicate badges, and aftermarket decals. Those areas call for a lower-force or non-pressure method supported by the vehicle or coating manufacturer's own instructions rather than the standard car-detailing sequence.

Leave a comment
This site is protected by hCaptcha and the hCaptcha Privacy Policy and Terms of Service apply.