










































To choose electric scissors, start with your project, not the tool. Write down the exact material you will cut, how thick it is, whether you'll stack layers, what shape the cuts take, and how long you expect to work in one sitting. Then keep a tool on your shortlist only if its documentation covers those needs.

A single big number on the box, like a maximum cutting capacity, is not enough on its own. If the manual or spec sheet doesn't cover your material at your thickness, count that tool as unverified for your project. That doesn't mean it can't do the job. It means you haven't confirmed it yet.
Match Material, Thickness, and Layers Before Shortlisting
Material and thickness decide whether a tool gets on your shortlist at all. When comparing tools such as the Fanttik C10 Pro Cordless Electric Scissors or maintaining rotary cutters with replacement rotary blades, check material and thickness together, and treat stacked layers as a separate question.
Check the Material and Thickness Together
Before you compare options like the Fanttik C8 Nano Cordless Electric Scissors, record these project details:
- Material: Name it exactly, such as corrugated cardboard, felt, fleece, carpet, or leather. "Fabric" or "craft material" is too vague.
- Required thickness: Measure the thickest spot the blade must get through, in inches, for example with a ruler or caliper.
- Layers: Note whether you'll cut one sheet at a time or a stack.
- Where the thick spots are: Seams, folds, and glued edges can be thicker than the flat sheet.

Now compare those notes with each tool's manual or product specs. A tool counts as a confirmed fit only when its documentation names your material and supports your thickness. A general line like "cuts up to X inches" doesn't tell you that the same limit applies to leather, carpet, and cardboard alike. When a spec page lists materials in one place and a capacity number in another, and never connects them, your thickness for that material is still unconfirmed.
Illustrative example: say you plan to cut 1/8-inch corrugated cardboard for storage-box dividers. A tool whose documentation lists corrugated cardboard and gives a limit that covers 1/8 inch for that material goes on your confirmed-fit list. A tool that lists cardboard but only gives one general capacity figure goes on your unverified list until the manufacturer confirms the pairing.
Treat Layers as a Separate Requirement
Stacking material changes what you're asking the tool to do. If your project involves cutting several layers at once, look for documentation that talks about layers directly, or that covers the full combined thickness of your stack in that material. A single-layer spec doesn't automatically carry over to a stack.
Hands-on reports can show what task-specific evidence looks like, but they apply only to the tool that was tested. For example, a sewing blogger who tested cordless electric scissors reported that four layers of fleece cut easily. The post includes affiliate links. That tells you something about that one pair on that one fabric stack. It isn't a rated layer limit, and it doesn't apply to other models or materials.
If no source covers your planned stack, leave the tool unverified. You can still ask the manufacturer, or plan to cut fewer layers at a time.
Choose for the Cut Shape and Handling You Need
Cut shape is its own fit requirement, separate from material. If your project depends on curves, fine detail, or long straight runs, a tool is a match only when its documentation or direct electric-scissor evidence addresses that kind of cut.
Start by writing down which shapes your project actually needs. Then use these rules for each one:
- Tight curves: Look for electric-scissor documentation, instructions, or hands-on reports that show curved cuts in your material. If none exists, mark curve handling as unverified.
- Detail work and small pieces: Look for direct evidence of maneuvering in tight spots, like cutting notches or small shapes. Without it, treat detail control as unconfirmed.
- Long straight cuts: Look for guidance on steering and feeding material over long runs. If the tool's documents don't mention it, the tool may still work, but you haven't confirmed the fit.
- Headline specs: Don't treat RPM (how fast the motor spins), blade design, or maximum capacity as proof of control on any shape. None of those numbers measures how a tool handles a curve.
If you work mostly with fabric, Sailrite's guide to manual scissors versus rotary cutters explains why curves, detail work, long cuts, and multiple layers can push you toward one tool type or another. Keep in mind that the guide covers manual scissors and rotary cutters only. It's useful for spotting which shape needs matter in your project. It can't tell you how a powered tool will perform.
If your project needs a shape that no electric-scissor source addresses, that tool stays unverified for that part of the job. You can still confirm it through the manufacturer or plan a different tool for those specific cuts.
Use Runtime to Plan the Work Session
Runtime helps you plan how long you can work before you need to stop and recharge. It doesn't tell you what the tool can cut or how much material you'll get through.
Use it like this:
- Short, occasional jobs: If you cut a few pieces at a time, runtime is usually a lower priority than confirmed material and shape fit.
- Longer sessions: If you plan a long cutting session, compare the stated runtime with your planned work period. Note any conditions the manufacturer attaches to that number, since a runtime figure is measured under specific conditions.
- Recharge planning: If the stated runtime is shorter than your session, plan breaks or check the documented charge time so the job doesn't stall partway through.
- What runtime can't tell you: Don't convert minutes into feet of cardboard or yards of fabric. Runtime, battery capacity, and motor speed don't predict cutting output on their own.
Keep runtime as a separate filter after the material and shape checks. A tool with a long runtime but no documented support for your material stays unverified. A tool with a confirmed material fit and a shorter runtime may still be the right choice if your sessions are short. Your final shortlist should hold only the tools with documented fit for your material, thickness, layers, and cut shape. Everything else stays labeled unverified until you confirm it.
FAQs
If a tool lists my material, does that confirm it handles my thickness?
No. A listed material shows the tool is intended for that material in general. It doesn't confirm the thickness you need. Look for a limit tied to that material, or ask the manufacturer to confirm your exact thickness before you treat the tool as a confirmed fit.
Do multiple speed settings mean a tool can handle more materials?
Not by themselves. Speed settings change how the motor runs. They don't show support for a material or task that the documentation doesn't mention. Judge material fit by what the manual or spec sheet actually covers, not by how many settings the tool has.
What should I tell a manufacturer when I ask about fit?
Be specific. Give the exact material name, the thickest point in inches, the number of layers if you're stacking, and the cut shapes you need, such as tight curves or long straight runs. A specific question gets you a yes or no you can use. A vague question like "Will it cut crafts?" won't settle anything.
Can online reviews replace the manufacturer's specs?
A detailed hands-on review can show how one tested unit handled a named material. It applies only to that model, that material, and the conditions the reviewer describes. Use reviews to decide which questions to ask. For thickness limits and rated capacity, rely on the manufacturer's documentation. Also check whether the reviewer bought the tool or received it, and whether the post uses affiliate links.
Continue reading
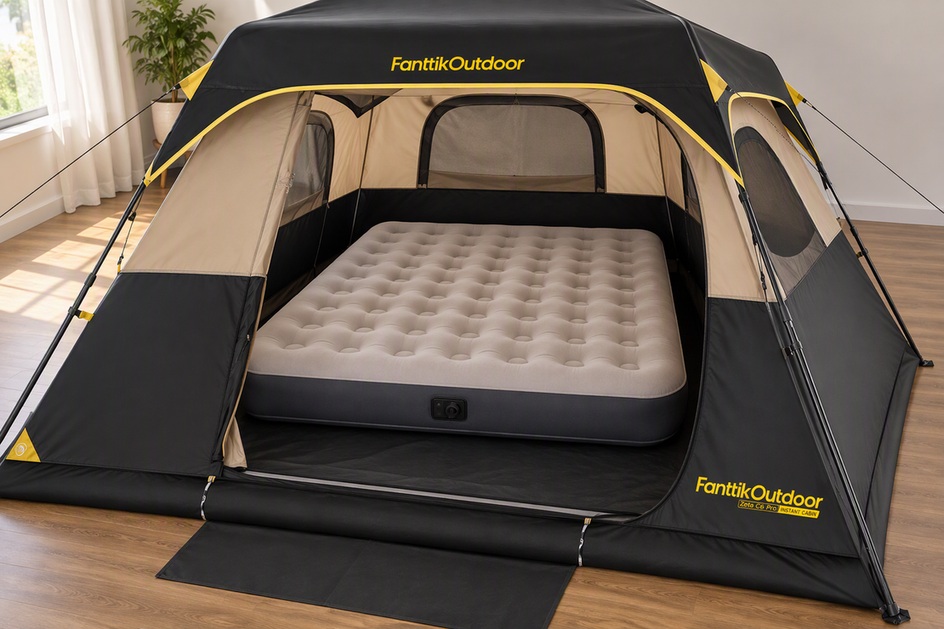 How to Choose a Cabin Tent for Campground Trips
A practical way to pick a cabin tent: test the floor plan against your group, check the assigned...
How to Choose a Cabin Tent for Campground Trips
A practical way to pick a cabin tent: test the floor plan against your group, check the assigned...
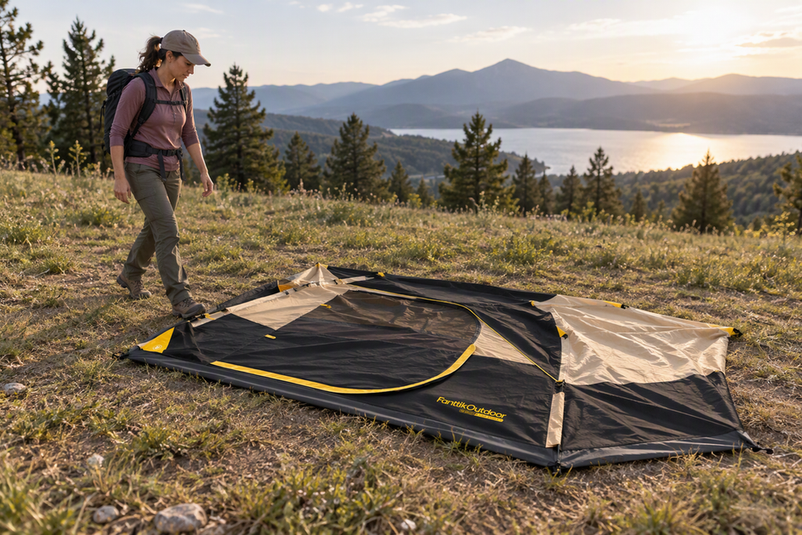 How to Pitch a Tent on Uneven Ground
A practical go/no-go guide for sloped or bumpy campsites, covering site boundaries, tent pads, durable surfaces, and when...
How to Pitch a Tent on Uneven Ground
A practical go/no-go guide for sloped or bumpy campsites, covering site boundaries, tent pads, durable surfaces, and when...

Leave a comment
This site is protected by hCaptcha and the hCaptcha Privacy Policy and Terms of Service apply.