










































Electric scissors can bunch or pull fabric for three main reasons. The fabric may not be flat and supported, the fabric or layer stack may be outside what your model is built to cut, or the blade may need the care its manual describes. No single cause fits every tool or fabric, so treat these as places to look, not as a diagnosis.

Start with the easiest step. Straighten and smooth the fabric on a large, flat surface, then make a short test cut on a scrap. If the bunching continues, check your fabric against your scissors' manual before you decide anything about the blade or the tool.
Why Electric Scissors Can Bunch or Pull Fabric
Fabric that gathers at the cut line points to one of three areas: how the material is laid out and supported, whether the material suits your tool, or the condition of the blade. Check them in that order, because the first one takes minutes and costs nothing.
Loose folds, ripples, and fabric hanging off the table edge give the blade uneven material to work through. When using tools like cordless electric scissors for fabric on a piece like that, the result can look like gathering or pulling even when the tool is fine. Standard sewing prep handles this before you cut. A basic sewing guide on straightening fabric before cutting tells you to straighten the fabric, and pre-shrink it if needed. A university extension guide on fabric layout and cutting says to place fabric on a large cutting surface, smooth the folds by hand, and keep the fabric on the table while you cut.
These guides were written for general garment cutting, not powered scissors. Use them as prep, not as a guaranteed fix. To learn something from them, run a controlled test:
- Cut a scrap of the same fabric, laid flat and smoothed, using the same layer count as your project.
- Make a cut a few inches long at your usual pace.
- Change only one thing at a time, such as better support under the cut line or a single layer instead of two.
- Note whether the gathering changes after each change.

If the cut cleans up once the fabric is supported, make that setup part of your routine. If it bunches the same way on well-prepared fabric, move on to the material check below. One bad cut is not a reason to replace your scissors.
Check the Fabric Against Your Scissors' Manual
The manual for your exact model is the only reliable source for what it can cut. The words "electric scissors" or "fabric" on a box don't tell you whether your fabric and layer count are within that model's limits. Compare them this way:
- Name the fabric. Write down what it is, such as cotton, fleece, denim, or a knit, and whether it's stretchy, slippery, or very thin. These are the details you'll look up.
- Count the full stack. Count every layer the blade will pass through. A folded piece is two layers. Add any interfacing, batting, or lining.
- Measure the stack. Press the layers lightly flat and measure the total thickness with a ruler. Use the unit your manual uses.
- Find the manual's limits. Look for a list of approved materials and a cutting capacity or maximum thickness. Treat material type, thickness, and layer count as separate checks. A stack that's thin enough still isn't confirmed if the material isn't listed, and the reverse is also true.
- Decide. If the manual lists the material and your stack is within its limit, go ahead and use the test cut from the first section. If the material isn't listed, the stack is over the limit, or the manual doesn't cover it, don't assume it's compatible. Switch to a combination the manual does cover, or ask the manufacturer before you keep cutting.
This check also tells you whether a blade-care step even makes sense. Bunching on a material your manual doesn't list is a fit question, not proof that the blade has a problem.
When Should You Check Blade Care or Tool Condition?
Move on to blade care or tool condition when two things are both true: the fabric is prepped and supported, and the manual lists the material and stack as within limits. If the bunching continues after that, the tool is the next thing to look at. That still doesn't prove the blade has failed.
At this point, follow only the care and troubleshooting steps in your model's manual. Cleaning, adjustments, or installing replacement rotary blades are different from one model to the next. Steps from a different tool can do more harm than good. Don't push harder to get through the fabric while you troubleshoot. Even care guidelines for manual scissors warn that forcing a cut can deform the blades, and your powered tool's manual decides what applies to it.
If the manual's steps don't fix it, contact the manufacturer with the details you've collected: the fabric, the layer count and thickness, and what the test cuts showed. If you own one of our electric fabric scissors, contact our support team and we can work through your specific model with you.
FAQs
Can I use advice for a sewing machine or rotary cutter on electric scissors?
Not without checking. Sewing machines, rotary cutters, and handheld electric scissors move fabric and cut it in different ways. Settings, maintenance steps, and fixes from one don't automatically carry over to another. Even manual shears work differently, as our electric scissors vs. manual shears comparison explains. For how to run and maintain your electric fabric scissors, use that model's own manual.
Does one clean test cut rule out a blade or tool issue?
No. A clean cut on a scrap shows that this fabric, this layer count, and this setup worked once. Repeat the test on a longer cut and on the part of your project that gave you trouble, such as a curve or a seam. If the gathering comes and goes, write down when it happens. That pattern is useful to share if you end up contacting the manufacturer.
Should I replace the scissors after one poor cut?
No. One poor cut doesn't show that the scissors or blade need replacing. Fabric prep, material fit, and blade care can each change the result. If the problem keeps happening on material the manual lists as within limits, follow the model's care steps or contact the manufacturer's support before you buy new scissors or blades.
Continue reading
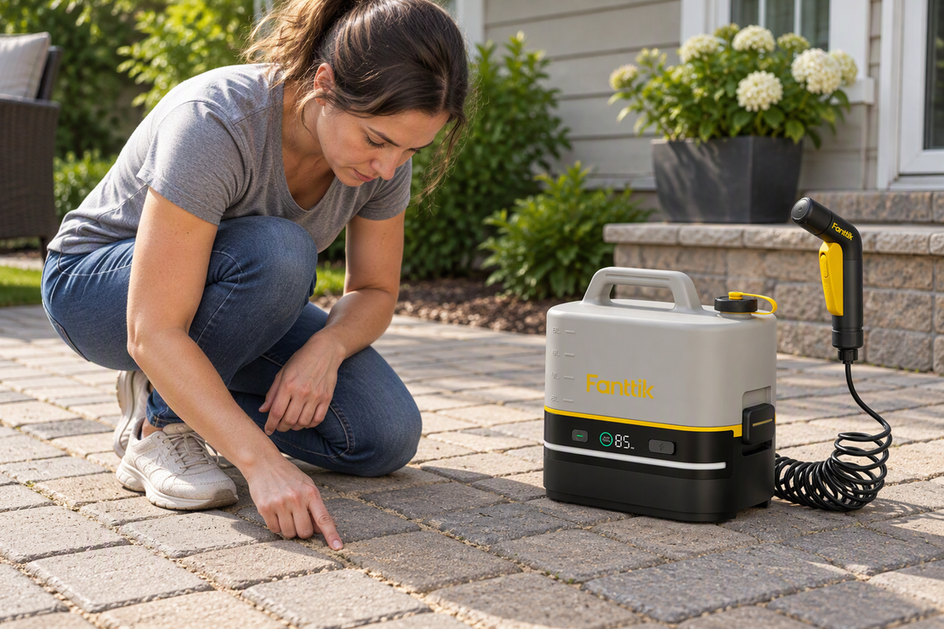 Can a Pressure Washer Clean Pavers Without Removing Joint Sand?
A wide spray at a low angle reduces joint-sand loss on interlocking concrete pavers. See how to test...
Can a Pressure Washer Clean Pavers Without Removing Joint Sand?
A wide spray at a low angle reduces joint-sand loss on interlocking concrete pavers. See how to test...
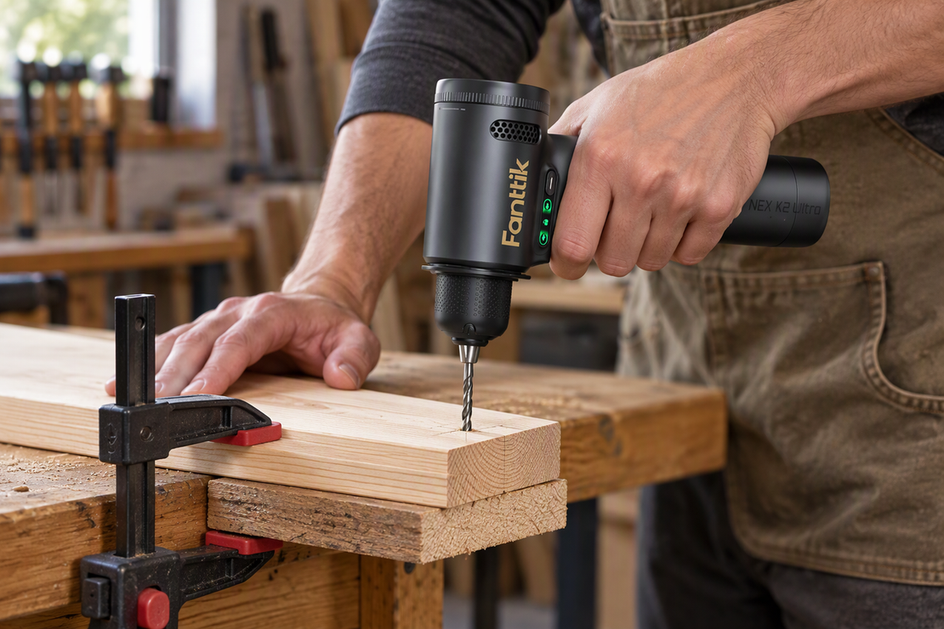 How to Drill Near the Edge of Wood Without Splitting It
A practical guide to cleaner holes close to a board edge: brad-point vs. Forstner bits, scrap backers, #8...
How to Drill Near the Edge of Wood Without Splitting It
A practical guide to cleaner holes close to a board edge: brad-point vs. Forstner bits, scrap backers, #8...
Leave a comment
This site is protected by hCaptcha and the hCaptcha Privacy Policy and Terms of Service apply.